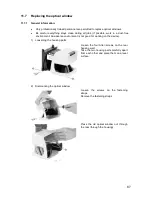
89
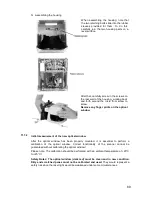
5) Assembling
the
housing
11.7.2
After the optical window has been properly mounted, it is essential to perform a
calibration of the optical window. Correct functionality of the scanner cannot be
guaranteed without calibrating the optical window!
Please note: The calibration should be performed with an ambient temperature of +20°C
to +25°C!
Safety Notes: The optical window (dark red) must be clean and in new condition.
Dirty and scratched panes must not be calibrated and used.
They would represent a
safety risk since the laser light would be weakened under some circumstances.
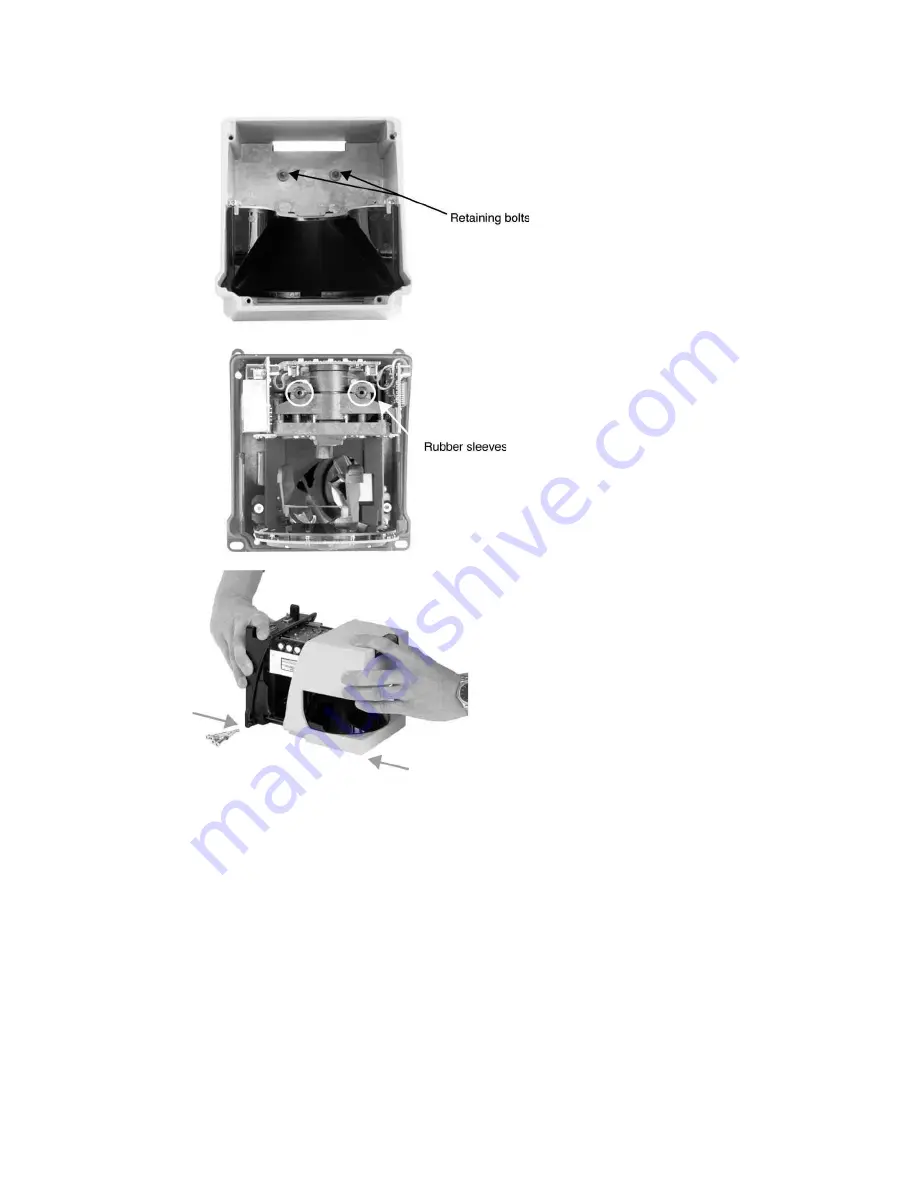
When assembling the housing, note that
the two retaining bolts slide into the rubber
sleeves provided for them. To do this,
carefully join the two housing parts on a
level surface.
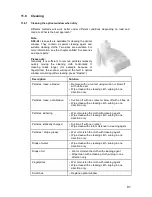
After that, carefully screw in the screws on
the rear wall of the housing, working back
and forth around the circle from screw to
screw.
Remove any finger prints on the optical
window
Initial measurement of the new optical window
Summary of Contents for SD3-A1
Page 1: ......
Page 12: ...12...
Page 40: ...40 Fig 5 4 5 Considering the maximum measurement distance when safeguarding an area...
Page 60: ...60 Fig 6 2 1 Example of a zone pair changeover for an AGV on a curved route...
Page 61: ...61 Fig 6 2 2 Example of zone pair changeover with combined with reducing speed of the AGV...
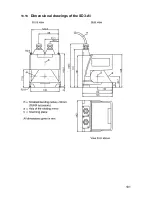
Page 101: ...101 13 13 Dimensional drawings of the SD3 A1...
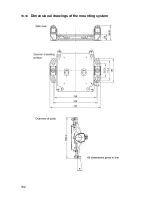
Page 102: ...102 13 14 Dimensional drawings of the mounting system...
Page 106: ......

