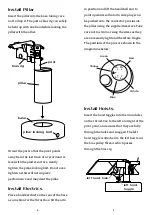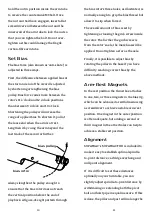
Install Pillar
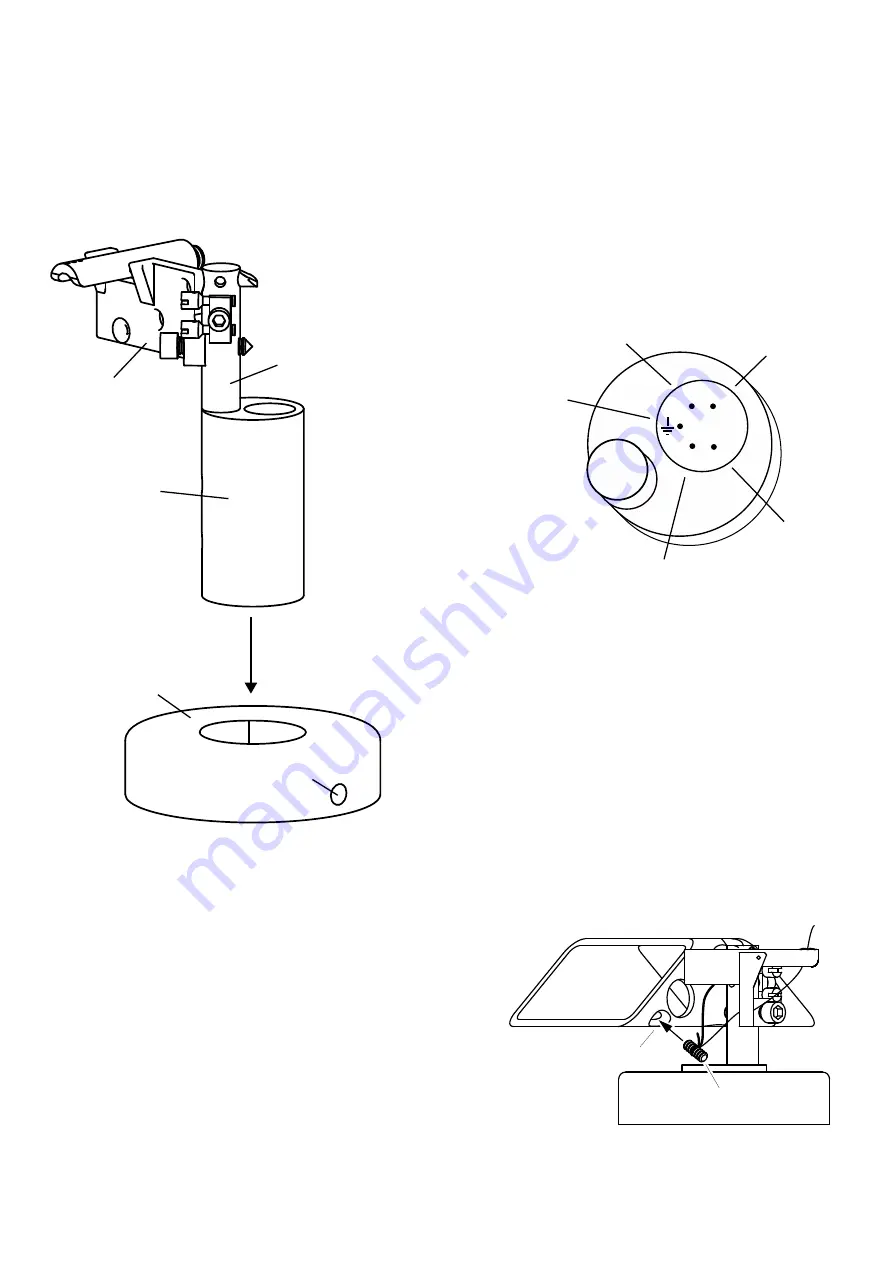
Insert the pillar into the base, taking care
not to drop it. The post or bias rig can safely
be held up with one hand while locking the
pillar with the other.
Orient the post so that the pivot points
away from the last track of a record and is
level with the platter surface. Gently
tighten the pillar-locking bolt. Do not over-
tighten as this will not improve
performance and may dent the pillar.
Install Electrics
Place a handkerchief on the rear of the base
as a cushion for the thrust box. Sit the arm
pillar
pillar locking bolt
base
bias rig
post
6
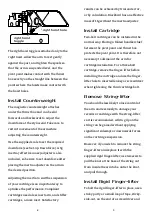
in position and lift the headshell end to
point upwards so that arm wire plugs can
be pushed onto the connector pins inside
the pillar using the supplied tweezers. Take
care not to strain or snag the wires as they
are necessarily light and therefore fragile.
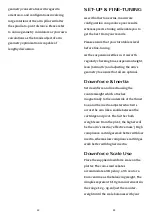
The positions of the pins are shown in the
diagramme below:
Install Hoists
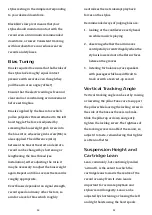
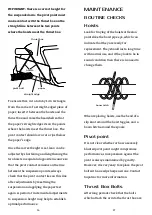
Insert the hoist toggles into the 4mm holes
on the thrust-box to the left and right of the
pivot point, and ensure that they are fully
through the holes and snagged. The left
hoist toggle is attached to the left hoist and
the bias pulley thread, which passes
through the bias rig.
R- R+
L- L+
Red
Green
Yellow
Blue
White
7
left hoist
toggle
left hoist hole


