background image

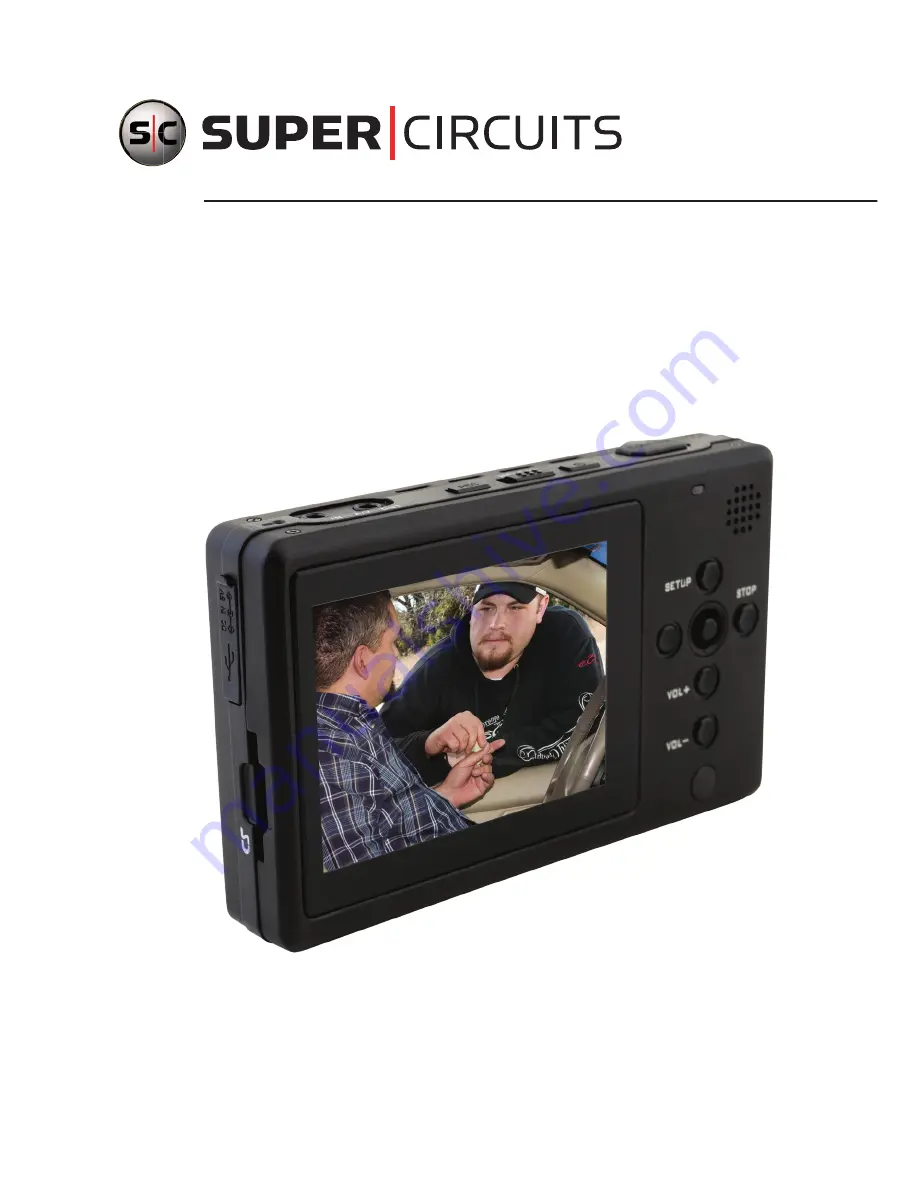
High Capacity Micro DVR  

User Manual

Product: MDVR16

Please read this manual before using your recorder, and always follow the 

instructions for safety and proper use. Save this manual for future reference. 

LE_MDVR16_RM 

9/10/10

Summary of Contents for MDVR16

Page 1: ...ty Micro DVR User Manual Product MDVR16 Please read this manual before using your recorder and always follow the instructions for safety and proper use Save this manual for future reference LE_MDVR16_...

Page 2: ...rized accessories The recording transmission or broadcast of any person s voice without their consent or a court order is strictly prohibited by law Supercircuits makes no representations concerning t...

Page 3: ...the DVR battery 7 2 5 1 Charging the battery 7 2 6 Using an SD card 8 SECTION 3 Operation 9 3 1 Turn ON OFF the DVR 9 3 2 Function modes 9 3 2 1 Navigating menus 10 3 3 Configuration setup 10 3 3 1 P...

Page 4: ...eo file 23 4 2 Fast playback 24 4 3 Slow motion playback 24 4 4 Reverse playback 25 4 5 Pause playback 25 4 6 Stop playback 25 4 7 Capture image during video playback 26 SECTION 5 Video Playback Setti...

Page 5: ...the unit itself It comes with a lithium battery charger cables USB cable belt ready carrying holster IR remote control easy to use instructions and a 1 year warranty Features include Both motion trig...

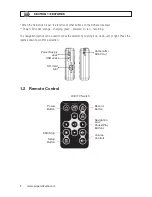
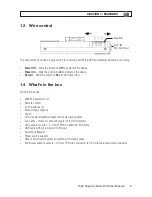
Page 6: ...een powered on red recording The navigation joystick can be used to move the selector by pushing it up down left or right Press the joystick down to confirm a selection Camera IN DC5V Out USB Jack Pow...

Page 7: ...witch to Rec to start recording 1 4 What s in the box Your DVR includes MDVR16 recorder unit Remote control Li ion batteries 2 Earbud style earphone Pouch DC 5V power adapter charger with power jack a...

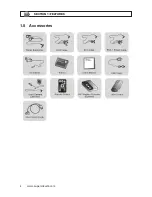
Page 8: ...4 www supercircuits com SECTION 1 FEATURES 1 5 Accessories...

Page 9: ...power cable into camera then plug the cable mini jack into the Camera IN DC5V Out connector on the side of the DVR IN DC5V Out 2 2 DVR connection to a monitor To connect the DVR to a monitor plug the...

Page 10: ...tion is made the message USB Mode will appear on the DVR display The PC connection can be used for transferring files to from the DVR and defragmenting the DVR HDD through the Windows operating system...

Page 11: ...ment cover on the back of the DVR 2 Align the golden contacts of the battery supplied with the corresponding connectors in the battery compartment then slide the battery into place 3 Replace the batte...

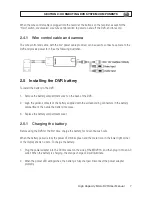
Page 12: ...eo and log files The SD card is enabled through the Storage Medium option in the setup menus See the Operations section for more information SD Card Slot Left side of the DVR NOTE The SD card should s...

Page 13: ...firmware version v1 03 Depending on the firmware revision level of your DVR the screens may be different from those shown below 3 1 Turn ON OFF the DVR Turn ON Press the Power ON OFF button for 1 sec...

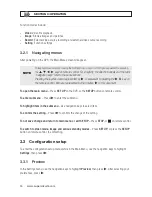
Page 14: ...e control Both are represented by the notation u in this document To open the main menu Press SET UP on the DVR or the SETUP button on remote control To enter submenu Press u to enter the submenu To h...

Page 15: ...Enable Disable Frame Counter Stamp On Off Timestamp On Off Device ID Stamp On Off Display LCD TV Both Microphone sensitivity Over write NOTE To enable image output the setting Setting Preview Display...

Page 16: ...stamp On Off Device ID Stamp On Off Display LCD TV Both Pre Record Time 30 sec 15 sec Microphone sensitivity Over write Enable Disable 3 3 3 Motion Detection In the Settings menu use the navigation ke...

Page 17: ...mp On Off Display LCD TV Both Motion detection level LOW Medium High Motion Detect Record time 30 sec 1 min 3 min 5 min 10 min Motion Detect Area Select Microphone sensitivity Over write Disable Enabl...

Page 18: ...riod to pre set In the Resume period to pre set menus you can set up the timing to return to recording mode In the Settings menu use the navigation keys to highlight Resume period to pre set Use the t...

Page 19: ...dule Set Backlight Timeout In the Backlight timeout submenu you can specify the duration of the backlight timeout In the Settings menu use the navigation keys to highlight Backlight Time out Use the l...

Page 20: ...OP to return to the previous screen 3 3 12 Storage capacity To show the storage capacity icon on the display it must be enabled In the Settings menu use the navigation keys to highlight Storage capaci...

Page 21: ...ormatting process 3 3 14 TV out setting Use TV out setting to set the format of the TV In the Settings menu use the navigation keys to highlight TV out setting Use the left or right navigational keys...

Page 22: ...es In the Settings menu use the navigation keys to highlight Video thumbnail Use the t and u keys to select to elect either All No or Single then press u 3 3 18 Thumbnail Use Thumbnail to enable an im...

Page 23: ...an SD memory card with the updated firmware file into the device Select OK to start upgrade When upgrade is completed the system will reboot If the message Update Error appears during updating the pr...

Page 24: ...sword option to Off then press u 3 3 24 Set device on password Use the Set device on password feature to specify the password for unlocking the DVR In the Settings menu use the navigation keys to high...

Page 25: ...B port In the Settings menu use the navigation keys to highlight USB connection password then press u In the pop up window use the navigation keys to enter the device password then press u In the Conf...

Page 26: ...Press STOP to close the window 3 3 29 Save all logs Use this option to choose the storage media where logs are written In the Settings menu use the navigation keys to highlight Save all logs Use the t...

Page 27: ...9 files can be distinguished NOTE If the file is corrupted it cannot be played The system will return to the file list mode In the Main Menu use the navigation keys to select Video then press u Use th...

Page 28: ...speed To playback at 4X speed press u during 2X playback Similarly to playback video at 8X speed press u during 4X playback speed Press u to return to normal playback speed 4 3 Slow motion playback D...

Page 29: ...playback at 2X speed press the t key To return to normal forward playback speed press u To reverse playback at 4X speed press the t key during reverse playback at 2X speed Similarly to reverse playba...

Page 30: ...ture an image while video is playing press the u key to pause the video then press the STOP key on the DVR to take a snapshot the remote control cannot be used to capture images Press the u key again...

Page 31: ...t values for each option as necessary Press STOP to continue playback Video Playback All Single No Full Screen On Off Display LCD TV BOTH 5 2 Video management in the file list To change the configurat...

Page 32: ...28 www supercircuits com SECTION 5 VIDEO PLAYBACK SETTINGS MOVE One All File Information opens the file information window see below...

Page 33: ...elect the photo image you want to open Press the u key to open the image Press STOP to return to the Image thumbnail screen Press STOP again to list the image folders by date Use the p and q keys to s...

Page 34: ...SETUP to open the Image options list Use the p q t and u keys to select values for each option Highlight Slideshow Start then press the u key to begin the slideshow Slideshow Start Thumbnail Preview O...

Page 35: ...lideshow Start Slideshow Playback All No Slide Show Time 3 sec 5 sec 7 sec 10 sec Display LCD TV BOTH File Information opens the file information window 6 2 3 Slideshow while in the file list While in...

Page 36: ...press the u key to see the image from the camera Preview with no image from camera After previewing the image from the camera press REC to start recording Press STOP to end the recording 7 1 Preview...

Page 37: ...h Microphone sensitivity Over write Enable Disable Press the STOP button to return to the Record submenu 7 2 Pre Event In the Record submenu use the p and q keys to highlight Pre Event then press u In...

Page 38: ...icrophone sensitivity Over write Enable Disable Press STOP to return to the Record submenu NOTE In Pre Event mode the video image is automatically recorded to Video file without pressing the REC butto...

Page 39: ...to confirm your selections and close the settings window Resolution 352 x 288 640 x 480 720 x 576 1024 x 768 1280 x 720 1280 x 960 Quality Good Normal Low Frame Rate 1 5 15 20 30 Audio Enable Disable...

Page 40: ...press u to setup motion detection screen zones Microphone sensitivity Over write Enable Disable 7 4 Video image capture during record While recording you can save a snapshot of the current frame Pres...

Page 41: ...EG 4032 x 4032 pixels Storage Built in 60GB HDD and SD Card supports up to 32GB SDHC Time Stamp Format YYYY MM DD or DD MM YYYY Frame Counter Yes PC Interface USB 2 0 DC12V to Camera DC12V 160 mA Max...

Page 42: ...t Resolution 1280 x 960 Bit Rate 10 Mbps Frame Rate 30 fps ASF MPEG 4 Yes Yes Yes RM No No No WMV No No No VOB DVD file format without copy protection No No No MJPEG AVI a law u law No indicates that...

Reviews: