43
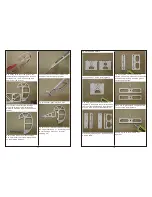
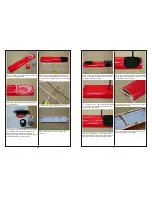
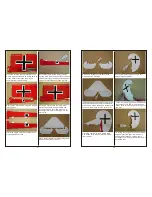
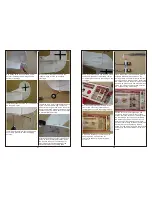
Place the bottom main wing on the
working table. Try to find 2 pre-serving
slots around the center part.
Use hobby knife to cut off the covering
over the slots. Use ironer to trim the
edges.
Place the fuselage on the working table
with the bottom facing upward. Try to find
2 pre-serving slots. Use hobby knife to
remove the covering over the slots.
Use ironer to trim the edges of the slots.
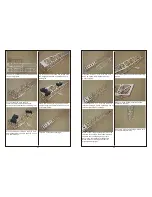
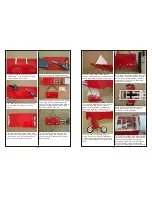
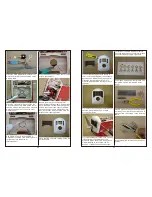
Place the fuselage, 2 pieces of main gear,
sub wing, 4 pieces of plastic plates, 8
pieces of 2.6x8mm tapping screws, DW9
gauge and rubber band on the working
table for installing main gear.
Try to fit the main gears into the slots;
place plastic plates over the gear and
secure the gear in place with 2.6x8mm
tapping screws.
44
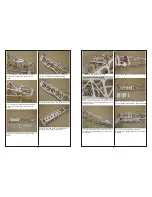
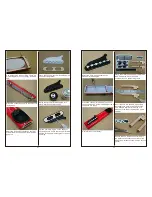
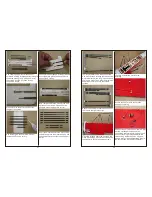
Place the DW9 gauge on the center
position of the sub wing. Use rubber band
to hold the DW9 in position for temporary.
Try to fit the main gears into the slots on
the sub wing with DW9 touching the
bottom of the fuselage. Use AB glue to
secure the main gear inside the slots.
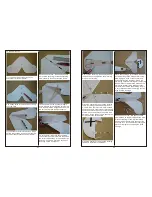
Place 2 pieces of 3x280mm axles, 2
pieces of collars, 2 pieces of M3x4 hex
screws , 4 pieces of 3mm washers and 2
pieces of 100mm wheels on the working
table.
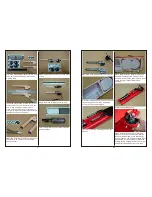
Insert the axles into the slots on the sides
of sub wing. Install the washers, wheels
(concave side facing outside), washers
and collars in order. Secure the collars
with M3x4 hex screws.
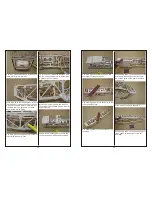
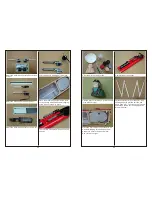
Apply a piece of adhesive Velcro tape
inside the fuselage. Insert a piece of
Hook-and-Loop through slot.
Try to find the locking rod in the hardware
bag. Insert the locking rod from one side
of the fuselage (behind the canopy),
through the center slot on the latch and
exit from another side of the fuselage.
Drop some instant glue to secure the rod

