47
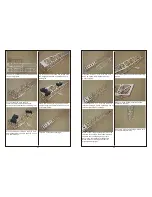
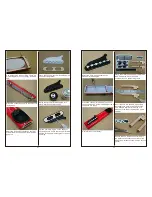
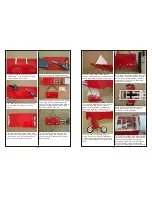
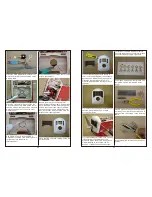
Use hobby knife to cut out the 0.35mm
hole for installing rudder hinge on the
bottom of fuselage.
Install the rudder onto the tail. The gap will
be around 0.3mm.
Install the tail gear into the fuselage and
secure it in place with 2x8mm tapping
screws.
Drop some instant glue to secure the
rudder hinges into the vertical and
fuselage.
Take tail wheel, 2mm collar and M3x4 hex
screw out of hardware bag. Install tail
wheel to the tail gear and put on the collar.
Keep the distance between the wheel and
collar around 1.5mm and secure the collar
in place with M3x4 screw.
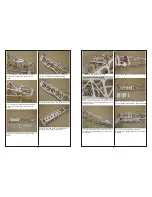
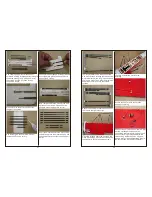
Attach the clevises onto their respective
horns on the elevator and rudder. Slide
the silicone tube over the clevises for
providing extra insurance against the
clevises accidentally coming open.
48
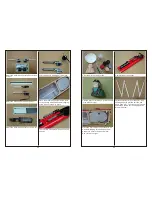
Keep the distance between the end of the
tubing and the end of rod around 15mm;
us instant glue to secure the tubing on the
fuselage.
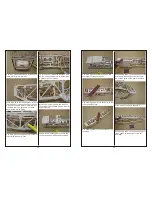
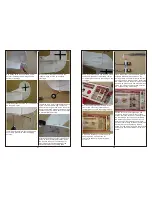
Pull the tubing through planking (in the
front of the servo tray) tight and use
instant glue to secure the tubing in place.
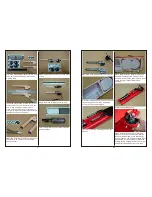
Drop some instant glue onto the servo
securing holes on servo tray for
reinforcing the securing ability when
screw in.
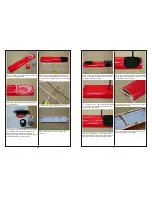
Place the servos, rod connectors, plastic
nuts and M3x4mm hex screws on the
working table. Use 2mm driller to drill the
out-most hole on the servo arm. Install the
rod connectors into the out-most hole and
secure with plastic nuts and M3x4mm hex
crews. Do screw too tight; make sure the
rod connector can move freely.
Set the servos at neutral position and
secure on the servo tray with provided
screws. Release the hex screw and insert
the rod through the rod connector. Keep
the distance between the end of the rod
and the end of the tubing around 15mm;
set the elevator align to the horizontal and
secure the rods by tightening the hex
screw. Set the rudder aligns to the vertical
and secure the rod by tightening the hex
screw.
P13.
¤
¤¦
«¦
¤
on the fuselage.

