1
2
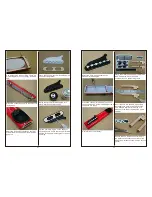
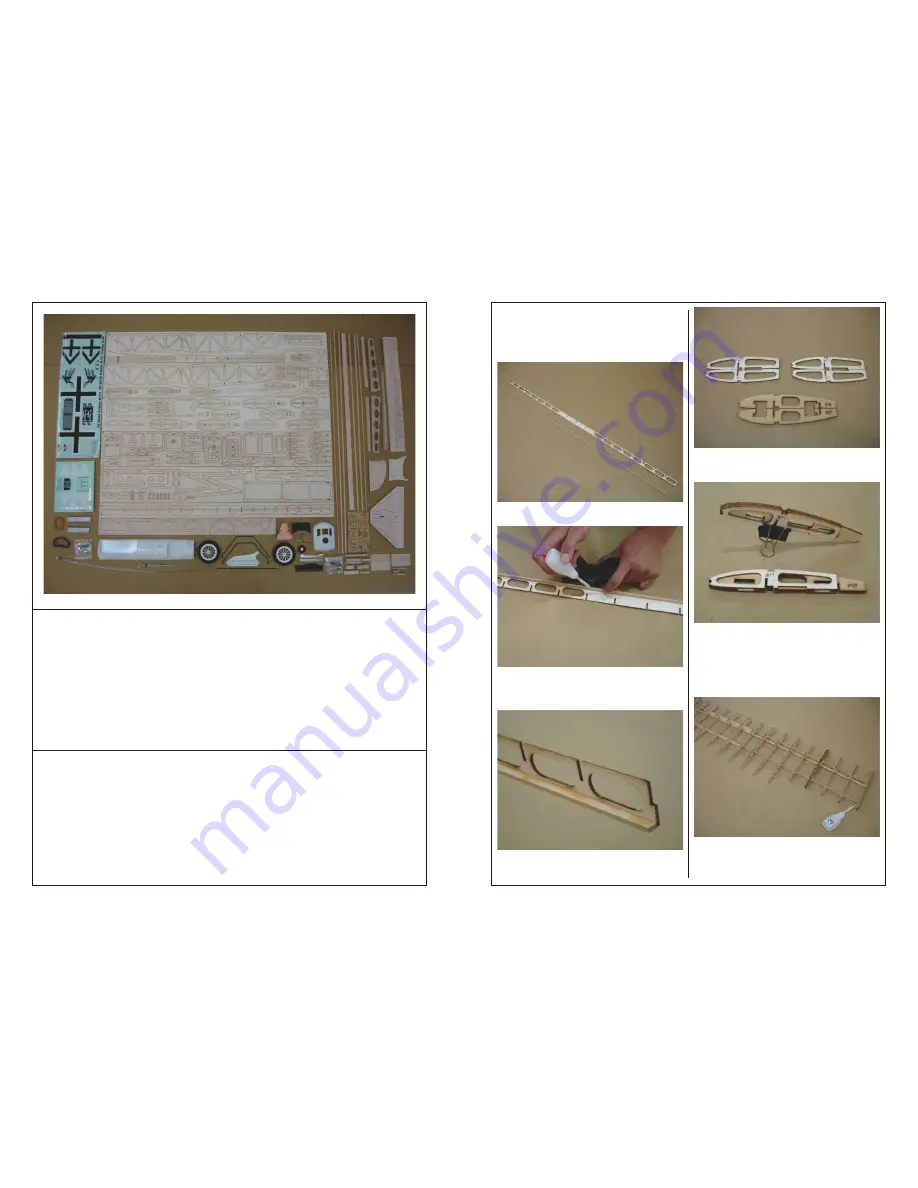
Contents of Kit / Parts Layout
Tools and suppliers needed (not included in kit):
1200mmx 400mm x 10mm flat surface planking / Triangle rule /
Straight aluminum ruler 1000mm / Clips / Heavy object (around 1 KG) / Tissue /
Double-side adhesive tape / Vernier scale / 10-12mm thickness planking /
Sanding paper #150, #200 / Planer tool / 2mm hand driller / Ironer /
Phillips screws driver #0/#1 / Curved scissors / Hobby knife / Hammer / Instant glue /
UHU glue / Epoxy 5-10 minutes / Marker / CA glue / Driller 1.5mm/2mm/2.6mm /
Transparent Tape / Masking tape / Paper / Black Spray Printing / Brush / Painting /
Z-bend pliers / Side-cut pliers / 1.5mm Hex wrench / Solder Iron / Pin /
Recommended radio and equipment (not included in kit):
6 channels radio x 1 piece
Receiver x 1 piece
16g servo x 4 pieces (metal gear with thrust 2.5KGS and up)
30cm extension x 2 pieces
Y-harness x1 pieces
Propeller: 12 x 612 X8APC
Motor: #600 800KV brushless; Thrust: 1.4 KGS and UP
Battery: Li-Po 3-4 cells2200mAh and up
ESC: 50A
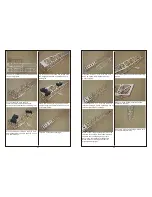
TOP MAIN WING ASSEMBLY
Recommendation:
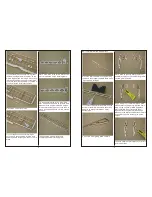
Try to find a flat surface planking (L:1200
mm; w:400mm) or glass as working table
for the following steps.
Place the W3 and W2 on the working table
and the slot part upward.
Try to place the 3mm wide of W3 on the
bottom of the W2. Use triangle ruler when
apply instant glue to secure the W3 on the
W2.
Close view after glue. The slot part must
be upward. The angle between W2 and
W3 is 90 degree.
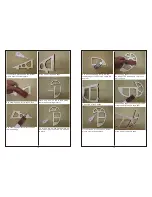
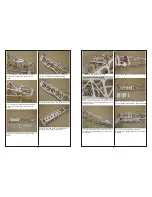
Try to find the 2 pieces of W11 and one
piece of W12 from the laser-cutting parts
bag and place them on the working table.
Apply UHU glue to secure the W11 on both
sides of W12. Use clip to hold them
together until the glue is dried enough.
Make sure the combination remain
aligned. Drop some instant glue on the
edges. Repeat the same steps for another
combination.
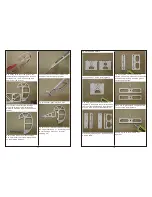
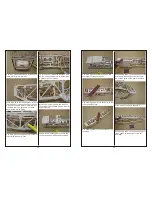
Refer to the assemble drawing; try to fit
the W2 and W4. Don't apply any glue on
them. Try to fit the W15 and drop very
small amount of instant glue on the joint

