55
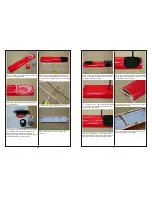
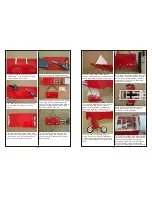
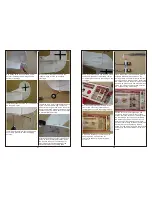
Place the CF tubes aluminum mount align
the holes on the top wing and secure it in
place with 2.6x8mm tapping screws.
Release the screws and drop instant glue
into the screw holes. Let dry and secure
the screws back again for reinforcement
the securing ability.
Connect the extension with Y-harness.
Leave some cables on both ends and
secure the cable on the CF tubes with
cable-tie. Use side-cutter to remove the
excess cable-tie. The length of the servo
cable must be enough to the exit hole; if
too short, please attach a extension.
The cable and plug outside the fuselage
can be put into the exit holes on the
fuselage and the top wing for neat looking.
(When disassemble the main wing set: 1)
Get the plug out the exit hole on the top
wing. 2) Release the tapping screws on
the CF tubes aluminum mount; remove
the aluminum mount and thread the
screws back to the top wing for avoiding
missing. 3) Release the screws on the
bottom wing. 4) Press the ends of the
struts and remove the strut out of the slots.
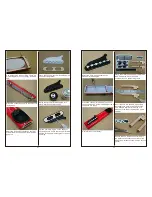
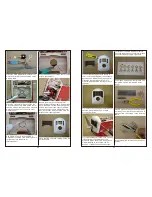
Use hand driller to drill 2mm holes on the
machine guns mounting slots.
Use hand driller to drill 2.6mm holes on
the engine mounting location.
56
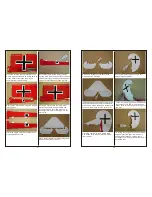
Use hand driller to drill 2.6mm holes on
the marking holes of the pilot seat.
Apply the instrument decal.
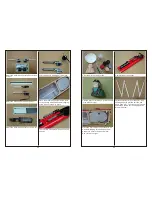
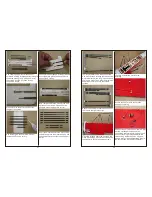
Use instant glue to secure the F37
planking onto the decorative plastic
engine, also drop small amount into the 3
screw holes.
Apply the silver decal on the decorative
engine.
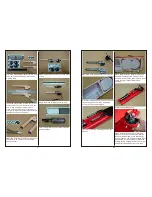
Locate the decorative engine onto the
canopy and secure it in place with 2.6x 8
mm tapping screws.
The top view of the canopy after
assembling.

