Grace Industries, Inc.
5
increase (or decrease) the motion sensing timer by 1 minute (15 minutes
maximum).
Pressing the MENU/PWR button navigates away from the Motion Sensing
page. Resetting the device exits out of Setup Mode and returns the Super-
CELL® to the home page.
With
Motion Sensing enabled
, the Motion Sensing Activation Icon
appears on the icon line of the SuperCELL® device’s home page,
accompanied by a countdown timer in the center of the page. The timer
indicates (in minutes and seconds) how much time of motionlessness
remains before the SuperCELL® enters alarm mode. Moving the Super-
CELL® resets the timer.
Approximately 12 seconds before the SupeCELL® enters alarm mode,
a pre-alert warning tone will sound
, alerting the user that the device will
enter alarm mode if it continues to remain motionless.
Upon entering
Alarm Mode, the SuperCELL® will sound a repeating alarm tone and
transmit alarm messages
.
Resetting the device exits Alarm Mode, returns device to home page,
and resets motion sensing timer.
Setup Mode Page 6 - Signal Lost Timer
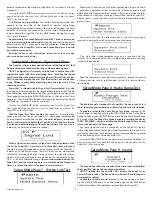
The Signal Lost Timer is intended to alert user of the SuperCELL® that
he has drifted out of the detection range of the monitoring base.
NOTE: The Signal Lost Timer may only be used in conjunction with
compatible Grace Industries monitoring bases. Enabling the Signal
Lost Timer without the proper monitoring base will result in the Super-
CELL®continually alerting the user that the device is out of detection
range. Without a compatible monitoring base, the Signal Lost Timer
should be disabled.
SuperCELL® is shipped with the Signal Lost Timer disabled.
To enable
the Signal Lost Timer and adjust the length of time the SuperCELL® can be
out of detection range before alerting the user, navigate to the Signal Lost
Timer page by pressing the MENU/PWR button. At the Signal Lost Timer
page, press the UP and DWN buttons to increase (or decrease) the Signal
Lost Timer by 1 minute (15 minutes maximum).
Pressing the MENU/PWR button navigates away from the Signal Lost
Timer page. Resetting the device exits out of Setup Mode and returns the
SuperCELL® to the home page.
With the Signal Lost Timer enabled
, the Signal Loss Activation Icon
appears on the icon line of the SuperCELL® home page, accompanied
by a countdown timer beside the icon.
The timer indicates (in minutes)
how much time remains before the SuperCELL® alerts the user that he
is no longer in detection range of the monitoring base
. With one minute
remaining, the timer counts down in seconds.
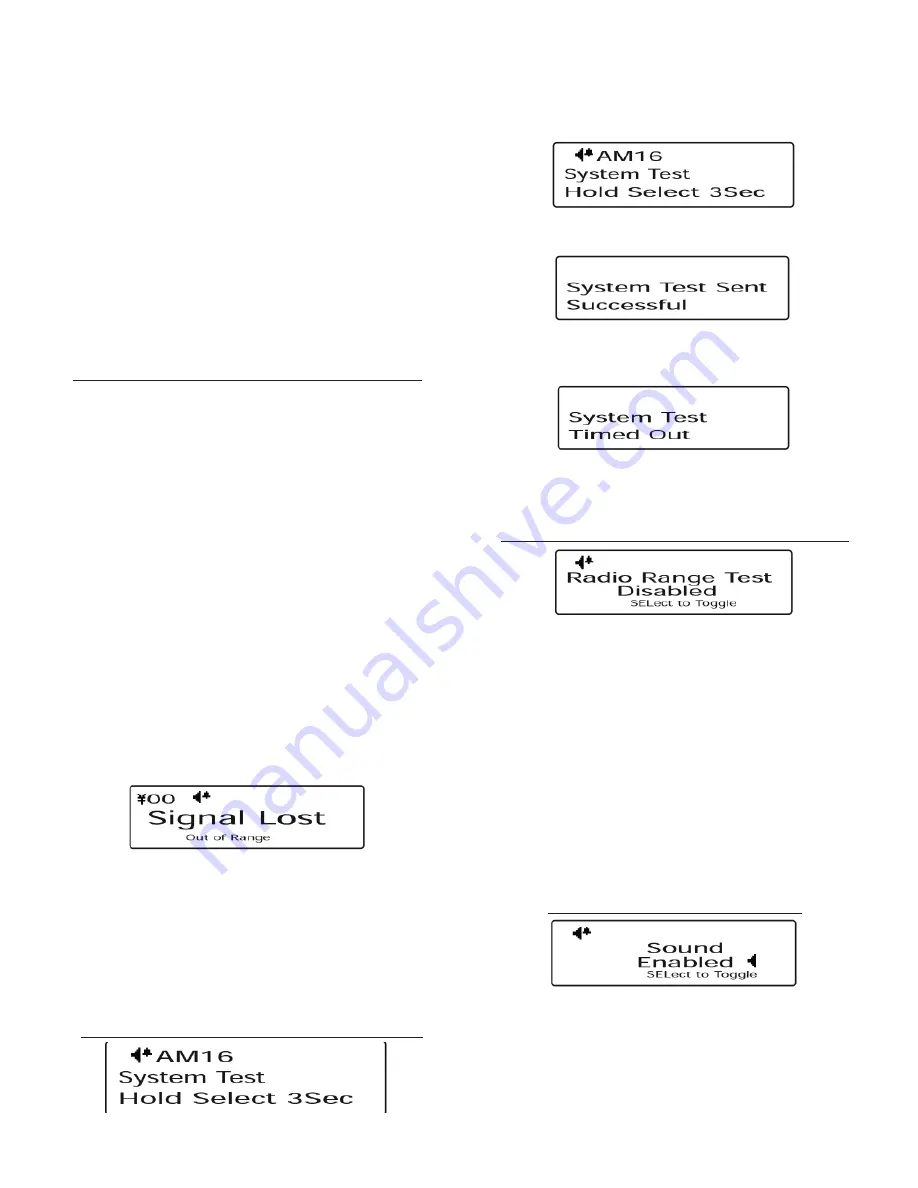
When a signal loss event occurs, Signal Lost will be displayed on the
screen, the SuperCELL® will vibrate, and three alert tones will sound.
The alert tones will be repeated every 30 seconds while the SuperCELL®
remains out of detection range. The alert tones can be momentarily
silenced by resetting the device. Doing so resets the signal lost timer,
which will now be displayed in reverse contrast to indicate the Super-
CELL® is still out of detection range.
Once communication between the
SuperCELL® and the monitoring base is re-established, the Signal Lost
Timer is reset and the timer is displayed in normal contrast.
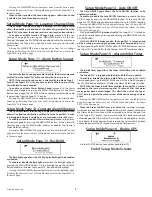
Setup Mode Page 7 - System Link Test
When used in conjunction with other compatible Grace Lone Work-
er products, a complete system test may be initiated by pressing and
holding the Select button for three seconds. After Select has been held for
three seconds a Link Query message is transmitted, and the SuperCELL®
display shows a round trip timer, used to measure the complete system
path test time:
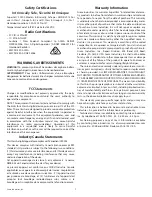
The display will show the following when a Link Status message is
received, in conjunction with a power-up sound sequence:
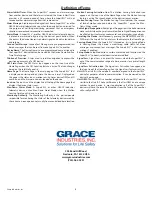
If no Link Status Acknowledgment message is received after fi ve
minutes, this will be indicated via a simple audio beep and a message
similar to the one below:
Note: The complete system path may contain items beyond the control
of Grace Industries, such as satellite delays. System Test times could vary
considerably.
Setup Mode Page 8 - Radio Range Test
The Radio Range Test mode of the SuperCELL® device is used to test
radio signal propagation during on-site testing and system installation.
To enable or disable the Radio Range Test mode
, proceed to the
Radio Range Test page by pressing the MENU/PWR button. On the Radio
Range Test page, press SEL/PWR button to enable or disable Radio Range
Test mode.
Once the Range Test Mode is enabled, resetting the device
IS NOT REQUIRED - doing so disables the Radio Range Test mode and
returns the device to the home page
.
Any radio signal that can be monitored by the SuperCELL® (and is
within the device’s detection range) will be displayed on the screen as it is
received by the device. Each received signal is accompanied by an audio
chirp and blinking of the Operation Status LED.
Pressing the MENU/PWR button navigates away from the Radio Range Test
page. Resetting the device disables Radio Range Test mode and returns the
SuperCELL® to the home page.
Setup Mode Page 9 - Sound
The Sound page allows the majority of the audio tones emitted from
the SuperCELL® device to be enabled or disabled.
NOTE
: Disabling the Sound DOES NOT disable the Power On or
Power Off audio tones. The Power On and Power Off audio tones are
permanently enabled.
To enable or disable Sound
, proceed to the Sound page by press-
ing the MENU/PWR button. At on the Sound page, the SEL/PWR button
enables (or disables) the audio tones emitted from the SuperCELL®.

