13
INSTALLING AND WRAPPING ABRASIVES
Accurate attachment of the abrasive strip to the drum is critical to achieving the top performance from your Su-
perMax Tools 19-38 drum sander.
WRAPPING ABRASIVES
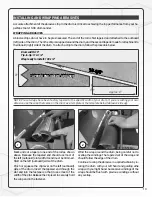
Abrasive strips do not have to be pre-measured. The end of the roll is first tapered and attached to the outboard
(left) side of the drum. Then the strip is wrapped around the drum, and the second taper is made for attachment to
the inboard (right) side of the drum. To attach a strip to the drum, follow the procedure below.
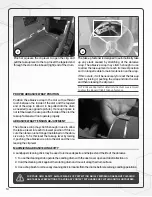
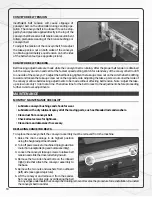
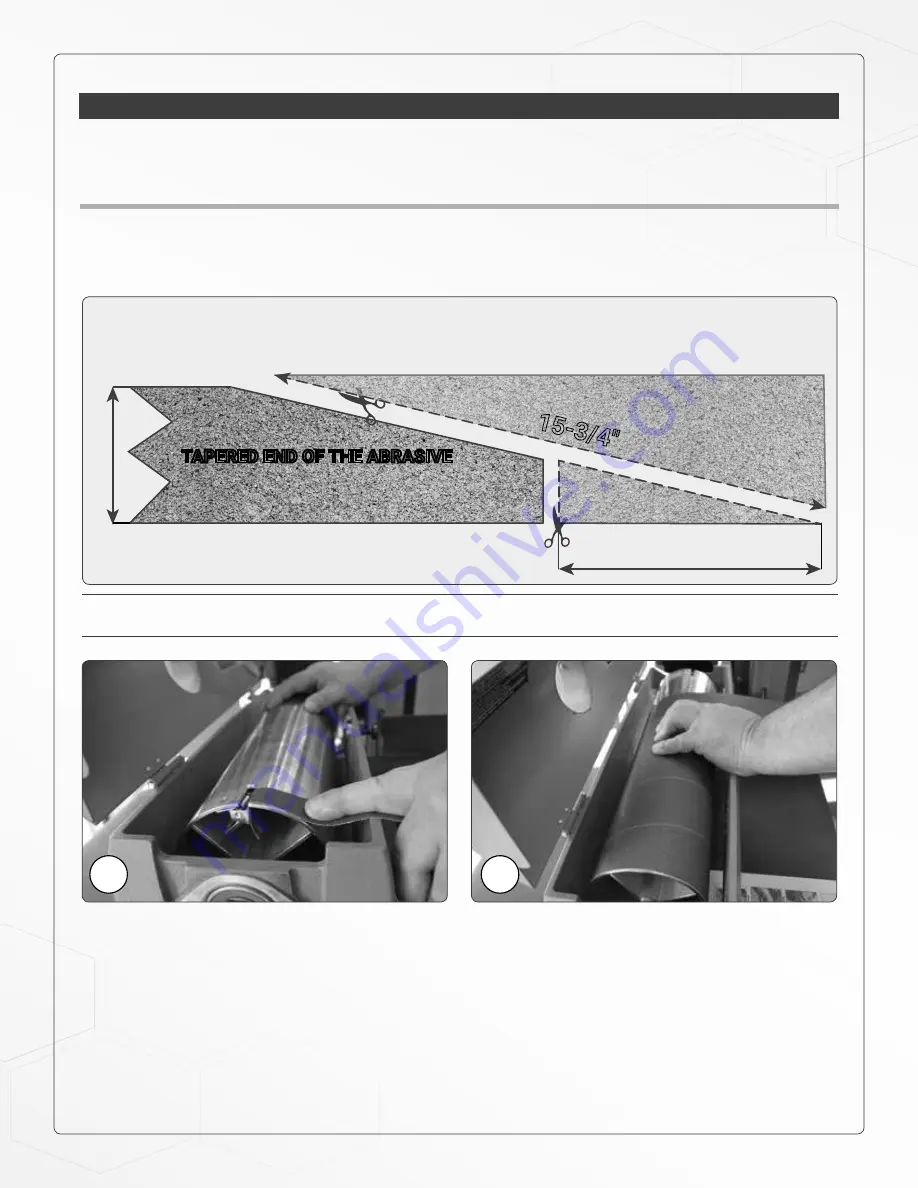
Mark and cut a taper at one end of the roll as shown
above. Because the tapered end should use most of
the left (outboard) slot width, its end must be trimmed.
Start on the left (outboard) side of the drum.
Pinch or squeeze the clip lever on the left (outboard)
side of the drum. Insert the tapered end through the
slot and into the fastener so that it uses most of the
width of the slot. Release the clip lever to securely hold
the wrap end in the fastener.
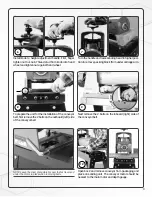
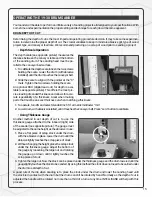
Wind the wrap around the drum, being careful not to
overlap the windings. The tapered cut of the wrap end
should follow the edge of the drum.
Continue to wrap the abrasive in a spiral fashion by ro-
tating the drum with your left hand and guiding athe
wrap with your right hand. Successive windings of the
wrap should be flush with previous windings without
any overlap.
NOTE: Pre-cut wraps have been factory tapered to the specific width of your drum. If you are cutting your own
abrasive, use the wrap that came on the drum as a template or the template below (abrasive side up).
Approx. 3’’
Bande abrasive (côté abrasif vers le haut)
3’’
15-3/4
"
TAPERED END OF THE ABRASIVE
1
2
Drum width: 19"
Tip-to-tip: 114-1/2"
Wrap ready to install: 108-1/2"


