Chapter 6: Advanced Chassis Setup
6-15
6-14
S
UPER
S
TORAGE
S
YSTEM 6048R-E1CR60N/L User's Manual
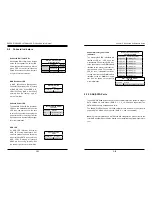
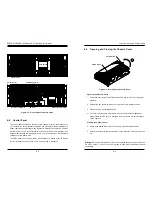
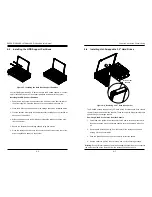
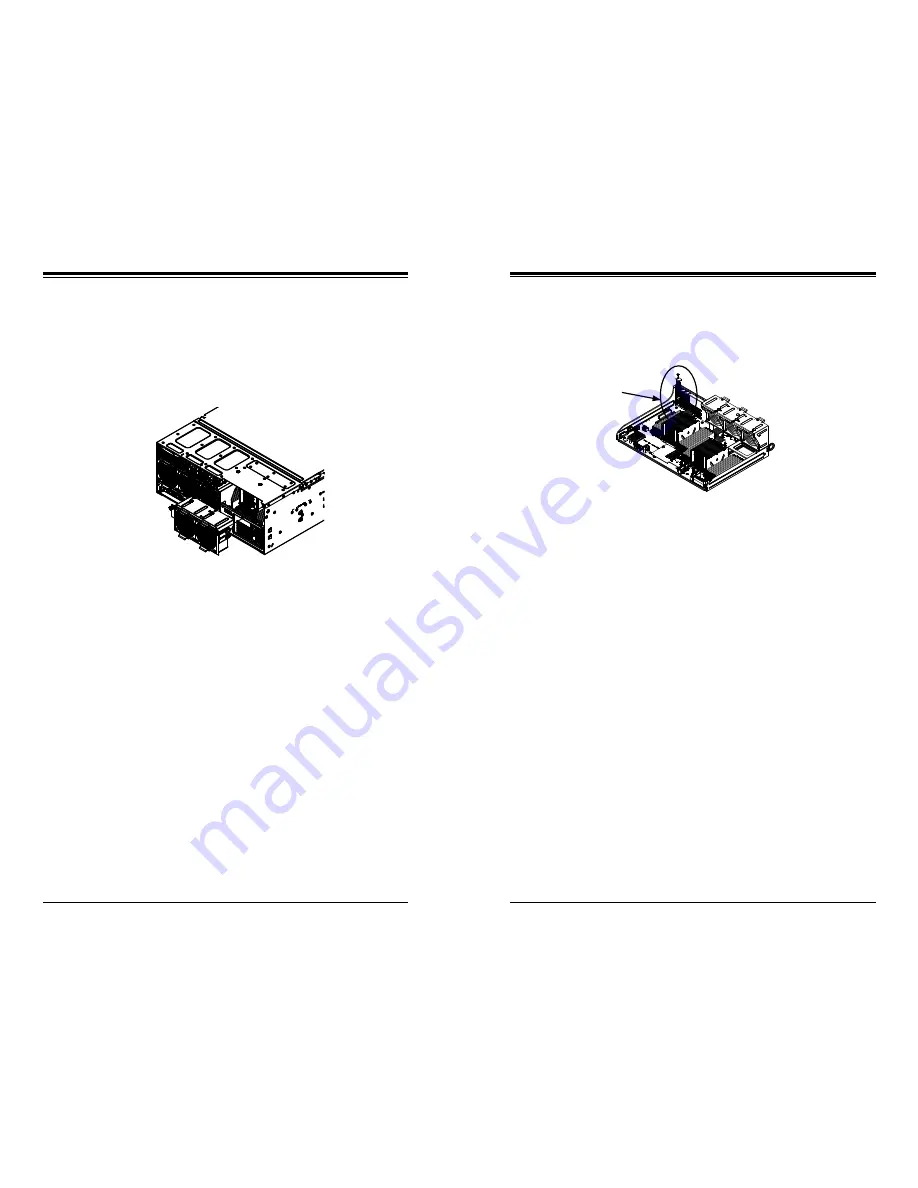
Figure 6-16. Accessing Expansion Card Slots Through the Dual Fan Bay
Accessing the Motherboard
1. Power down the system and disconnect the AC power cords from the power
supplies.
2. Simultaneously press the upper and lower release latches on the dual fan
module and pull it off the rear of the chassis.
3. Open the top cover by releasing the two thumb screws on the right side of the
chassis and lifting the cover up.
4. Carefully reach into the chassis through the dual fan bay and the top cover.
5. Gently remove and replace the desired components on the motherboard.
6. Return the dual fan module to the rear bay, close the top cover, tighten the
thumbscrews on the cover, plug the power cords into the power supplies and
power up the system.
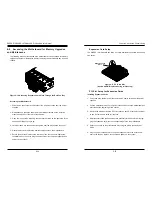
6-9 Accessing the Motherboard for Memory Upgrades
and Maintenance
The following access method allows the motherboard to be accessed for memory
upgrades and other maintenance without removing the motherboard tray from the
chassis.
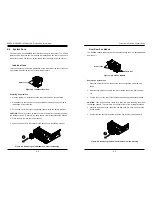
Expansion Card Setup
The motherboard has three PCI slots available to populate with expan-
sion cards..
Figure 6-17. PCI Card Slot
(Shown with MB removed during initial setup)
PCI Slot Setup for Expansion Cards
Installing Expansion Cards
1. Power down the system and disconnect the AC power cords from the power
supplies.
2. Pull the motherboard tray out only two inches and access the motherboard as
described at the beginning of this section
.
3. Remove the screw holding the PCI slot cover on each PCI card slot you want
to use. Set this screw aside for later use.
4. Simultaneously slide the expansion card bracket into the PCI slot while plug-
ging the expansion card into the corresponding slot on the motherboard.
5. Secure each card to the motherboard tray using the screw previously set
aside.
6. Plug the power cords back into the power supplies, return the dual fan mo-
duel to the fan bay, replace the covers and power up the system.
Expansion Card
Slots
Summary of Contents for 6048R-E1CR60L
Page 1: ...SUPER STORAGE SYSTEM 6048R E1CR60N 6048R E1CR60L USER S MANUAL 1 0 ...
Page 6: ...Notes SUPERSTORAGESYSTEM 6048R E1CR60N L User s Manual x ...
Page 10: ...1 6 SUPERSTORAGESYSTEM 6048R E1CR60N L User s Manual Notes ...
Page 30: ...4 20 SUPERSTORAGESYSTEM 6048R E1CR60N L User s Manual Notes ...
Page 56: ...6 22 SUPERSTORAGESYSTEM 6048R E1CR60N L User s Manual Notes ...
Page 77: ...7 40 SUPERSTORAGESYSTEM 6048R E1CR60N L User s Manual Notes ...
Page 79: ...A 2 SUPERSTORAGESYSTEM 6048R E1CR60N L User s Manual Notes ...


