H12SSFF-AN6 User's Manual
44
No Video
1. Check that the VGA cable is connected properly, and the monitor is on.
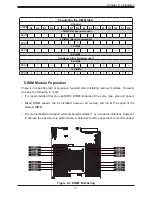
2. Make sure you followed the guidelines to install memory (see
DIMM Module Population
in chapter 2).
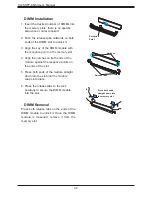
3. Reseat the DIMM modules
Note:
If you are a system integrator, VAR or OEM, a POST diagnostics card is recommended.
System Boot Failure
If the system does not display POST (Power-On-Self-Test) or does not respond after the
power is turned on, check the following:
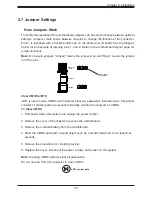
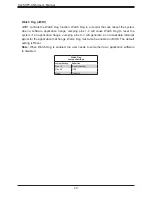
1. Clear the CMOS settings by unplugging the power cord and contacting both pads on the
CMOS Clear Jumper (JBT1). See Section 2.8 for details.
2. Remove all components from the motherboard, especially the DIMM modules.
3. Turn on the system with only one DIMM module installed. If the system boots, check for
bad DIMM modules or slots by following the Memory Errors Troubleshooting procedure
in this chapter.
Memory Errors
1. Make sure that the DIMM modules are properly and fully installed.
2.
Confirm that you are using the correct memory. Also, it is recommended that you use
the same memory type and speed for all DIMMs in the system. See Section 2.4 for
memory details.
3. Check for bad DIMM modules or slots by swapping modules between slots and noting
the results.
When the System Loses its Setup Configuration
1.
Make sure that you are using a qualified power supply. An unqualified power supply may
cause the system to lose the CMOS setup information. Refer to Section 1.6 for details
on recommended power supplies.
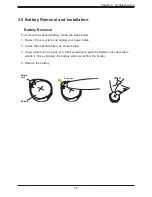
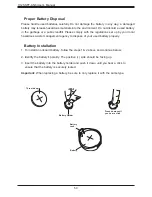
2. The battery on your motherboard may be old. Check to verify that it still supplies
~3VDC. If it does not, replace it with a new one.
3.
If the above steps do not fix the setup configuration problem, contact your vendor for
repairs.


