19
Chapter 2: Server Installation
2.4 Installing the Enclosure
There are a variety of rack units on the market, which may require a slightly different assembly
procedure. Also see the instructions that came with the rails. This rail set fits a rack between
28.5 and 33.7 inch depth.
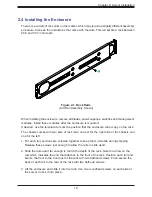
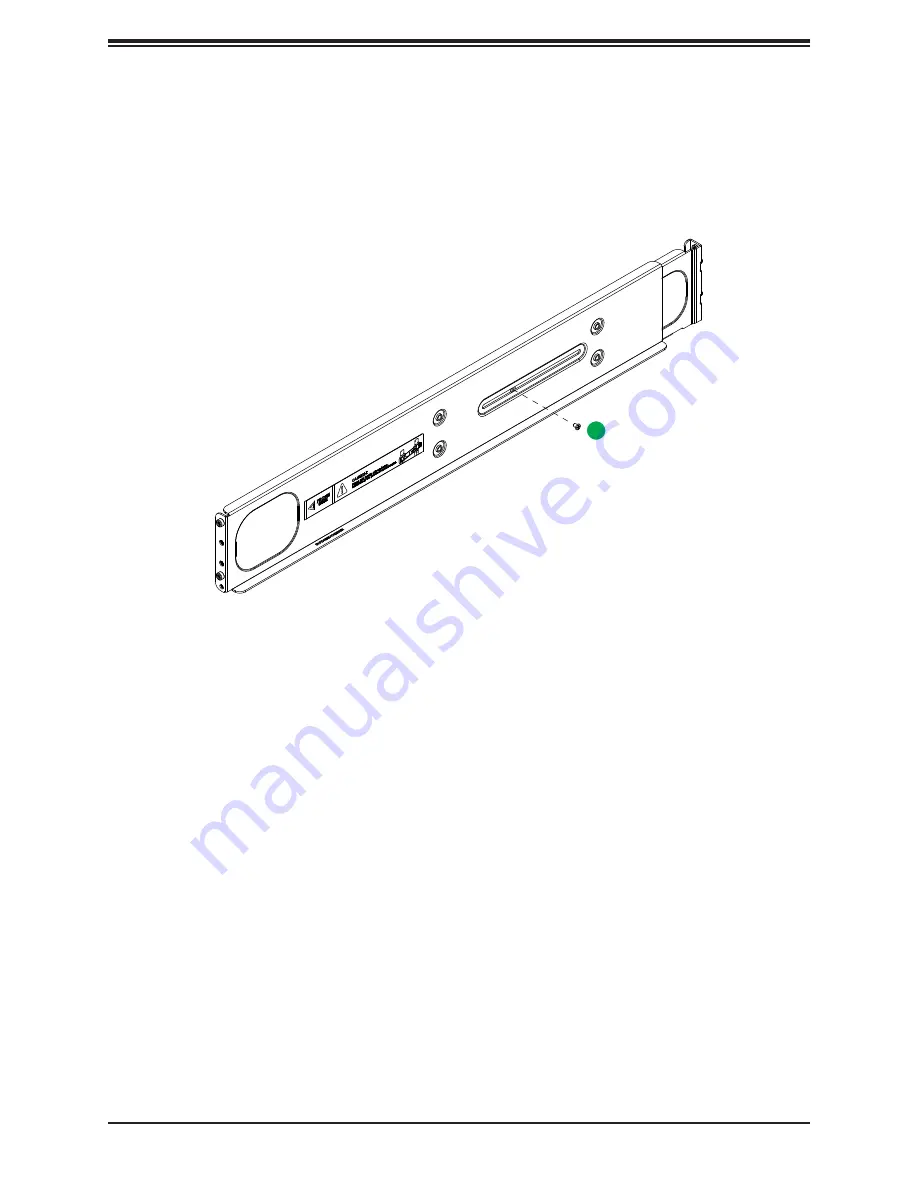
Figure 2-1. Rack Rails
(Left Rail Assembly Shown)
When installing the enclosure, remove all blades, power supplies, switches and management
modules. Install these modules after the enclosure is mounted.
If desired, use the template to mark the position that the enclosure will occupy on the rack.
The chassis comes with two sets of rack rails, one set for the right side of the chassis and
one for the left.
1.
For each rail, sections are screwed together to keep them immobile during shipping.
Release these screws just enough to allow the rails to slide apart.
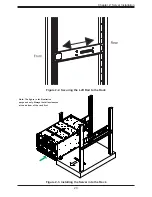
2. Slide the rails apart far enough to match the depth of the rack. Note the arrow on the
rail, which indicates the end that attaches to the front of the rack. Position each rail and
secure the front to the front post of the rack with two flathead screws. Then secure the
back of each rail to the rear of the rack with two flathead screws .
3.
Lift the enclosure and slide it into the rack. Use two roundhead screws on each side of
the server to lock it into place.
1

