

SC809 Chassis Manual
5-4
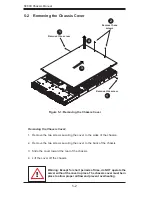
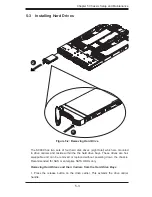
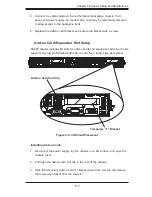
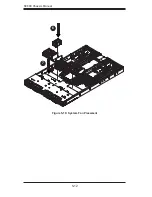
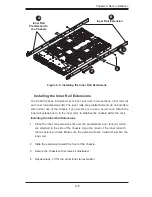
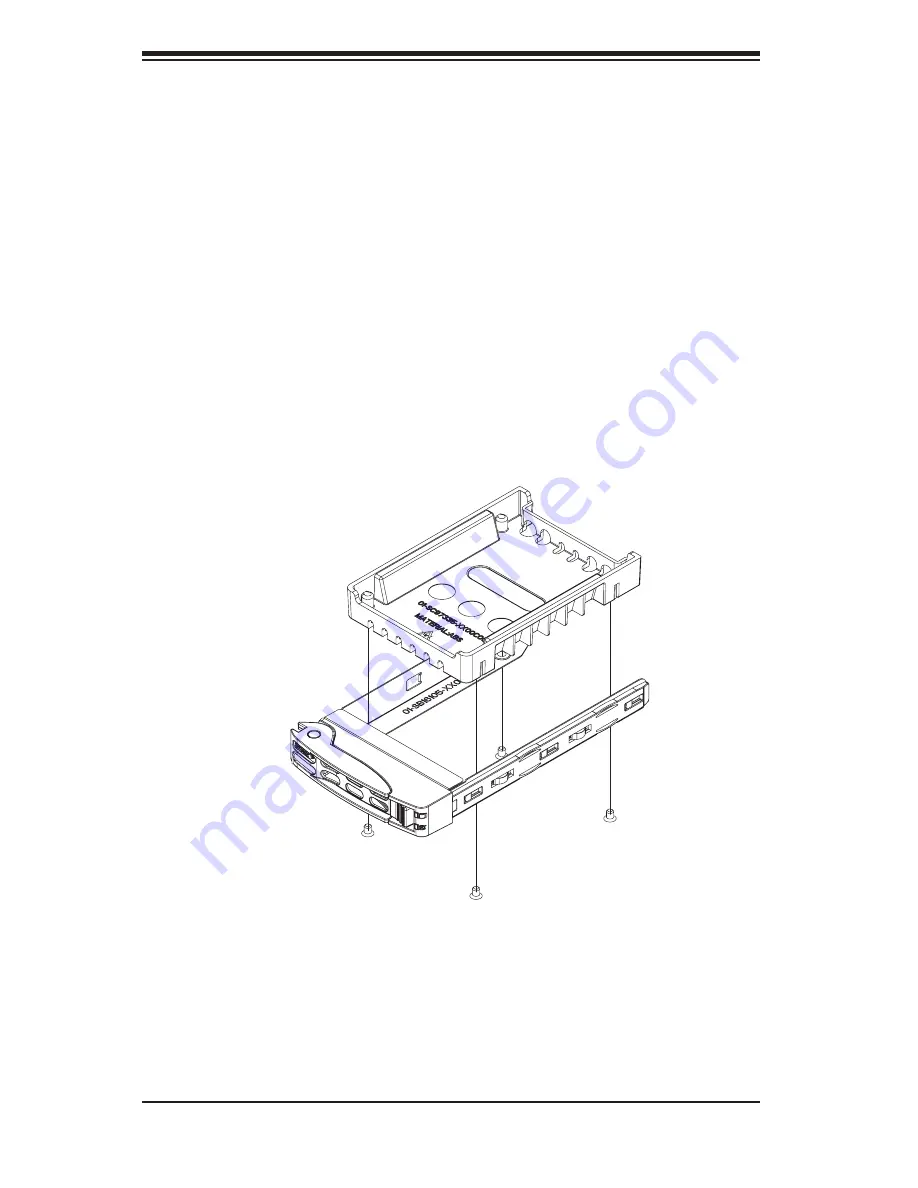
Figure 5-3: Removing Dummy Drive from Tray
2. Use the handle to pull the drive and its carrier out of the chassis.
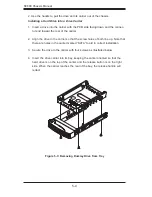
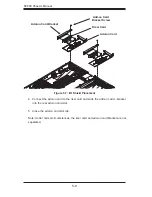
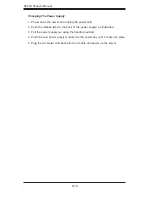
Installing a Hard Drive into a Drive Carrier
Insert a drive into the carrier with the PCB side facing down and the connec-
1.
tor end toward the rear of the carrier.
Align the drive in the carrier so that the screw holes of both line up. Note that
2.
there are holes in the carrier marked “SATA” to aid in correct installation.
Secure the drive to the carrier with four screws as illustrated below.
3.
Insert the drive carrier into its bay, keeping the carrier oriented so that the
4.
hard drive is on the top of the carrier and the release button is on the right
side. When the carrier reaches the rear of the bay, the release handle will
retract.
Summary of Contents for SC809T-780B
Page 1: ...SC809 Chassis Series USER S MANUAL 1 0a SC809LT 780B SC809T 780B SC809T 980B SUPER ...
Page 8: ...SC809 Chassis Manual viii Notes ...
Page 12: ...SC809 Chassis Manual 1 4 Notes ...
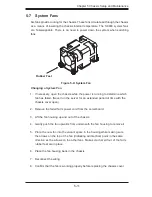
Page 34: ...SC809 Chassis Manual 5 12 Figure 5 10 System Fan Placement 6 7 ...
Page 44: ...SC809 Chassis Manual 6 8 Notes ...
Page 50: ...SC809 Chassis Manual B 2 Notes ...
Page 59: ...C 9 Appendix C SAS 809T TQ Backplane Specifications Notes ...


