

SC809 Chassis Manual
5-6
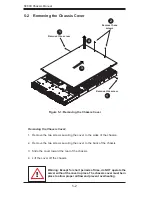
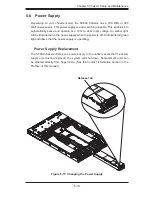
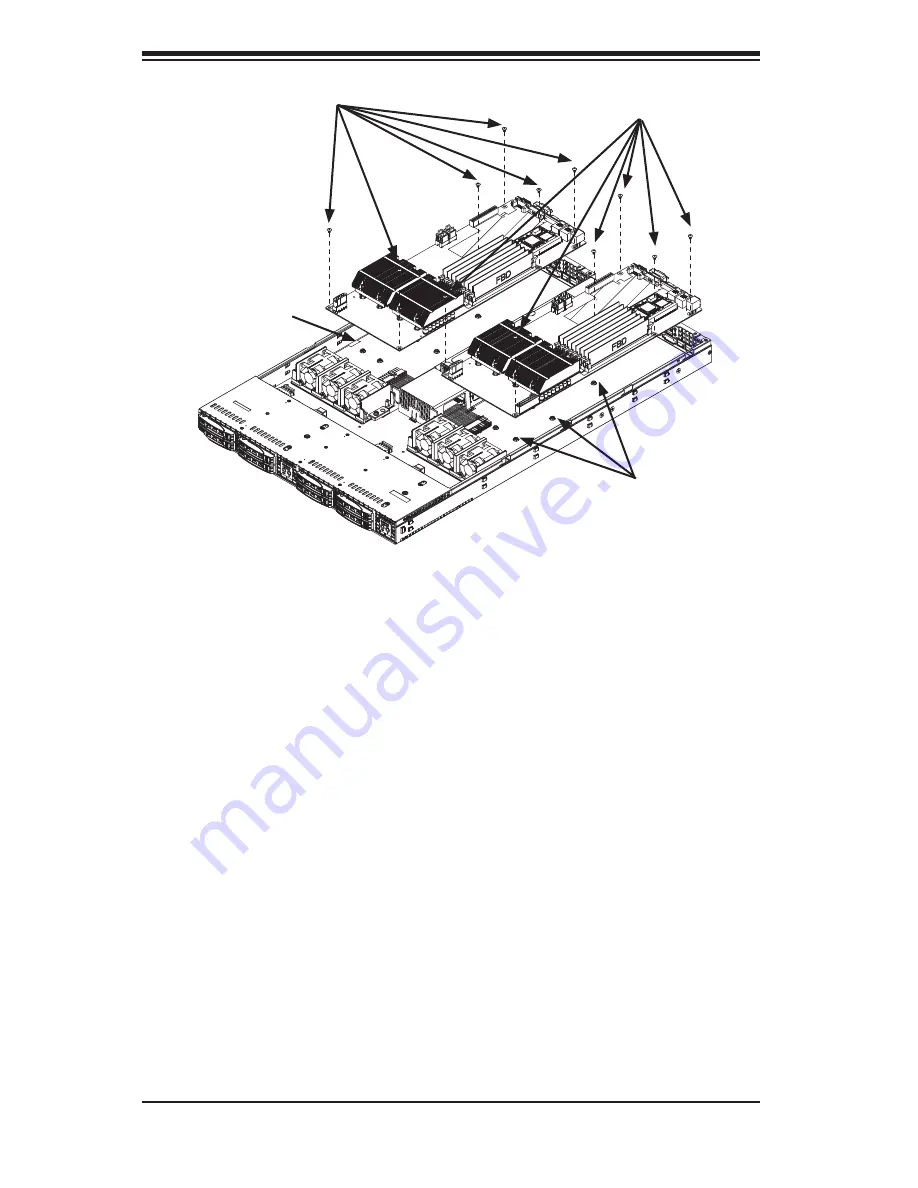
Remove six screws
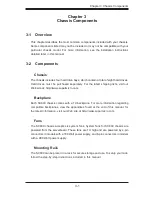
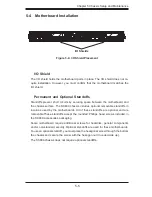
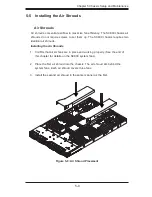
Installing the Motherboards
Installing Motherboards
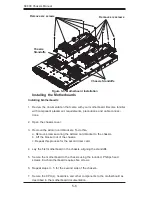
Review the documentation that came with your motherboard. Become familiar
1.
with component placement, requirements, precautions, and cable connec-
tions.
Open the chassis cover.
2.
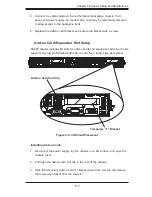
Remove the add-on card brackets. To do this-
3.
a. Remove screw securing the add-on card bracket to the chassis.
b. Lift the bracket out of the chassis.
c. Repeat this process for the second riser card.
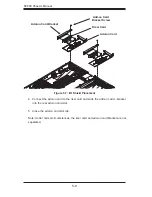
Lay the first motherboard in the chassis, aligning the standoffs
4.
Secure the motherboard to the chassis using the rounded, Phillips head
5.
screws. Each motherboard requires five screws.
Repeat steps 3 - 5 for the second side of the chassis.
6.
Secure the CPU(s), heatsinks, and other components to the motherboard as
7.
described in the motherboard documentation.
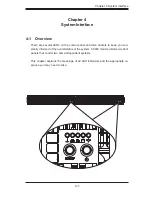
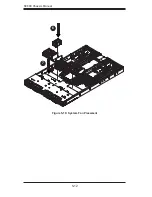
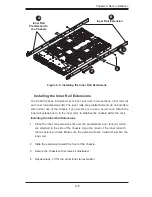
Figure 5-5: Motherboard Installation
Remove six screws
Chassis Standoffs
Chassis
Standoffs
Summary of Contents for SC809T-780B
Page 1: ...SC809 Chassis Series USER S MANUAL 1 0a SC809LT 780B SC809T 780B SC809T 980B SUPER ...
Page 8: ...SC809 Chassis Manual viii Notes ...
Page 12: ...SC809 Chassis Manual 1 4 Notes ...
Page 34: ...SC809 Chassis Manual 5 12 Figure 5 10 System Fan Placement 6 7 ...
Page 44: ...SC809 Chassis Manual 6 8 Notes ...
Page 50: ...SC809 Chassis Manual B 2 Notes ...
Page 59: ...C 9 Appendix C SAS 809T TQ Backplane Specifications Notes ...


