SC815 Chassis Manual
5-6
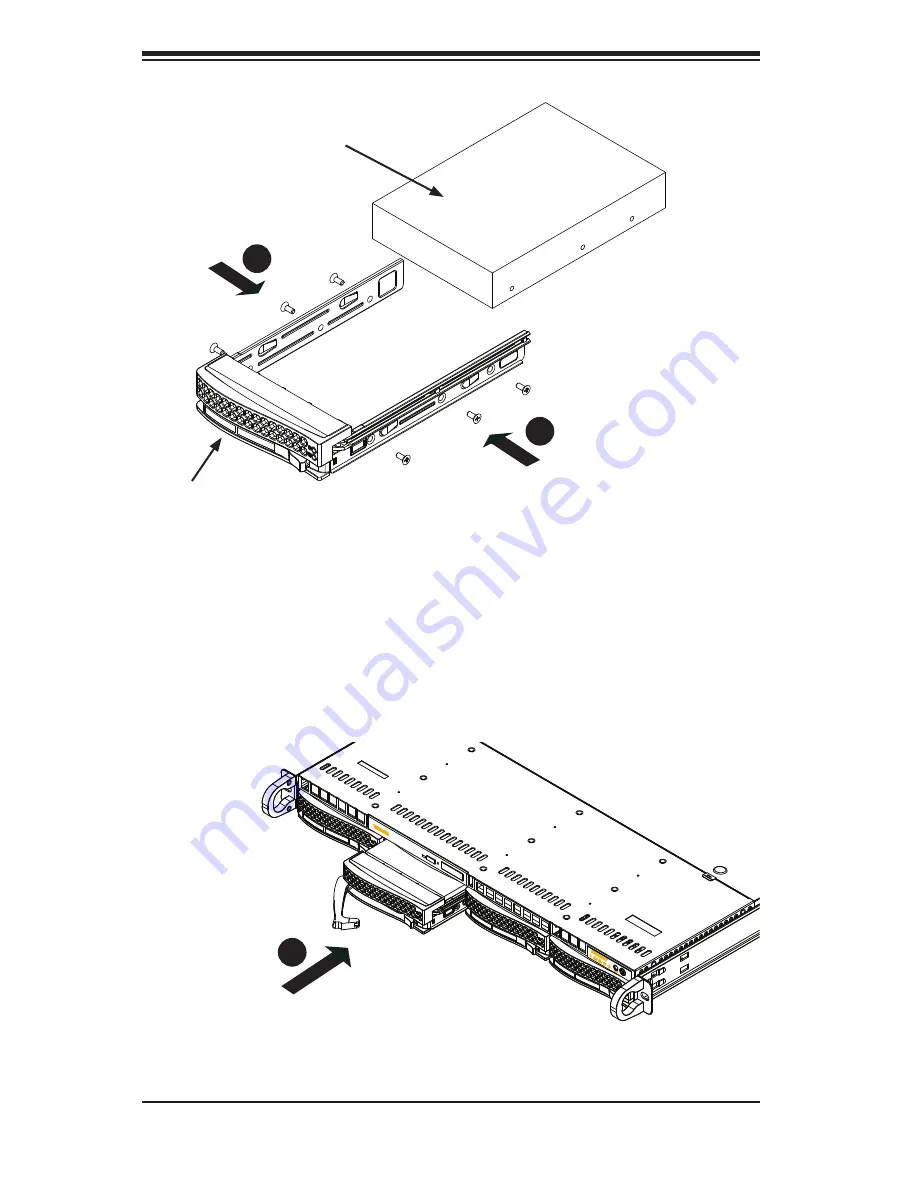
Install a new drive into the carrier with the printed circuit board side facing
down so that the mounting holes align with those in the carrier.
Secure the hard drive by tightening all six (6) screws.
Replace the drive tray into the chassis. Make sure the close the drive tray
handle.
3.
4.
5.
Drive Tray
SAS/SATA or SCSI
Hard Drive
Figure 5-6: Removing Hard Drive
Figure 5-7: Removing Hard Drive
4
4
5
Summary of Contents for SC815S-560B
Page 8: ...SC815 Chassis Manual viii Notes ...
Page 14: ...SC815 Chassis Manual 1 6 Notes ...
Page 28: ...SC815 Chassis Manual 4 8 Notes ...
Page 46: ...SC815 Chassis Manual 5 18 Notes ...
Page 56: ...SC815 Chassis Manual 6 10 Notes ...
Page 62: ...SC815 Chassis Manual A 6 Notes ...


