4-21
Chapter 4: Chassis Setup and Maintenance
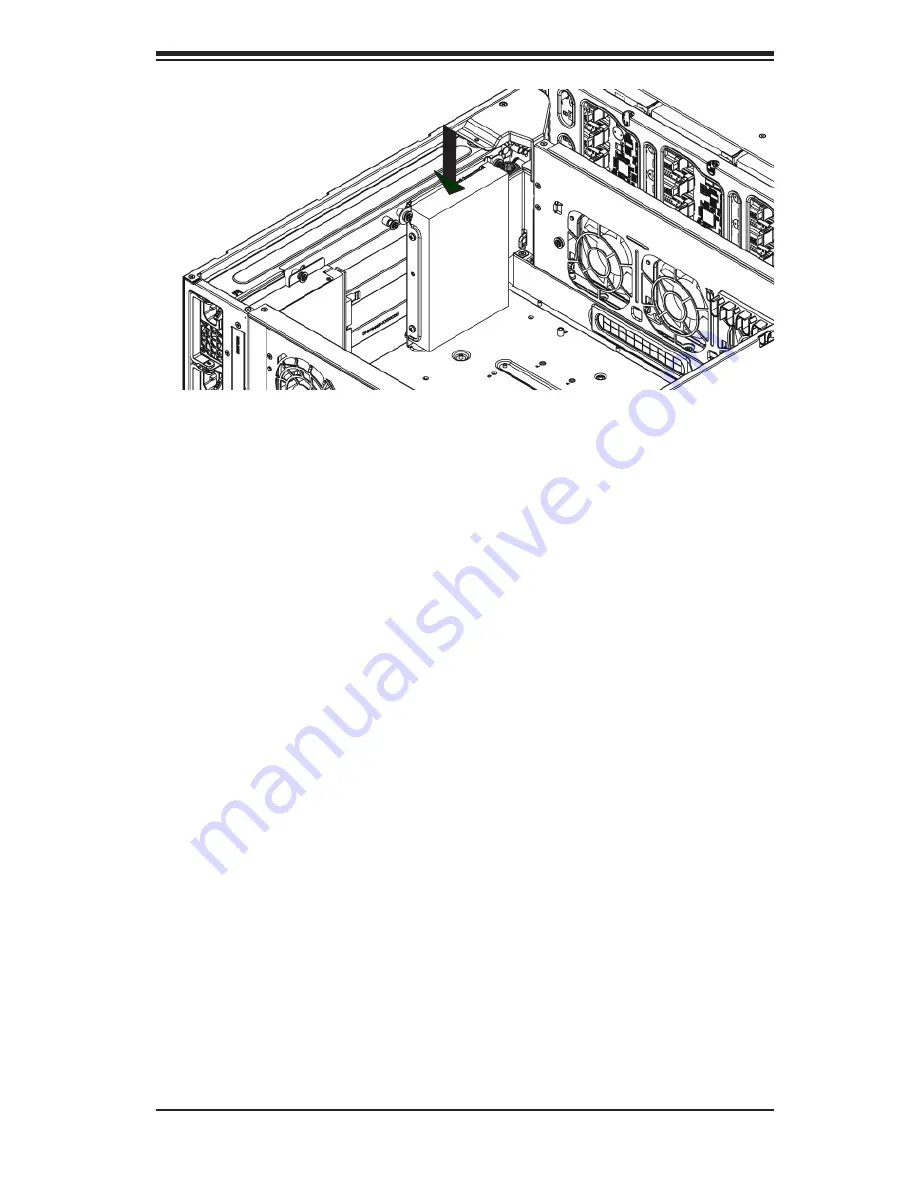
Figure 4-24: Replacement Drive and Tray Installed in the Chassis
Note the locations of the CD-ROM and DVD-ROM and the space for floppy
drives in the beginning of this section. Determine which configuration option
to use in the chassis before continuing.
Installing the Hard Drive
Carefully remove the drive from the HDD tray.
1.
If necessary, also unscrew the four screws and mylar washers holding the
2.
drive tray to the chassis, and set them aside for later use when mounting the
replacement HDD tray.
Remove the drive tray from the chassis.
3.
Install the replacement HDD into the replacement drive tray using the four
4.
screws previously set aside.
Lower the replacement drive and tray into the chassis, carefully aligning the
5.
thru holes in the drive tray with the holes in the chassis.
Using the four drive tray screws previously put aside, install the replacement
6.
drive and drive tray into the chassis.


