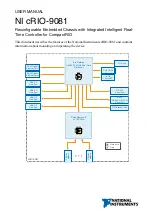


4-19
Chapter 4: Chassis Setup and Maintenance
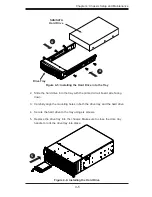
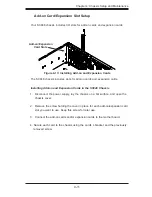
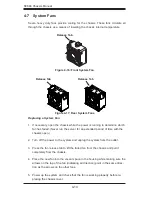
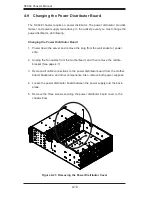
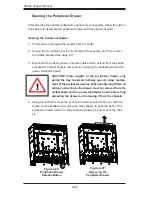
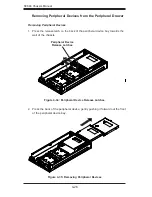
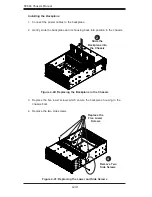
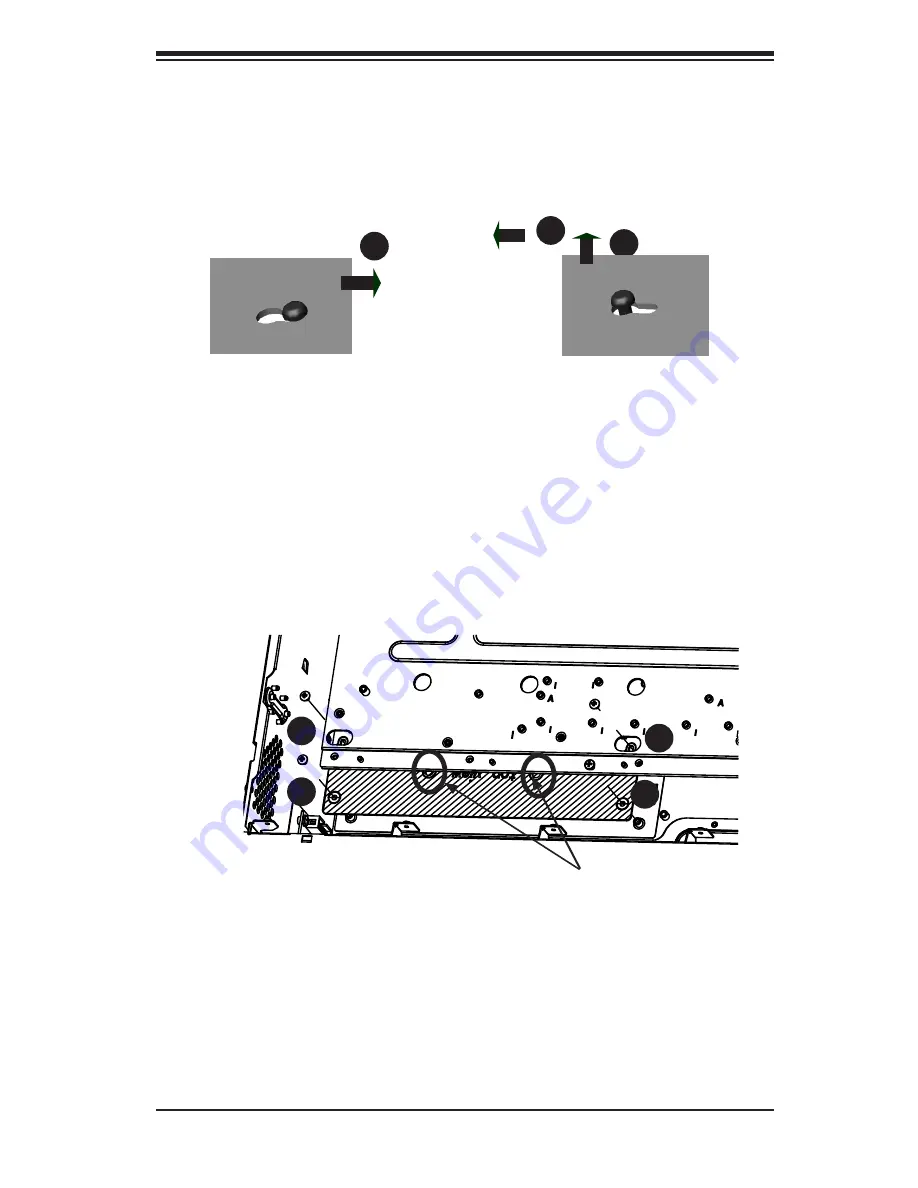
Remove the four screws securing the power distributor board to the housing.
6.
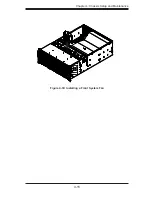
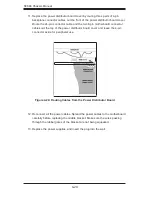
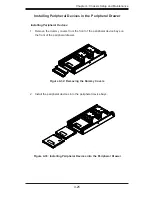
Gently push the power distributor board backward from the locked position
7.
(7A), lift it upwards (7B), then pull it forwards to remove it from the chassis
(7C).
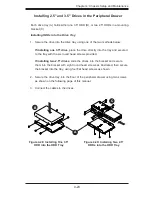
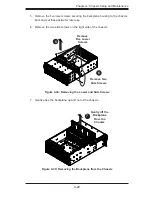
Slide the new power distributor board into the chassis, match the thru holes
8.
to the pins in the floor of the chassis, lower the board over the pins then slide
it forward into the locked position.
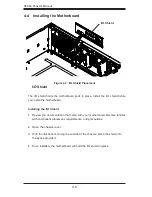
Align the holes of the power distributor board wth standoffs in the chassis.
9.
Note that two of these holes are slotted thru holes designed to allow for the
board to be adjusted.
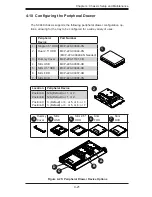
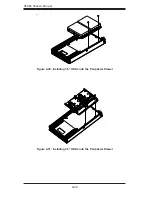
Secure the board to the chassis following the lettered A,B,C,D sequence
10.
shown below.
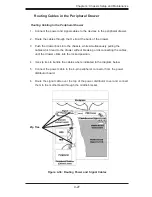
Figure 4-23: Power Distributor Board Fastener Sequence
1
A
1
B
1
7A
1
7C
1
7B
1
C
1
D
Power Distributor
Board Pins
Figure 4-22: Lifting the Power Distributor Board off the Pins
Summary of Contents for SC848A-R1800B
Page 1: ...SC848 CHASSIS SERIES USER S MANUAL 1 0a SUPER SC848A R1800B ...
Page 8: ...SC848 Chassis Manual viii Notes ...
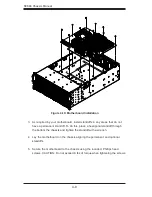
Page 35: ...4 15 Chapter 4 Chassis Setup and Maintenance Figure 4 18 Installing a Front System Fan ...
Page 52: ...SC848 Chassis Manual 4 32 Notes ...
Page 62: ...SC848 Chassis Manual 5 10 Notes ...