


SC936 Chassis Manual
4-4
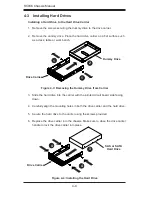
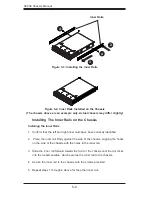
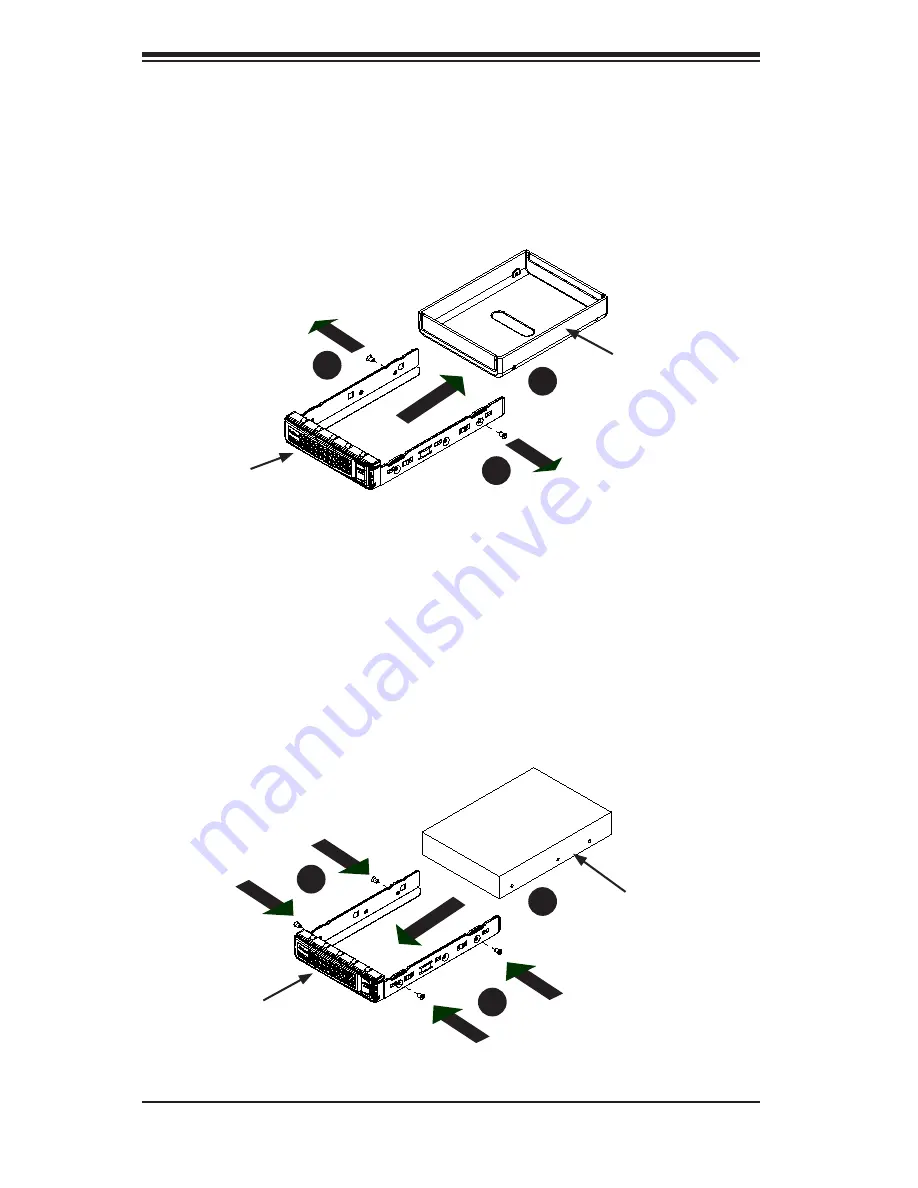
Slide the hard drive into the carrier with the printed circuit board side facing
3.
down.
Carefully align the mounting holes in both the drive carrier and the hard drive.
4.
Secure the hard drive to the carrier using the screws provided.
5.
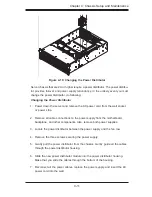
Replace the drive carrier into the chassis. Make sure to close the drive carrier
6.
handle to lock the drive carrier into place.
Drive Carrier
SAS or SATA
Hard Drive
Figure 4-4: Installing the Hard Drive
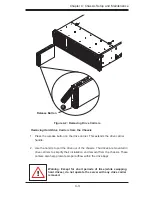
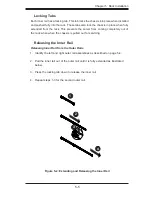
Installing a Hard Drive to the Hard Drive Carrier
Remove the screws securing the dummy drive to the drive carrier.
1.
Remove the dummy drive. Place the hard drive carrier on a flat surface such
2.
as a desk, table or work bench.
4
Figure 4-3: Removing the Dummy Drive from Carrier
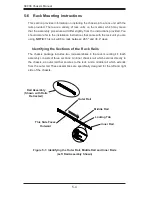
4-3 Installing Hard Drives
Drive Carrier
Dummy Drive
1
1
2
3
4
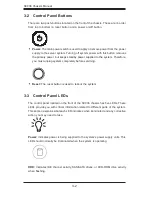
Summary of Contents for Supero SC936 Series
Page 18: ...SC936 Chassis Manual 3 4 Notes ...
Page 30: ...SC936 Chassis Manual 4 12 Notes ...
Page 40: ...SC936 Chassis Manual 5 10 Notes ...


