Chapter 5: Advanced Serverboard Setup
5-5
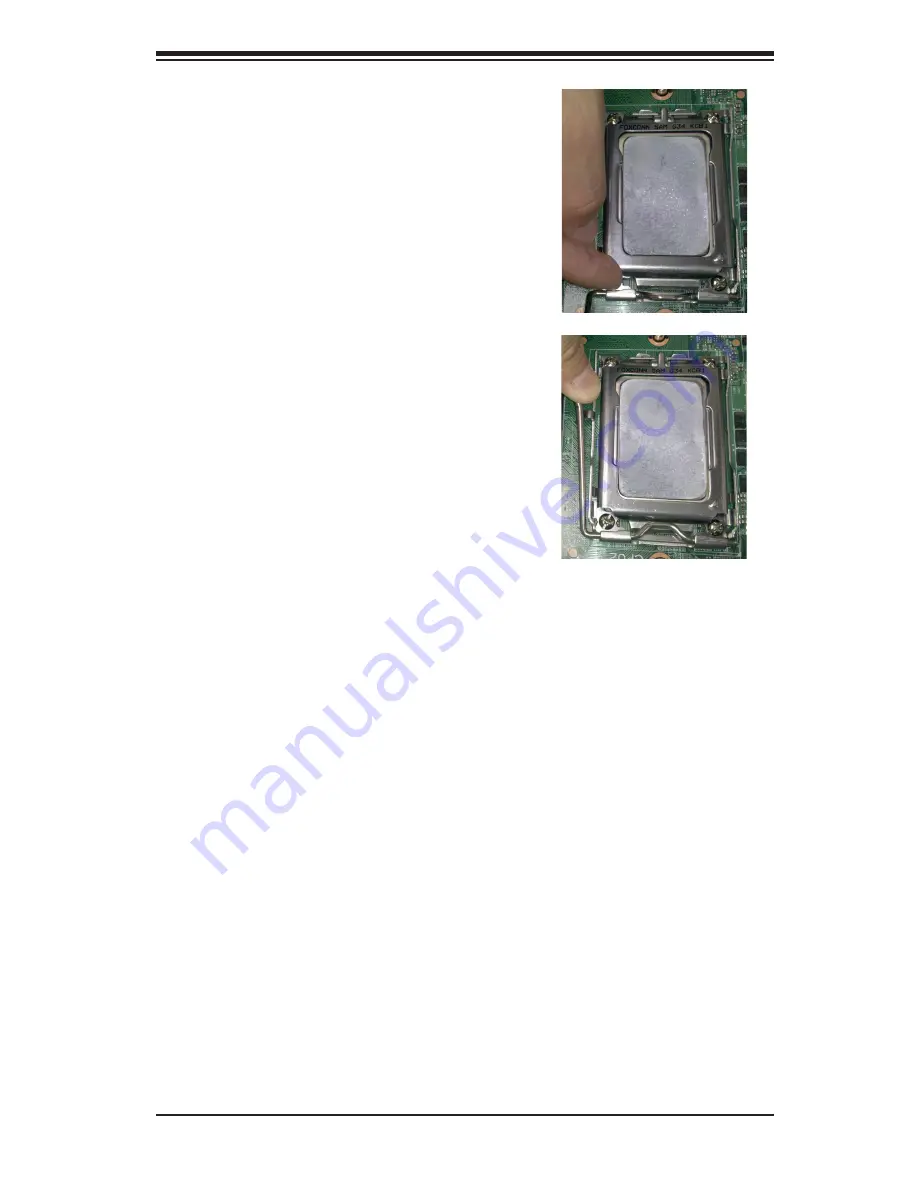
5. With the CPU inserted into the socket,
inspect the four corners of the CPU to
make sure that it is properly installed
and flush with the socket. Then, gently
lower the silver CPU retention plate into
place.
6. Carefully press the CPU socket lever
down until it locks into its retention
tab. For a dual-CPU system, repeat
these steps to install another CPU into
the CPU#2 socket (and into CPU#2,
#3 and #4 sockets for a quad-CPU
configuration).
Note:
in single, dual and quad-CPU configurations, memory must be installed in
the DIMM slots associated with the installed CPU(s).
Summary of Contents for 1042G-TF
Page 1: ...SUPER USER S MANUAL Revision 1 0e A SERVER 1042G TF ...
Page 5: ...v Preface Notes ...
Page 10: ...A SERVER 1042G TF User s Manual x Notes ...
Page 16: ...1 6 A SERVER 1042G TF User s Manual Notes ...
Page 32: ...3 4 A SERVER 1042G TF User s Manual Notes ...
Page 52: ...4 20 A SERVER 1042G TF User s Manual Notes ...
Page 89: ...Chapter 6 Advanced Chassis Setup 6 5 Figure 6 3 Removing a Hard Drive Carrier 1 1 1 2 ...
Page 93: ...Chapter 6 Advanced Chassis Setup 6 9 Figure 6 6 Installing the Air Shroud 4 1 4 1 5 ...


