Chapter 5: Advanced Serverboard Setup
5-3
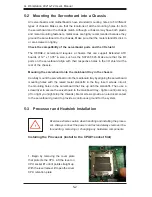
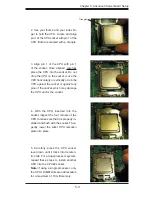
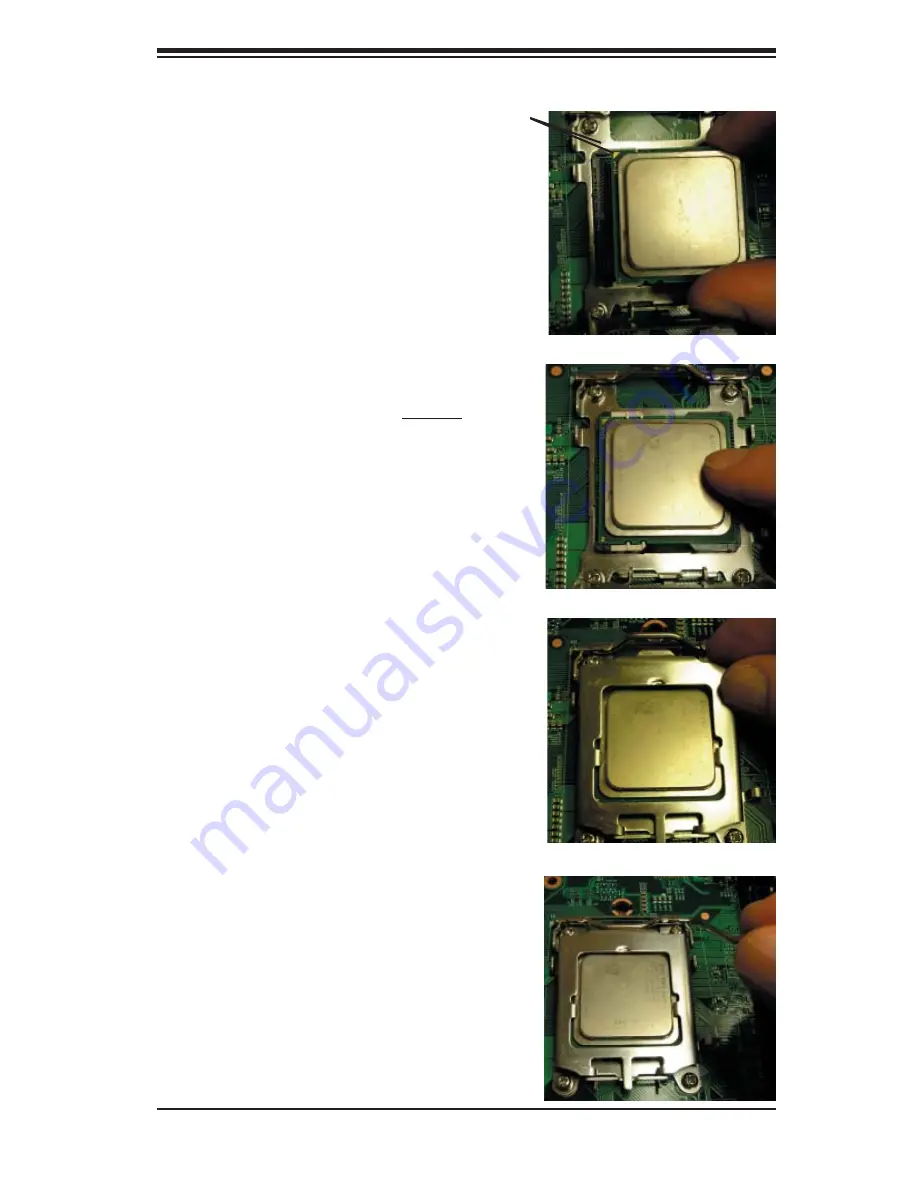
2. Use your thumb and your index fi n-
ger to hold the CPU. Locate and align
pin 1 of the CPU socket with pin 1 of the
CPU. Both are marked with a triangle.
Triangles
3. Align pin 1 of the CPU with pin 1
of the socket. Once aligned, carefully
place the CPU into the socket.
Do not
drop the CPU on the socket, move the
CPU horizontally or vertically or rub the
CPU against the socket or against any
pins of the socket, which may damage
the CPU and/or the socket
.
4. With the CPU inserted into the
socket, inspect the four corners of the
CPU to make sure that it is properly in-
stalled and fl ush with the socket. Then,
gently lower the silver CPU retention
plate into place.
5. Carefully press the CPU socket
lever down until it locks into its reten-
tion tab. For a dual-processor system,
repeat these steps to install another
CPU into the CPU#2 socket.
Note:
if using a single processor, only
the CPU1 DIMM slots are addressable
for a maximum of 16 GB memory.
Summary of Contents for 4021A-T2
Page 1: ...A Workstation 4021A T2 SUPER USER S MANUAL 1 0...
Page 5: ...v Preface Notes...
Page 14: ...1 6 A Workstation 4021A T2 User s Manual Notes...
Page 28: ...3 4 A Workstation 4021A T2 User s Manual Notes...
Page 67: ...Chapter 6 Advanced Chassis Setup 6 5 Figure 6 3 Removing a Chassis Fan...
Page 72: ...6 10 A Workstation 4021A T2 User s Manual Notes...
Page 92: ...A 2 A Workstation 4021A T2 User s Manual Notes...
Page 100: ...B 8 A Workstation 4021A T2 User s Manual Notes...
Page 104: ...C 4 A Workstation 4021A T2 User s Manual Notes...


