


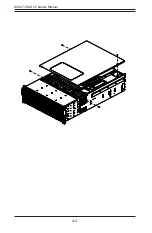


SC847J SAS2 Chassis Manual
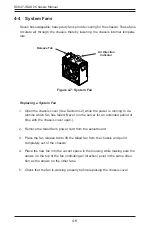
4-4
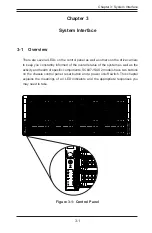
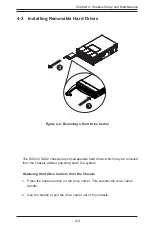
The drives are mounted in drive carriers to simplify their installation and removal
from the chassis. These carriers also help to promote proper airflow for the drive
bays.
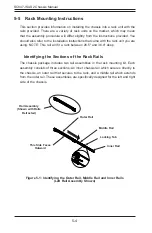
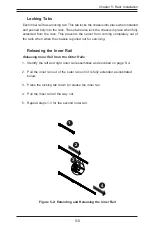
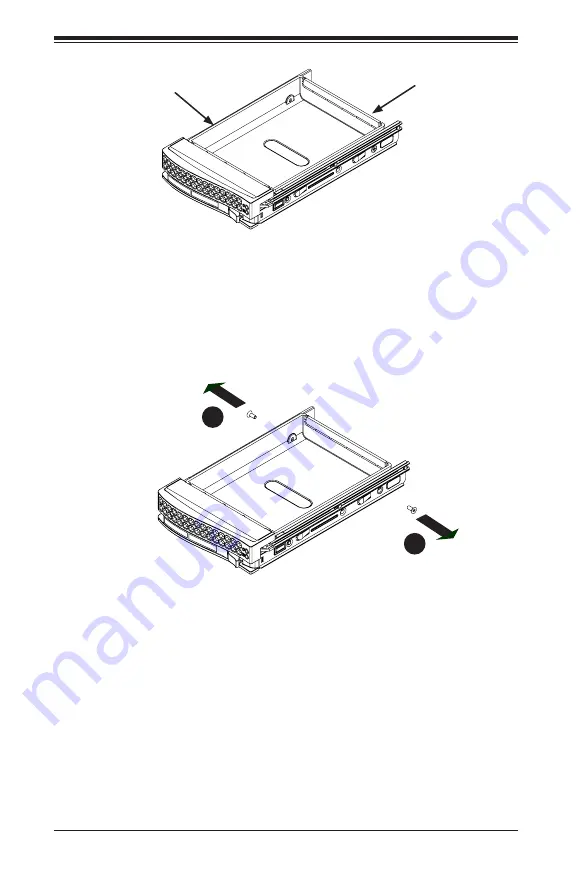
Figure 4-3: Chassis Drive Carrier
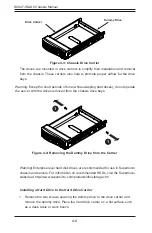
Installing a Hard Drive to the Hard Drive Carrier
1. Remove the two screws securing the dummy drive to the drive carrier and
remove the dummy drive. Place the hard drive carrier on a flat surface such
as a desk, table or work bench.
Warning: Except for short periods of time (while swapping hard drives), do not operate
the server with the drives removed from the chassis drive bays.
Figure 4-4: Removing the Dummy Drive from the Carrier
Drive Carrier
Dummy Drive
1
1
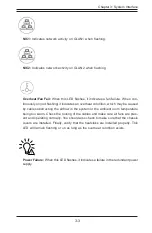
Warning! Enterprise level hard disk drives are recommended for use in Supermicro
chassis and servers. For information on recommended HDDs, visit the Supermicro
website at http://www.supermicro.com/products/nfo/storage.cfm
Summary of Contents for SC847E16-R1K28JBOD
Page 12: ...SC847J SAS2 Chassis Manual 1 4 Notes ...
Page 40: ...SC847J SAS2 Chassis Manual 4 2 ...
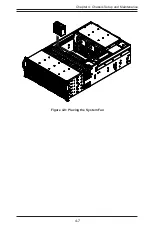
Page 45: ...4 7 Chapter 4 Chassis Setup and Maintenance Figure 4 8 Placing the System Fan ...
Page 47: ...4 9 Chapter 4 Chassis Setup and Maintenance ...
Page 48: ...SC847J SAS2 Chassis Manual 4 10 Notes ...
Page 58: ...SC847J SAS2 Chassis Manual 5 10 Notes ...
Page 64: ...SC847J SAS2 Chassis Manual B 2 Notes ...
Page 87: ...C 24 SC847J SAS2 Chassis Manual Notes ...
Page 111: ...D 24 SC847J Chassis Manual Notes ...
Page 120: ...E 9 Appendix E SC847J Chassis Internals and Externals Notes ...