background image


ASSEMBLY INSTRUCTIONS: 

Please Note:  

Some parts in the instructions below may have been 

installed at the factory.  Please disregard any of the instructions below 
if the part was installed at the factory. 
 

1.


Remove car from box and plastic.  

Lay out all parts to be assembled.  Unplug 

and remove both motor/gearboxes from the battery area.  Turn car upside 
down so that the bottom of the car is facing up.   


2.


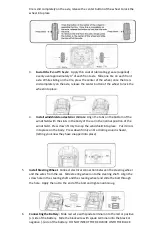
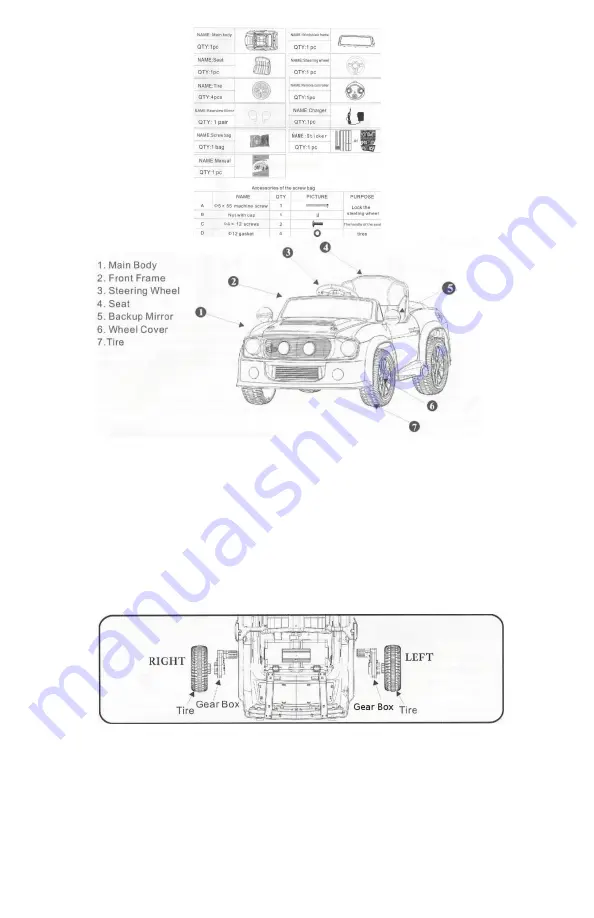
Install rear wheels & motor/gearbox on rear axle:


  Apply thin coat of lubricating 

grease (supplied) evenly over 

approximately 4” of 

each end of the rear axle.  Install 

the motor/gearbox over the rear axle while feeding the electrical connector and 
motor through the hole in the body.  The motor marked with an 

“R” should be 

installed on the right side of the car (when the car is right side up and you are facing 
the car from the rear).  Slide one tire on the axle at each end with the hub of the tire 
closest to the body of the car.  While sliding on the tire, press the center of the 
wheel and line up the hub with the corresponding sleeve on the gearbox.  Once the 

Summary of Contents for Mustang GT5000

Page 1: ...Manual Please read this instruction manual carefully It is important to read and follow all of the steps during assembly to ensure proper operation and safety of the child Please keep this manual for...

Page 2: ...d falls and collisions which could cause injury to the child or third party Do not pick up vehicle by steering wheel Do not pick up battery by wires or charger Keep all plastic bags out of the reach o...

Page 3: ...gearbox on rear axle Apply thin coat of lubricating grease supplied evenly over approximately 4 of each end of the rear axle Install the motor gearbox over the rear axle while feeding the electrical c...

Page 4: ...mal position of the windshield Press down firmly to snap the windshield into place Put mirrors into place on the body Press down firmly until a clicking sound is heard letting you know they have snapp...

Page 5: ...ging the battery The charging port is located just under the front portion of the seat Plug the charger into the charging port first then plug the charger into wall outlet BATTERY MUST BE CHARGED FOR...

Page 6: ...will no longer work The remote control has an internal antenna therefore creating a hassle free experience The Status Indicator light A Blinks quickly waiting to pair with remote control B Blinks slo...

Page 7: ......

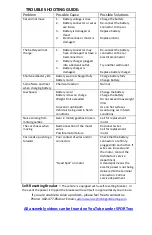
Page 8: ...n harsh conditions Change the battery Charge the battery Do not exceed max weight limit Use on flat surfaces Avoid using car in harsh conditions Noise coming from motor gearbox Gear in motor gearbox b...

Page 9: ...the battery with the bracket Battery can fall out and injure a child if vehicle tips over The Power Switch must be turned in the OFF position when charging When the car begins to run slowly recharge...

Page 10: ......

Reviews: