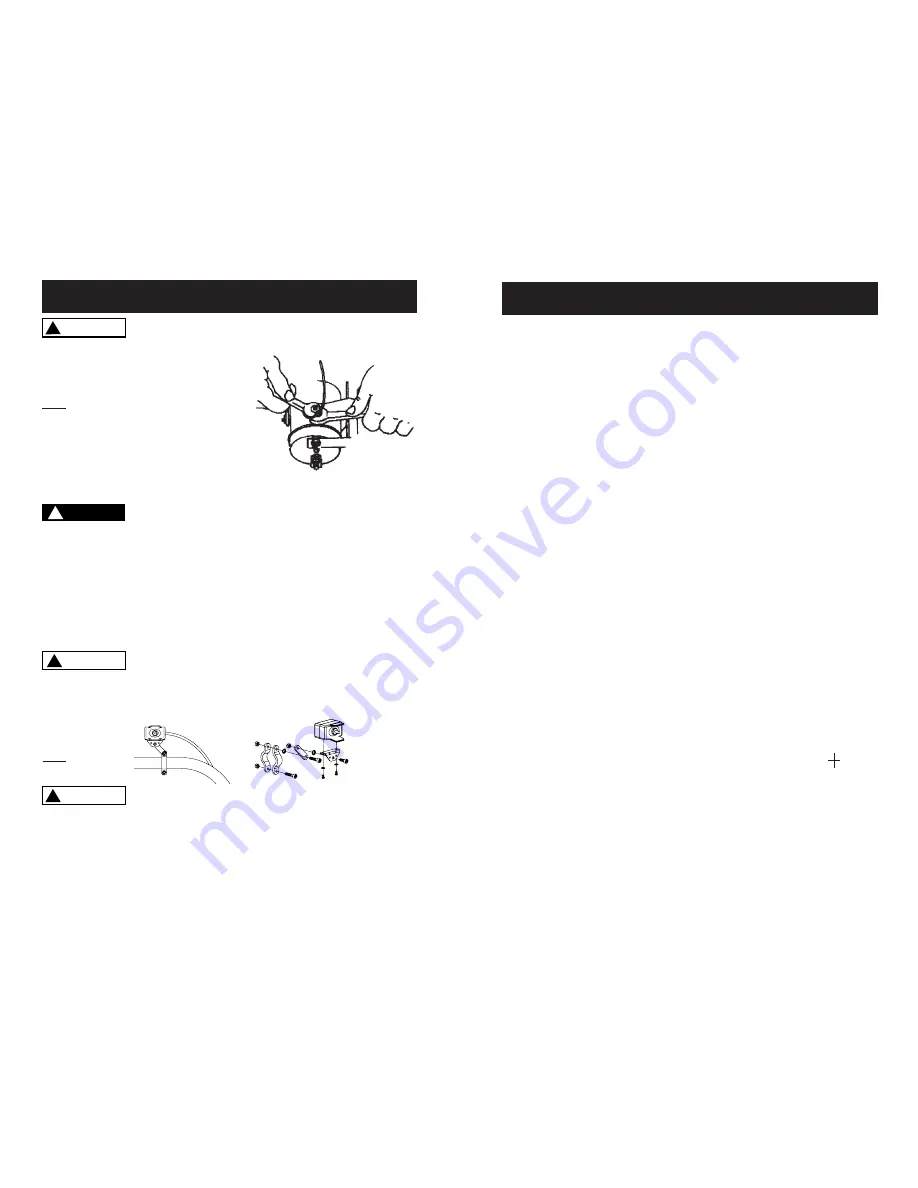
Fig. 4
-
Proper Terminal Tightening
WARNING
!
Ensure that the wiring harness does not interfere or come in con-
tact with any hot or moving engine, suspension, steering, braking
or exhaust parts.
TOGGLE SWITCH INSTALLATION
CAUTION
!
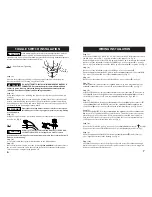
When attaching wires to the motor or solenoid terminals, hold the
inner nut with a wrench while tightening the outer nut with a
second wrench. Do not allow the terminals to rotate in their housings. Rotation may cause
internal wire breakage or part misalignment ( Fig 4).
Step ( 1 )
Check to ensure that the vehicle ground and positive leads from the battery are
disconnected before performing any electrical work.
DANGER
!
DO NOT ATTEMPT TO INSTALL WIRING WHEN THE BATTERY IS
CONNECTED. Automotive batteries contain flammable and
explosive gases. Wear eye protection during installation and remove all metal
jewelry. Do not lean over battery while making connections.
Step ( 2 )
Route the wiring harness, attaching the harness to hard points on the vehicle with
cable ties.
Step ( 3 )
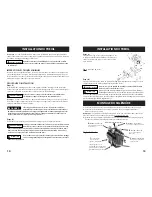
Using the supplied clamps, bracket and hardware, mount switch in a convenient
location. See
Fig. 5.
Fig. 5
Step ( 4 )
It is recommended that the switch be installed on the left handlebar.
Step ( 5 )
Once the switch is mounted, route the jacketed
green and black
leads back to where
the solenoid is mounted. Splice the red lead into wire that energizes with ignition
switch on and de-energizes with ignition off.
WIRING INSTALLATION
On the top of the
solenoid
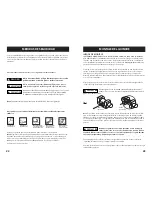
, connect the RED 6 ga. wire to the terminal
C
.
Route the opposite end of the RED 6 ga. wire to
the
circuit breaker
and connect the RED
6 ga. wire to the unmarked side of the
circuit breaker
. (see Fig. 6)
Step ( 3 )
On the top of the
solenoid
, connect the BLACK 6 ga. wire to terminal
D
. (see Fig. 3)
On the
solenoid
, check that the short BLACK jumper wire lead, is installed from the
solenoid’s
center
flat spade connector
E
, to the
solenoid’s
terminal
D
. (see Fig. 3).
Attach the BLACK wire from the
rocker switch
to the outer
left
spade,
F
connector, of
the
solenoid.
Attach the BLACK wire from the
optional
socket assembly
to the same
outer
left
spade connector,
F
.
note; the solenoid top side up
(see Fig. 6 and 3)
Attach the GREEN wire from the
rocker switch
to the outer
right
spade connector
G
on the
solenoid
. Attach the GREEN wire from the
optiona
l
socket assembly
to the
same outer
right
spade connector
G
.
note; the solenoid top side up
(see Fig. 6 and 3)
Step ( 7 )
Connect the RED WIRE, from the
rocker switch
and
optionaly
from the
socket
assem-
bly
to your ATV’s Ignition Switch key controlled wire. This wire must only have power
when the key is in the on position. A fuse protected key controlled wire is prefered.
Fuse should be rated for at least 4 amps. Cover-wind the connection with muti-layers
of CE approved electrical insulation tape, (see Fig. 6).
Note:
When routing the wires, the appropriate terminals should be located near the
battery, switch mounting point, and winch. Your installation requirements will vary
depending upon your vehicle and winch. Make sure wires are long enough to reach
the battery, switch mounting point and winch.
CAUTION
!
ALWAYS USE THE SWITCH MOUNTING BRACKET, SCREWS, AND
LOCK NUTS PROVIDED. Screw lengths are sized for correct
penetration into switch box. Excess penetration may result in short circuits that could
lead to wire over heating.
Route the opposite end of the BLACK wire from,
solenoid
terminal
D,
and connect
to
the “-” negative terminal on the
battery
. (see Fig. 6)
Connect the short RED 6 ga. wire to the end of the
circuit breaker
, marked “ “positive.
Connect the other end of this RED wire to the “+” positive
battery
terminal. (see Fig. 6)
Step ( 9 )
Step ( 8 )
Step ( 10 )
Check that all wiring is clear of sharp edges and pinch points. Check that all wiring is
firmly connected to it’s proper terminal or spade connector. Secure loose wiring with
tie wraps and electrical insulation tape.
7
Step ( 1 )
Connect the YELLOW 6 ga. wire to the #
1
“
+
” positive terminal on the
motor
and connect
the BLUE 6 ga. wire to #
2
“
-
” negative terminal to the
motor
. (see Fig. 6)
Route the opposite ends of the YELLOW 6 ga. and the BLUE 6 ga. wires back to the solenoid.
On the top of the
solenoid,
connect the YELLOW 6 ga. wire to terminal
A
“+” positive.
Also, on top of the
solenoid
connect the BLUE 6 ga. wire to terminal
B
“-” negative. (see Fig. 3)
6
Step ( 2 )
Step ( 4 )
Step ( 5 )
Step ( 6 )


