V 01-2017
www.superwind.com
34
3- When the rotor blade is attached to the axle correctly, do not simply tighten
the screws, since excessive tightening could damage the blade material. For
the correct initial tension, a torque of 4.5 Nm (3.3 ft. lbs.) is required. If a
suitable torque wrench is not available, the following method is
recommended:
a. Ensure the contact surface on each blade face and adjoining axle fits
properly. Insert both screws slowly, with offset pressure – alternating
between each screw while tightening - until snug. Once properly
positioned, tighten each screw slightly until it starts to feel tight.
b. At this point, screw down
exactly one quarter turn
in order to adjust to
the correct final tension.
c. Continue mounting the other two blades the same way.
Make sure, that the cylindrical tenons on each blades are
correctly inserted into the axles counter bores.
Do not use force.
Do not over-tighten the screws.
7.4.2
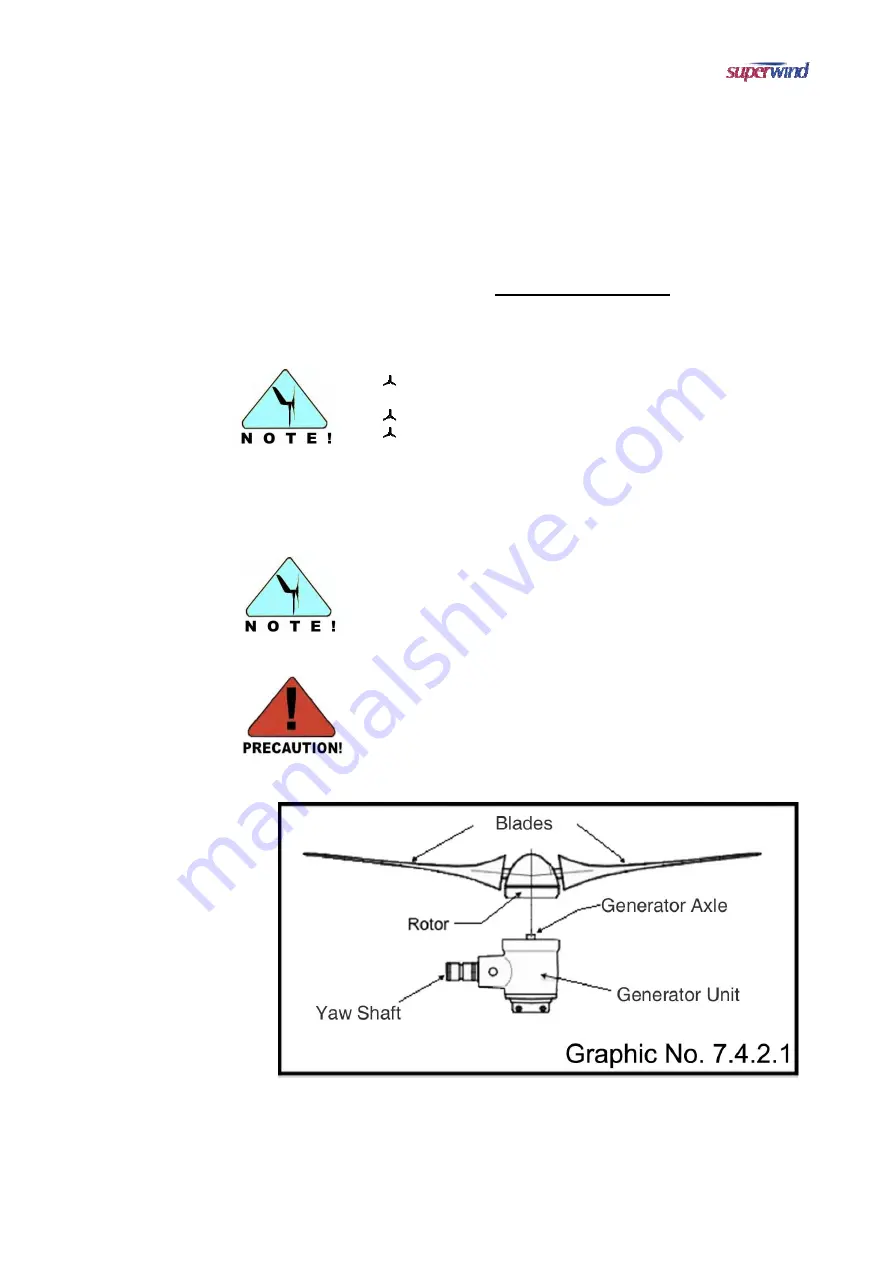
Mounting the hub to the generator shaft
In order to prevent the rotor from unintended starting, it is
recommended to short circuit the two generator cables (See
Graphic No. 7.1.1 on Page No. 27) or turn your stop switch into
STOP position before beginning with the assembling.
DISCONNECT THE BATTERIES BEFOREHAND!
Once the rotor hub blade assembly has been completed, align the center to the
generator (paying close attention to the alignment with the keyed generator shaft)
and connect the hub to the generator.
Summary of Contents for 350 12V
Page 1: ...www superwind com Superwind 350 12V 24V Manual North Central and South America regions 01 2017...
Page 2: ...V 01 2017 www superwind com 1 Page intentionally left blank...
Page 52: ...V 01 2017 www superwind com 51 ATTACHMENT A Stop Switch Mounting Guidelines...
Page 53: ...V 01 2017 www superwind com 52 STOP SWITCH Mounting Guidelines Manual 01 2017...
Page 60: ...V 01 2017 www superwind com 59 ATTACHMENT B Superwind Charge Regulator 12V Marine...
Page 61: ...V 01 2017 www superwind com 60 Charge Regulator 12V Marine Instructions Manual 01 2017...
Page 70: ...V 01 2017 www superwind com 69 ATTACHMENT C Superwind Charge Regulator 24V Marine...
Page 71: ...V 01 2017 www superwind com 70 Charge Regulator 24V Marine Instructions Manual...


