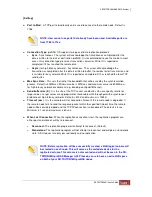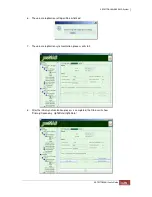
Network Adapter:
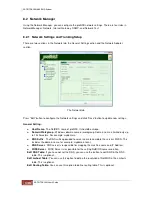
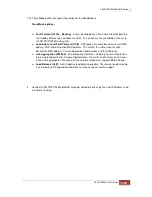
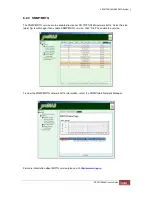
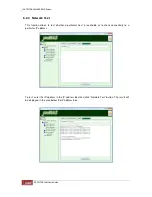
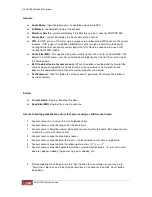
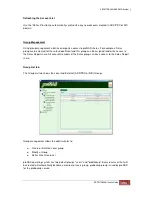
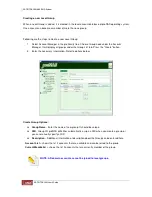
The Network Adapter section consists of the Adapter List and the Configuration section.
The Adapter List is the list of available Ethernet ports in the system. The number of ports might be two
or three depending on different models.
Adapter List:
Lists the available Ethernet adapters.
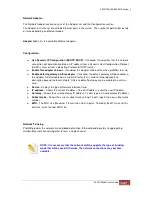
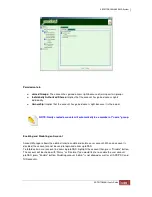
Configuration:
♦
Use Dynamic IP Configuration (BOOTP/DHCP) -
If checked, this specifies that this network
connection will dynamically obtain an IP address from a Dynamic Host Configuration Protocol
(DHCP) server or from a Bootstrap Protocol (BOOTP) server.
♦
Enable this adapter on boot
– If enabled, this adapter will be active when proNAS starts up.
♦
Enable default gateway on this adapter
- If checked, the default gateway will be enabled in
this adapter. A default gateway is a local IP router that is used to forward packets to
destination beyond the local network. Only one default gateway can be enabled in a certain
time.
♦
Device
- Displays the type of Network Interface Card.
♦
IP address
– Shows the current IP address. To edit IP address, enter the new IP address.
♦
Gateway
– Shows the current gateway IP address. To edit, type in a new gateway IP address.
♦
Subnet mask
– Shows the current subnet mask setting. To edit, type in the new subnet mask
number.
♦
MTU
– The MTU size (Maximum Transmission Unit) in bytes. To modify the MTU size for this
interface, enter the new MTU size.
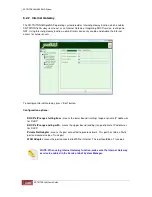
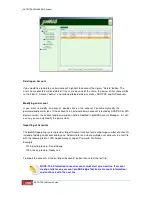
Network Trunking
ProNAS provides the network trunking/bonding function. Ethernet bonding refers to aggregating
multiple Ethernet channels together to form a single channel.
NOTE: It is necessary that the network switch supports the type of trunking
mode that will be used. Otherwise, the network connections may become
unstable.
Summary of Contents for TRITON 16Ni
Page 1: ...SurfRAID TRITON 16Ni User s Guide Revision 1 1...
Page 40: ......
Page 41: ......
Page 42: ......
Page 43: ......
Page 67: ...5 3 7 Stop Volume Check Use this option to stop current running Check Volume Set process...
Page 111: ...4 Verify the new LV size...
Page 135: ...4 The iSCSI logical volume capacity is extended...
Page 236: ...2 Select Set LAN Configuration and press Enter key 3 Setup LAN Configuration...
Page 247: ......

