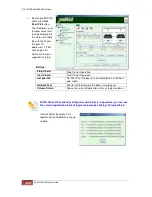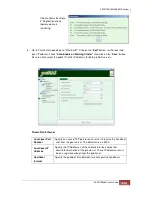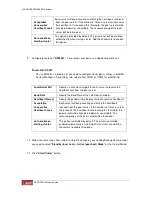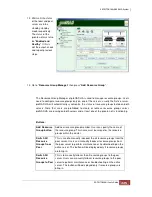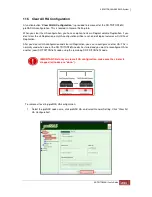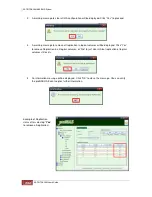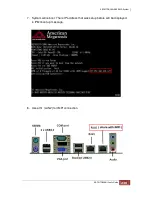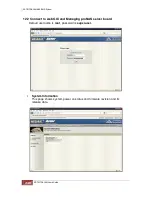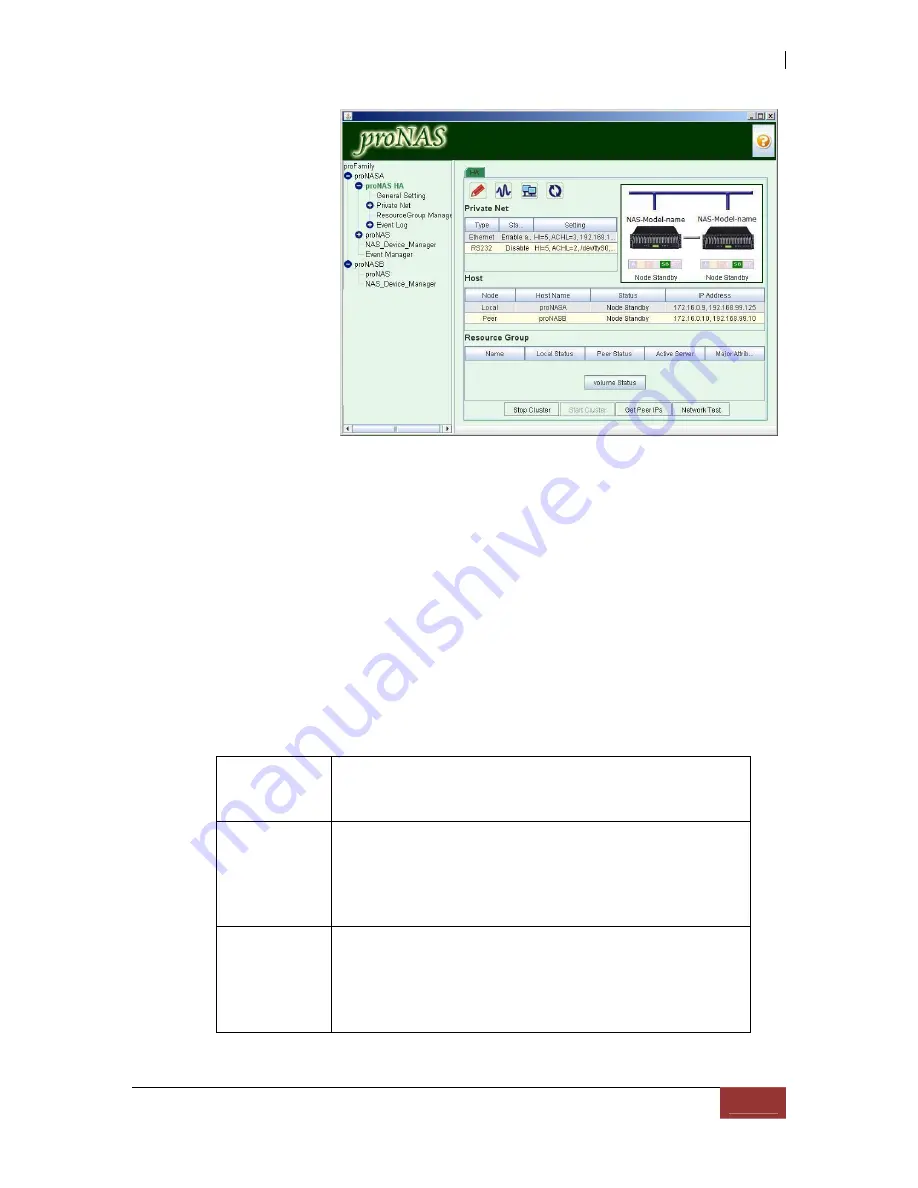
12. Wait until the status
of the local and peer
server are in be
standby-standby
mode respectively.
The status of the
private net must also
be "
Enabled and
Healthy
". If this is
not the output, check
and repeat previous
steps.
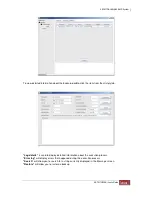
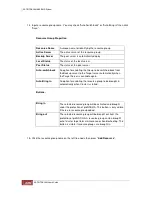
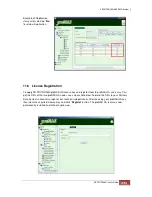
13. Go to "
Resource Group Manager
" then press "
Add Resource Group
".
The Resource Group Manager of proNAS HA is used to manage resource groups. Users
need to configure resource groups only on one of the servers, usually the Active server.
proNAS HA will automatically synchronize the status of resource groups between both
servers. Note that users are prohibited to create or remove resource groups unless
proNAS HA are running on both servers and at least one of the private net is functioning.
Buttons:
Add Resource
Group button
Add new resource group member. User can specify the name of
the resource group. This name must be unique for the resource
groups within the cluster
Switch All
Resource
Groups from
Peer
This is used to manually takeover the all resource groups from the
peer server. Users can manually takeover resource groups from
the peer server to perform maintenance or troubleshooting on the
active server. This button will be displayed only if resource groups
are bring in.
Switch All
Resource
Groups to Peer
This is to manually failover the all resource groups to the peer
server. Users can manually failover resource groups to the peer
server to perform maintenance or troubleshooting on the active
server. This button will be displayed only if resource groups are
bring in.
Summary of Contents for TRITON 16Ni
Page 1: ...SurfRAID TRITON 16Ni User s Guide Revision 1 1...
Page 40: ......
Page 41: ......
Page 42: ......
Page 43: ......
Page 67: ...5 3 7 Stop Volume Check Use this option to stop current running Check Volume Set process...
Page 111: ...4 Verify the new LV size...
Page 135: ...4 The iSCSI logical volume capacity is extended...
Page 236: ...2 Select Set LAN Configuration and press Enter key 3 Setup LAN Configuration...
Page 247: ......

