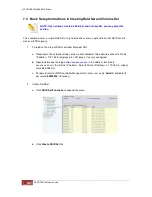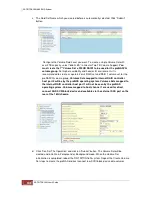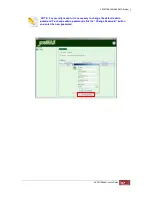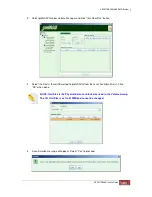
7.4 Setting up proNAS IP Addresses and Connecting to the proNAS
Operating System Management GUI
NOTE: Java 2 Runtime Environment (J2RE) 1.4.2 or later must be installed
before using the proNAS management interface. (Free download from:
http://java.sun.com/j2se/index.jsp)
1. It is recommended to temporary connect a computer using a RJ45 IP crossover cable to the
LAN0 IP port (Management and Data Port) of the SR-TRITON16Ni subsystem to initially
setup your subsystem. The default IP address of LAN0 IP port is 172.16.0.1 (see table below).
Set your management computer’s IP address to another IP address i.e. 172.16.0.5 subnet
255.255.0.0. The proNAS LAN0 IP address will not be permanent until after the proNAS
volume group has been created. Apply your desired network IP address only after the
proNASVG volume group is created later in this chapter.
SR-TRITON16Ni proNAS Default Values
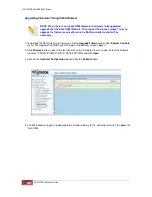
2. To connect to SR-TRITON16Ni proNAS logon administration page, open Web browser.
3. Enter the following URL in the address bar:
http://172.16.0.1
then press Enter. A JAVA plug-in
will be installed into the client computer. JAVA applets and pop-ups needs to be enabled.
Click on “Yes” to accept certificate warning.
4. In the page that opens, click “Admin Login” button to enter the SR-TRITON16Ni proNAS
Manager page.
Entity
Default Value
LAN0 IP address
172.16.0.1
Subnet Mask
255.255.0.0
Hostname
proNAS
Username
admin
Password
00000000
Summary of Contents for TRITON 16Ni
Page 1: ...SurfRAID TRITON 16Ni User s Guide Revision 1 1...
Page 40: ......
Page 41: ......
Page 42: ......
Page 43: ......
Page 67: ...5 3 7 Stop Volume Check Use this option to stop current running Check Volume Set process...
Page 111: ...4 Verify the new LV size...
Page 135: ...4 The iSCSI logical volume capacity is extended...
Page 236: ...2 Select Set LAN Configuration and press Enter key 3 Setup LAN Configuration...
Page 247: ......


