14
When desired height setting is reached, tighten
lock nuts inposition. Reassemble side and top
covers and replace height adjustment handle.
NOTE:
Remove gauge block before starting
machine.
Thickness planing is the sizing of the material
to a desired thickness, while creating a smooth
surface parallel to the opposite side of the
board.
The art of thickness planing consists mainly of
using good judgement about the depth of cut
in various situations. You must take into ac-
count:
1. The width of the timber
2. The hardness ofthe board
3. The dampness of the board
4. The straightness of the board
5. The grain direction
6. The grain structure
How these factors can effect the quality of the
work can only be learned through experience.
Whenever working with a new type ofwood,
or one with unusual problems, always make
test cuts on scrap material prior to working on
the actual piece.
FOR ADDITIONAL PLANING
lf additional planing is needed lo obtain the
desired thickness or finish, hand crank the cut-
terhead no more than 3mm (al any one time)
and complete another pass.
WARNING:
Never plane more than 3mm in
one pass and never attempt to planea board
under 127mm (5") in length. Always wear a
protective tace shield.
MOVING THE PLANER
The planer can be car-
ried using the handles
on either side of the
frame.
Make sure the table
extensions are closed
before moving the
planer.
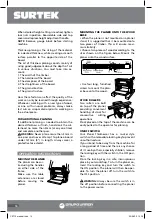
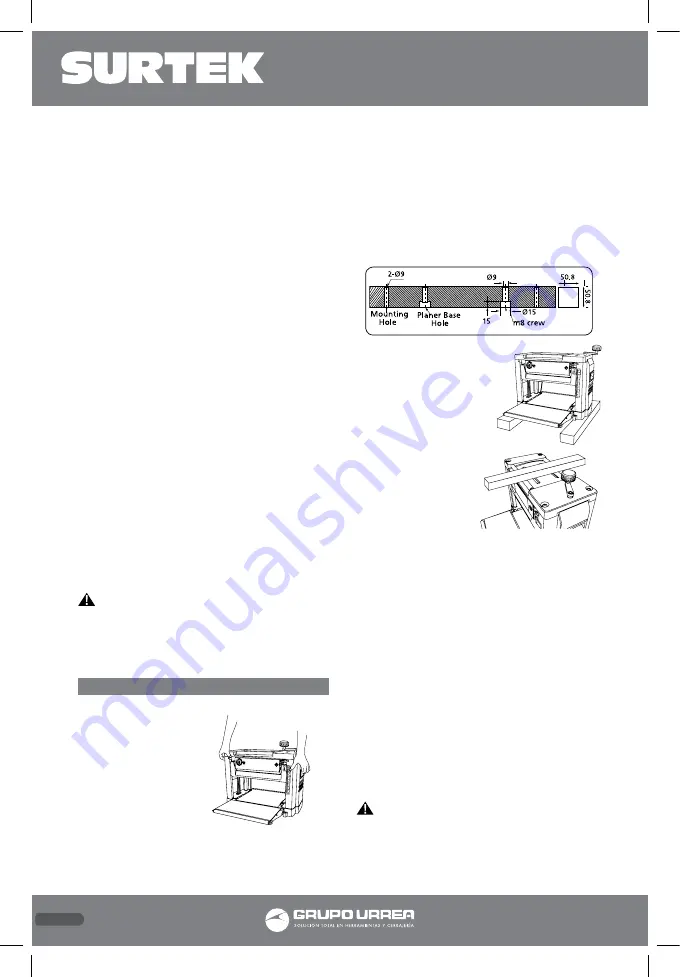
MOUNTING THE PLANER ONTO THE WOOD
BASE
• When the planer is not mounted on a planer
stand, it is suggested that it be mounted onto
two pieces of timber. This will ensure maxi-
mum stability.
• Choose two pieces of wood according to the
sizes shown on the figure below. Mount the
planer onto the wood surface.
• Use four long, furnished
screws to mount the plan-
er base onto the wood.
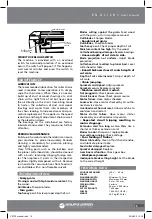
STOCK ROLLERS
Two rollers are built
on top of the planer,
providing convenient
handling of stock for
consecutive cutting
operations.
Stock placed on the top of the machine can be
easily pulled to the operator for planing.
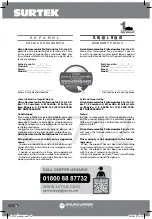
ON/OFF SWITCH
Your Planer Thicknesser has a rocker style
switch with a removable locking key to prevent
unauthorised use.
If you intend to be away from the machine for
a long period of time and there is any chance
of it’s use by others, especially children, remove
the locking key with the switch in the OFF posi-
tion.
Store the locking key in a safe, inconspicuous
place in your workshop. To turn the planer on,
insert the locking key and turn the switch to
the ON position. The planer will then be oper-
able. To turn the planer off, turn the switch to
the OFF position.
WARNING:
Always be sure the switch is in
the off position before connecting the planer
to the power source.
OPERATION INSTRUCTIONS
CE712 manual.indd 14
23/06/15 15:10

