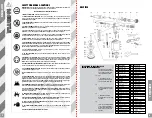
WARNING When using pneumatic equipment, basic safety precautions should always be followed to
reduce the risk of personal injury and hazards due to over pressurization.
READ ALL INSTRUCTIONS BEFORE USING THIS TOOL
1. KEEP WORK AREA CLEAN. Cluttered areas invite injuries.
2. OBSERVE WORK AREA CONDITIONS. Do not use tolls in damp, wet or poorly lit locations. Don’t
expose to rain. Keep work area well lit. Do not use electrically powered air compressors in the presence
of flammable gases or liquids.
3. KEEP CHILDREN AWAY. Children must never be allowed in the work area. Do not let them handle
machines, tools or hoses.
4. STORE IDLE EQUIPMENT. When not in use, tools must be locked up in a dry locarion to inhibit rust.
Always lock up tools and keep out of reach of children.
5. DO NOT FORCE THE TOOL. It will do the job better and more safely at the rate for which it was
intended. Do not use inappropriate attachments in an attempt to exceed the tools capacities.
6. USE THE RIGHT TOOL FOR THE JOB. Do not attempt to force a small tool or attachment to do the work
of a larger industrial tool. Do not use a tool for a purpose for which ir was not intended.
7. DRESS PROPERLY. Do not wear loose clothing or jewerly as they can be caught in moving parts.
Non-skid foot wear is recommended. Wear restrictive hair covering to contain long hair.
8. USE EYE AND EAR PROTECTION. Always wear ANSI approved chemical splash googles when working
with chemicals. Always wear ANSI approved impact safety googles at other times. Wear a full face sield
if you are producing metal filings or wood chips. Wear and ANSI approved dust mask or respirator
when working around metal, woold and chemical dusts and mists.
9. DO NOT ABUSE THE POWER CORD. Do not yank compressor’s cord to disconnect it from the
receptacle. Do not carry tools by the cord.
10. DO NOT OVER REACH. Keep proper footing and balance at all times. Do not reach over across
runing machines.
11. MAINTAIN TOOLS WITH CARE. Keep tools sharp and clean for better and safer performance. Follow
instructions for lubricating and changing accessories. Inspect compressor’s cord periodically and, if
damaged, have them repaired by an authorized technicain. Inspect all hoses for leaks prior to use. The
handles must be kept clean, dry and free form oil and grease at all times.
12. REMOVE ADJUSTING KEYS AND WRENCHES. Make it habit to check that keys and adjusting wrenches
are removed from the tool or machine work surface before plugging it in.
13. AVOID UNNINTENTIONAL STARTING. Do not carry any tool with your finger on the tigger, whether it
is connected to the compressor or not.
14. STAY ALERT. Watch what you are doing, use common sense. Do not operate any tool when you are
tired.
15. CHECK DAMAGE PARTS. Before using any tools, any part that appears damaged should be carefully
checked to determine that it will operate properly and perform its intended function. Check for
alignment and binding of moving parts; any broken parts or mounting fixtures; and any other condition
that may affect proper operation. Any part that is damage should be properly repaired or replaced by a
qualified technician. Do not use the tool if any switch does not turn on and off properly.
16. REPLACEMENT PARTS AND ACCESSORIES. When servicing, use only identical replacement parts. Use
of any other parts will void the warranty. Only use accessories intended for use with this tool.
17. DO NOT OPERATE TOOL IF UNDER THE INFLUENCE OF ALCOHOL OR DRUGS. Read warning labels on
prescriptions to determine if your judment or reflexes are impaired while taking drugs. If there is any
doubt, do not operate the tool.
18. DRAIN COMPRESSOR EVERY DAY. Do not allow moisture to build up inside the compressor. Do not
allow compressor to sit pressurized for longer than one hour.
19. MAKE SURE ALL EQUIPMENT IS RATED TO THE APPROPRIATE CAPACITY. Make sure that regulator is
set at least 10 PSI lower than the lowest rate piece of eqquipment you are using.
20. DO NOT POINT AT PEOPLE OR ANIMALS. Whether the Riveters is loaded or not, do not point at
anything but what you plan on riveting.
21. BE CAREFUL WHEN LOADING RIVETER. Do not point at yourself. Never hold the Tigger when
loading.
22. NEVER OPERATE WITHOUT THE SAFETY CAP IN PLACE.
W
A
R
N
IN
G
S
W
A
R
N
IN
G
S
1
6
ENGLISH
ESP
AÑOL
SAFETY WARNINGS & CAUTIONS
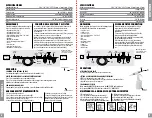
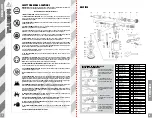
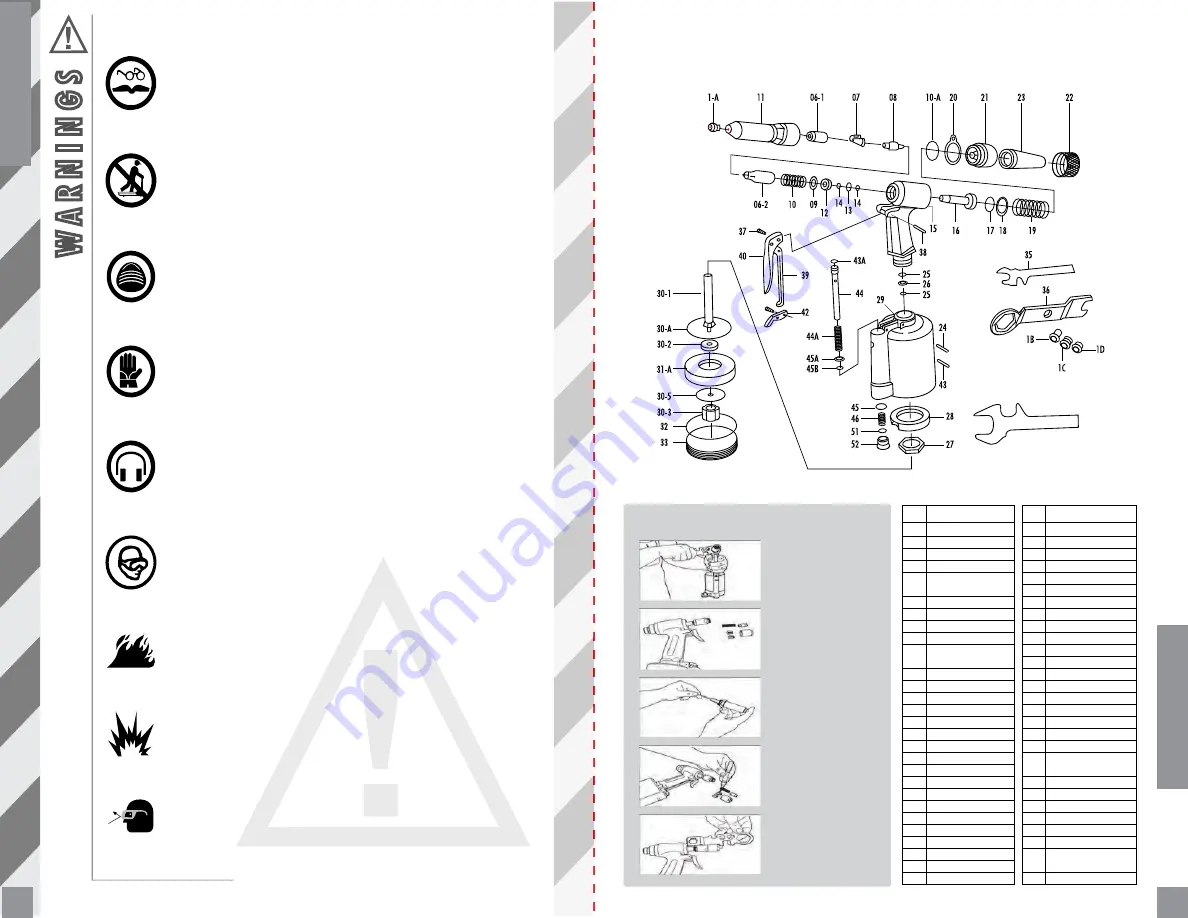
1. Asegúrese de que no hay flujo
de aire hacia la pistola de remache
2. Use una llave de tuercas para
remover la cabeza del cuadro.
Fig.1
3. Use las llaves 35 y 36 de
tuercas para remover la carcaza
que contiene las mordazas Fig.2
4. Limpie el interior de la carcaza
antes mencionada como se ilustra
en la Fig.3
LOCALIZACION DE PROBLEMAS DE LA
CABEZA DE LA REMACHADORA
fig.1
fig.2
fig.3
5. Utilice una aceitera para
lubricar las partes como se muestra
en la Fig.4
6. Arme de nuevo la Remachadora
y revise el largo de la longitud de
la carcaza de mordazas usando la
llave de tuercas como se muestra
en la Fig.5
fig.4
fig.5
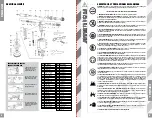
No. Descripción
1A
1B
1C
1D
06-1
06-2
07
08
09
10
10A
11
12
13
14
15
16
17
18
19
20
21
22
23
24
25
26
27
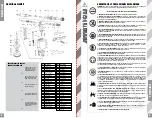
No. Descripción
28
29
30-1
30-2
30-3
30-4
30-5
31A
32
33
35
36
37
38
39
40
41
42
43
43A
44
44A
45
45A
45B
46
51
52
DESPIECE
Boquilla de 3/16”
Boquilla de 5/32”
Boquilla de 1/8”
Boquilla de 3/32”
Tapa frontal de mordazas
3/32”, 1/8”, 5/32”
Tapa trasera de mordaza
Mordazas
Empujador de mordazas
Arandela
Resorte del empujador
de mordazas
O ring 27x 2
Cabeza
Tuerca
O ring de soporte
O ring p12 de soporte
Carcaza
Pistón
O ring de pistón p22A
O ring
Resorte
Clip
Tapa de mordaza
Tuerca de mordaza
Tapa de seguridad
Tornillo
O ring p12 de soporte
O ring de soporte
Tuerca de mordaza
Cojín de goma
Cilindro de aire
Vástago de pistón de aire
Pistón de aire Al
Tuerca de pistón de aire
Plato grande
Plato pequeño
Anillo de Pistón de aire
O Ring de cilindro
Tapa de cilindro
Llave de tuerca gauge
Llave de tuerca
Perno de Gatillo
Conector
Varilla de gatillo
Gatillo
Conector
Palanca de gatillo
Perno de Palanca de gatillo
O Ring del Empujador de
Válvula
Empujador de válvula
Resorte de válvula
Válvula
Collarín de válvula
O Ring del collarín de Válvula
Resorte de válvula
O ring P11 de la Tapa de
válvula
Tapa de válvula


