20
1. Always hold the router and cutting bit away
from the work piece when turning the toggle
switch “ON.”
2. Contact the work piece with the router
and cutting bit only after the router has fully
reached the selected speed.
3. Remove the router and cutting bit from the
work piece only after turning the router motor
“OFF,” and after the cutting bit has come to a
complete stop.
VARIABLE SPEED CONTROL
The electronic speed control feature allows
router motor speed to be matched to cutter
size and work piece-material hardness for an
improved finish and extended bit life.
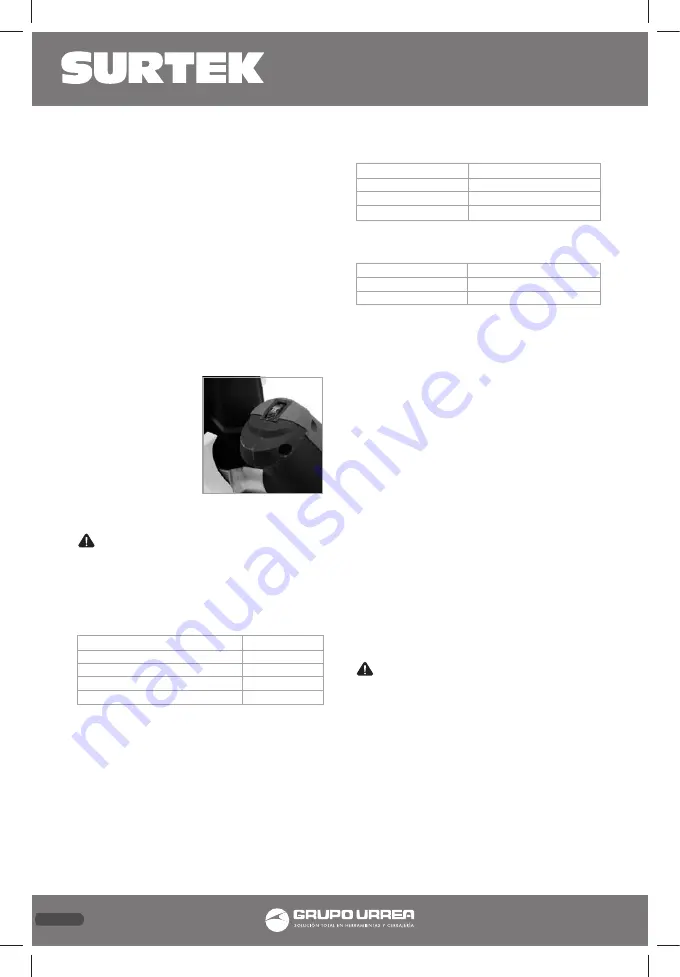
Speed changes are
made by rotat-
ing the Speed Con-
trol Dial starting at
“MIN,” and the fast-
est speed is marked
with "MAX". The
next information is a
“Variable Speed Se-
lection Chart” to help
determine the correct speed for the cutting bit
being used.
WARNING: Before operating the router follow
all safety instructions in this manual. Failure to
do so could result in serious personal injury.
The next chart shows the variable speed selec-
tion; Never exceed these bit speeds:
Cutting-Bit Diameter
Max. Speed
Up to 1 in. (25mm)
6
1-1/4 in. to 2 in. (30-50mm)
4 - 5
2-1/4 in. to 2-1/2 in. (55-65 mm) 2 - 3
3 in. to 3-1/2 in. (75-90mm)
1 - 2
Reduce the speed when using extra large bits
(1 inch or more in cutting diameter) or heavy
cutting bits. Changing the router’s rate of feed
can also improve the quality of the cut.
For Non-ferrous metal, hardwoods, larger di-
ameter cutting bits
Dial setting:
Max. Speed:
1
10,000
2
12,000
3
14,000
Softwoods, plastics, counter tops, smaller di-
ameter cutting bits
4
18,000
5
25,000
6
30,000
The speed charts above indicate the relation-
ship between the speed setting and the cut-
ting application. Exact settings are determined
through operator experience and preference,
and by recommendations by the cutting-bit
manufacturer.
HEAVY-DUTY EDGE GUIDE
The router combo comes with a heavy-duty
edge guide. This edge guide can be used as an
aid in routing applications such as decorative
edging, straight edge planning and trimming,
grooving, dadoing and slotting. To attach the
edge guide to the base, simply insert the edge
guide rods into edge-guide mounting slots, ad-
just it to the desired position, and lock down
with the edge-guide locking knobs.
SELECTING THE CUTTING BIT
This router comes with 1/4 inch, collet/nut that
accept 1/4 inch diameter shanked cutting bits
NOTE: The sub-base installed on this router has
an opening of 1-1/4 inches. To use cutting bits
with a larger diameter, use a sub-base with a
larger opening.
WARNING: When using router cutting bits
with a cutter diameter larger than 1-1/2 inches,
always have the speed dial set at number 1 or
2. Refer to the Variable Speed Selection Chart
located on top cap of the router motor for the
maximum speeds to use with various cutting-
bit diameters. Failure to follow these instruc-
tions could cause loss of control of the router
in the work piece, causing possibly serious per-
sonal injury.


