65
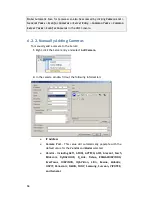
Model:
“
General
”
is selected,
“
RTP over TCP
”
and
“
RTP over
UDP
”
can be further defined.
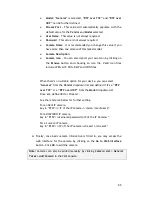
Stream Port
–
This value will automatically populate with the
default value for the
Vendor
and
Model
selected.
User Name
– This value is not always required.
Password
– This value is not always required.
Camera Name
– It is recommended you change this value if you
have more than one camera of this make/model.
Camera Description
Camera Icon
–
You can also import your own icon by clicking on
the
Browse
button and choosing an icon file. Valid icon files
include JPEG, GIF, PNG, BMP and ICON files.
When there’s no suitable option for your device, you can select
“
General
” from the
Vendor
dropdown list and defined if it’s a
“
RTP
over TCP
”
or a
“
RTP over UDP
”
from the
Model
dropdown list.
Once set, define URI for Stream 1.
See the reference below for further setting.
For an AXIS IP camera,
key in “RTSP://<IP of the IP camera>/<codec>/media.amp”
For a HIKVISION IP camera,
key in “RTSP://username:password@<IP of the IP Camera>”
For a Surveon IP camera,
key in “RTSP://<IP of the IP camera>/stream1 or stream2”
4.
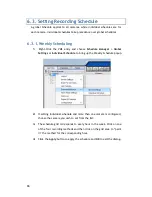
Finally, once basic camera information is filled in, you may access the
web interface for the camera by clicking on the
Go to Web Interface
button. Click
OK
to add the camera.
Note:
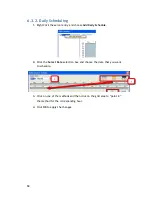
Cameras can also be added manually by clicking
Camera List > General
Tasks > Add Camera
in the VMS Console.


