Use of the NICE3000
new
NICE3000
new
User Manual
- 68 -
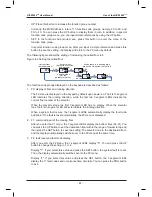
4. F3: time display
After you enter the F3 menu, the 7-segment LEDs display the current system time
circularly.
5. F4: contract number display
After you enter the F4 menu, the 7-segment LEDs display the user’s contract number.
6. F5: running times display
After you enter the F5 menu, the 7-segment LEDs display the elevator running times
circularly.
7. F6: door open/close control
After you enter the F6 menu, the 7-segment LEDs display "1-1", and the UP and SET
buttons respectively stand for the door open button and door close button. You can
press the PRG button to exit.
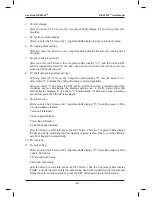
8. F7: shaft auto-tuning command input
After you enter the F7 menu, the 7-segment LEDs display "0". You can select 0 or 1
here, where "1" indicates the shaft auto-tuning command available.
After you select "1" and press the SET button, shaft auto-tuning is implemented if the
conditions are met. Meanwhile, the display switches over to the F0 menu. After shaft
auto-tuning is complete, F7 is back to "0" automatically. If shaft auto-tuning conditions
are not met, fault code "Err35" is displayed.
9. F8: test function
After you enter the F8 menu, the 7-segment LEDs display "0". The setting range of F8 is
1–4, described as follows:
־
1: Hall call forbidden
־
2: Door open forbidden
־
3: Overload forbidden
־
4: Limit switches disabled
After the setting is complete, press the SET button. Then the 7-segment LEDs display
"Err88" and blink, prompting that the elevator is being tested. When you press PRG to
exit, F8 is back to 0 automatically.
10. F9: reserved
11. FA: auto-tuning
After you enter the FA menu, the 7-segment LEDs display "0". The setting range of FA is
1 and 2, as follows:
־
1: With-load auto-tuning
־
2: No-load auto-tuning
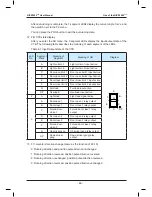
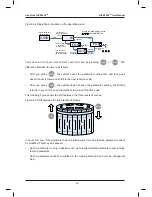
After the setting is complete, press the SET button. Then the 7-segment LEDs display
"TUNE", and the elevator enters the auto-tuning state. After confirming that the elevator
meets the safe running conditions, press the SET button again to start auto-tuning.
Summary of Contents for NICE3000 New
Page 1: ......
Page 13: ......
Page 14: ...1 Safety Information and Precautions ...
Page 21: ...Safety Information and Precautions NICE3000new User Manual 20 ...
Page 22: ...2 Product Information ...
Page 33: ...Product Information NICE3000new User Manual 32 ...
Page 34: ...3 Mechanical and Electrical Installation ...
Page 67: ...4 Use of the NICE3000new ...
Page 79: ...5 System Commissioning and Application Example ...
Page 105: ...6 Function Code Table ...
Page 136: ...Function Code Table NICE3000new User Manual 134 ...
Page 137: ...7 Description of Function Codes ...
Page 205: ...8 EMC ...
Page 214: ...EMC NICE3000new User Manual 212 ...
Page 215: ...9 Troubleshooting ...
Page 230: ......
Page 233: ......

