Engine Mechanical: 1D-13
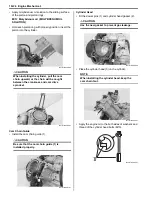
• Install the fuel delivery pipe assembly (4) to the fuel
injector.
CAUTION
!
Never turn the fuel injector while installing
them.
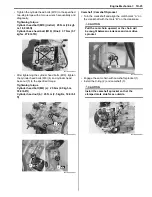
• Tighten the fuel delivery pipe mounting screws to the
specified torque.
Tightening torque
Fuel delivery pipe mounting screw (b): 5 N·m (0.5
kgf-m, 3.5 lbf-ft)
Throttle Body Inspection and Cleaning
B931H21406014
Refer to “Throttle Body Disassembly and Assembly
(Page 1D-11)”.
Cleaning
WARNING
!
Some carburetor cleaning chemicals,
especially dip-type soaking solutions, are
very corrosive and must be handled carefully.
Always follow the chemical manufacturer’s
instructions on proper use, handling and
storage.
• Clean passageways with a clean rag.
CAUTION
!
• Do not use compressed air to clean
passageways.
• Do not use wire to clean passageways.
Wire can damage passageways. If the
components cannot be cleaned with a
spray cleaner it may be necessary to use a
dip-type cleaning solution and allow them
to soak. Always follow the chemical
manufacturer’s instructions for proper use
and cleaning of the throttle body
components. Do not apply carburetor
cleaning chemicals to the rubber and
plastic materials.
Inspection
Move the throttle valve by hand to inspect it if operating
smoothly.
ISC Valve Visual Inspection
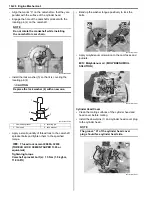
Check the ISC valve for carbon deposits or other
damage. If carbon is deposited, remove it with a brush
and clean with a compressed air.
CAUTION
!
Normally, the removed O-ring must be
replaced with a new one. However, this O-
ring is not available for the spare parts. If it is
found to be damaged, replace the ISC valve
assembly with new one.
Engine Assembly Removal
B931H21406015
Before taking the engine out of the frame, wash the
engine using a steam cleaner. Engine removal is
sequentially explained in the following steps:
1) Remove the engine under cover and rear under
cover. Refer to
“Under Cover Removal and
Installation: in Section 9D”
.
2) Drain engine oil. Refer to
“Engine Oil and Filter
Replacement: in Section 0B”
.
3) Drain engine coolant. Refer to
“Cooling System
Inspection: in Section 0B”
.
4) Remove the seat. Refer to
“Seat Removal and
Installation: in Section 9D”
.
(b)
4
I931H1140031-02
I931H1140032-01
I931H1140033-01
Summary of Contents for 2009 LT-A500XP
Page 2: ......
Page 4: ......
Page 14: ...00 9 Precautions ...
Page 224: ...1E 3 Engine Lubrication System EXHAUST SIDE INTAKE SIDE I931H1150003 02 ...
Page 304: ...1K 4 Exhaust System ...
Page 346: ...2D 5 Wheels and Tires ...
Page 438: ...3D 26 Propeller Shafts ...
Page 482: ...4D 6 Parking Brake ...
Page 512: ...5A 28 Automatic Transmission ...
Page 624: ...Prepared by December 2008 Part No 99500 44080 03E Printed in U S A 624 ...


