1E-5 Engine Lubrication System:
8) Stop the engine and remove the oil pressure gauge
and attachment.
9) Reinstall the main oil gallery plug (1) and tighten it to
the specified torque.
CAUTION
!
Use a new gasket to prevent oil leakage.
Tightening torque
Main oil gallery plug (a): 18 N·m (1.8 kgf-m, 13.0
lbf-ft)
10) Check the engine oil level. Refer to
“Engine Oil and
Filter Replacement: in Section 0B”
.
11) Reinstall the removed parts.
Repair Instructions
Engine Oil and Filter Replacement
B931H21506001
Refer to
“Engine Oil and Filter Replacement: in
Section 0B”
.
Engine Oil Level Inspection
B931H21506002
Refer to
“Engine Oil and Filter Replacement: in
Section 0B”
.
Oil Sump Filter Removal and Installation
B931H21506003
Removal
1) Remove the engine assembly from the frame. Refer
to
“Engine Assembly Removal: in Section 1D”
.
2) Remove the engine top side. Refer to
“Engine Top
Side Disassembly: in Section 1D”
.
3) Separate the left and right crankcase. Refer to
“Engine Bottom Side Disassembly: in Section
1D”
.
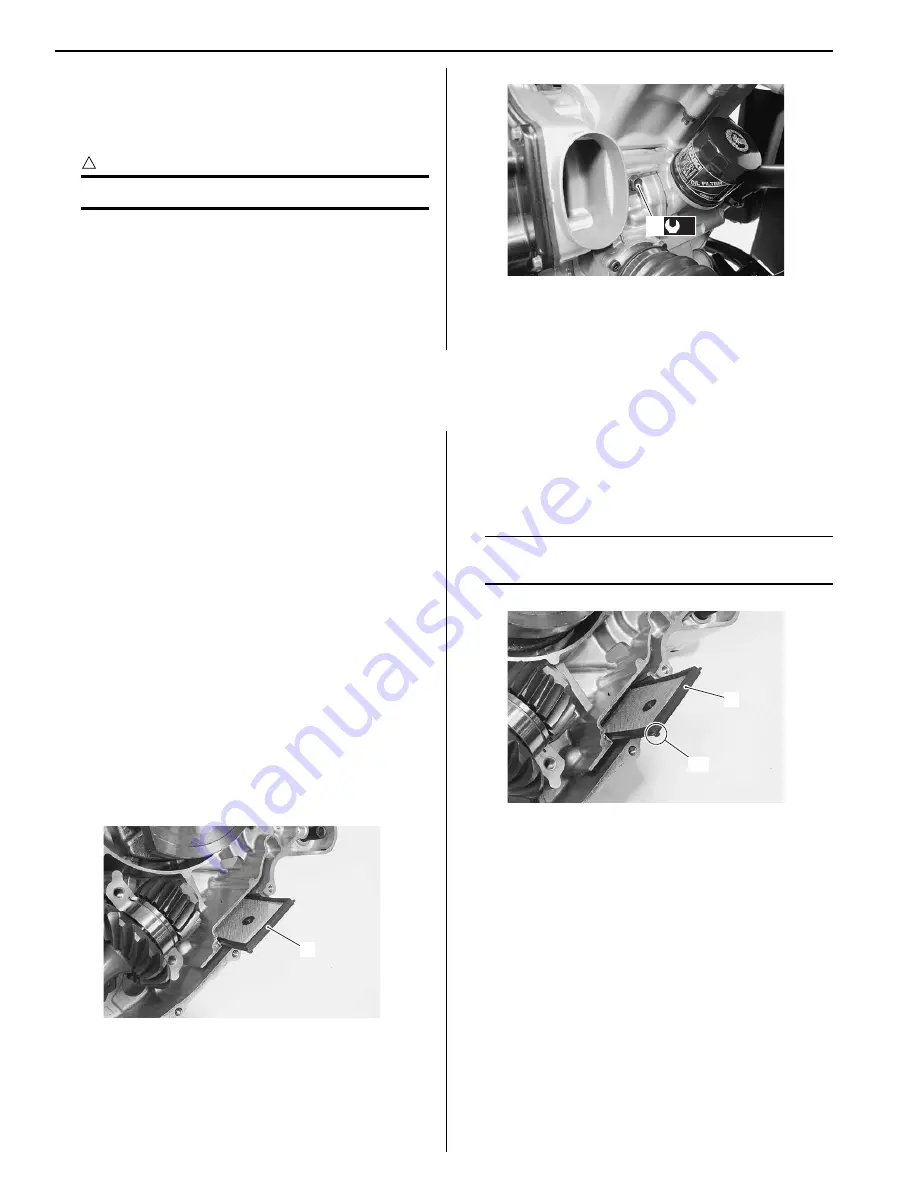
4) Remove the oil sump filter (1).
Installation
Install the oil sump filter in the reverse order of removal.
Pay attention to the following points:
• Install the oil sump filter (1).
NOTE
Fit the projection “A” of the oil sump filter in
the concave portion of the crankcase.
(a)
1
I931H1150006-01
1
I931H1150007-01
1
“A”
I931H1150008-01
Summary of Contents for 2009 LT-A500XP
Page 2: ......
Page 4: ......
Page 14: ...00 9 Precautions ...
Page 224: ...1E 3 Engine Lubrication System EXHAUST SIDE INTAKE SIDE I931H1150003 02 ...
Page 304: ...1K 4 Exhaust System ...
Page 346: ...2D 5 Wheels and Tires ...
Page 438: ...3D 26 Propeller Shafts ...
Page 482: ...4D 6 Parking Brake ...
Page 512: ...5A 28 Automatic Transmission ...
Page 624: ...Prepared by December 2008 Part No 99500 44080 03E Printed in U S A 624 ...


