4A-11 Brake Control System and Diagnosis:
Front Brake Master Cylinder / Brake Lever
Disassembly and Assembly
B931H24106015
Refer to “Front Brake Master Cylinder Assembly
Removal and Installation (Page 4A-9)”.
Disassembly
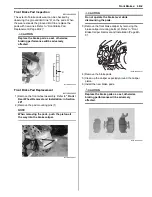
1) Remove the reservoir cap (1) and diaphragm (2).
2) Remove the brake lever (3) and brake light switch
(4).
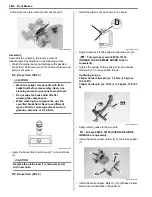
3) Pull out the dust boot (5) and remove the snap ring
(6) with a special tool.
Special tool
: 09900–06108 (Snap ring remover (Close
type))
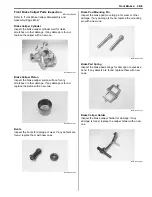
4) Remove the following parts from the master cylinder.
• Secondary cup (7)
• Piston (8)
• Primary cup (9)
• Spring (10)
Assembly
Assemble the master cylinder in the reverse order of
disassembly. Pay attention to the following points:
CAUTION
!
• Wash the master cylinder components with
new brake fluid before reassembly.
• Do not wipe the brake fluid off after
washing the components.
• When washing the components, use the
specified brake fluid. Never use different
types of fluid or cleaning solvents such as
gasoline, kerosine, etc.
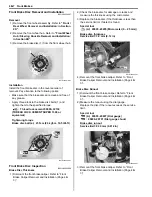
• Apply brake fluid to the master cylinder
bore and all of the master cylinder
component to be inserted into the bore.
BF: Brake fluid (DOT 4)
1
2
I931H1410039-01
4
3
I931H1410040-01
5
6
I931H1410041-01
10
9
8
7
I931H1410042-01
I931H1410027-01
Summary of Contents for 2009 LT-A500XP
Page 2: ......
Page 4: ......
Page 14: ...00 9 Precautions ...
Page 224: ...1E 3 Engine Lubrication System EXHAUST SIDE INTAKE SIDE I931H1150003 02 ...
Page 304: ...1K 4 Exhaust System ...
Page 346: ...2D 5 Wheels and Tires ...
Page 438: ...3D 26 Propeller Shafts ...
Page 482: ...4D 6 Parking Brake ...
Page 512: ...5A 28 Automatic Transmission ...
Page 624: ...Prepared by December 2008 Part No 99500 44080 03E Printed in U S A 624 ...


