1J-4 Charging System:
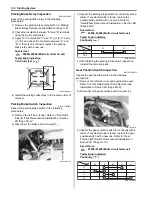
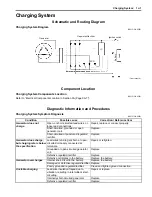
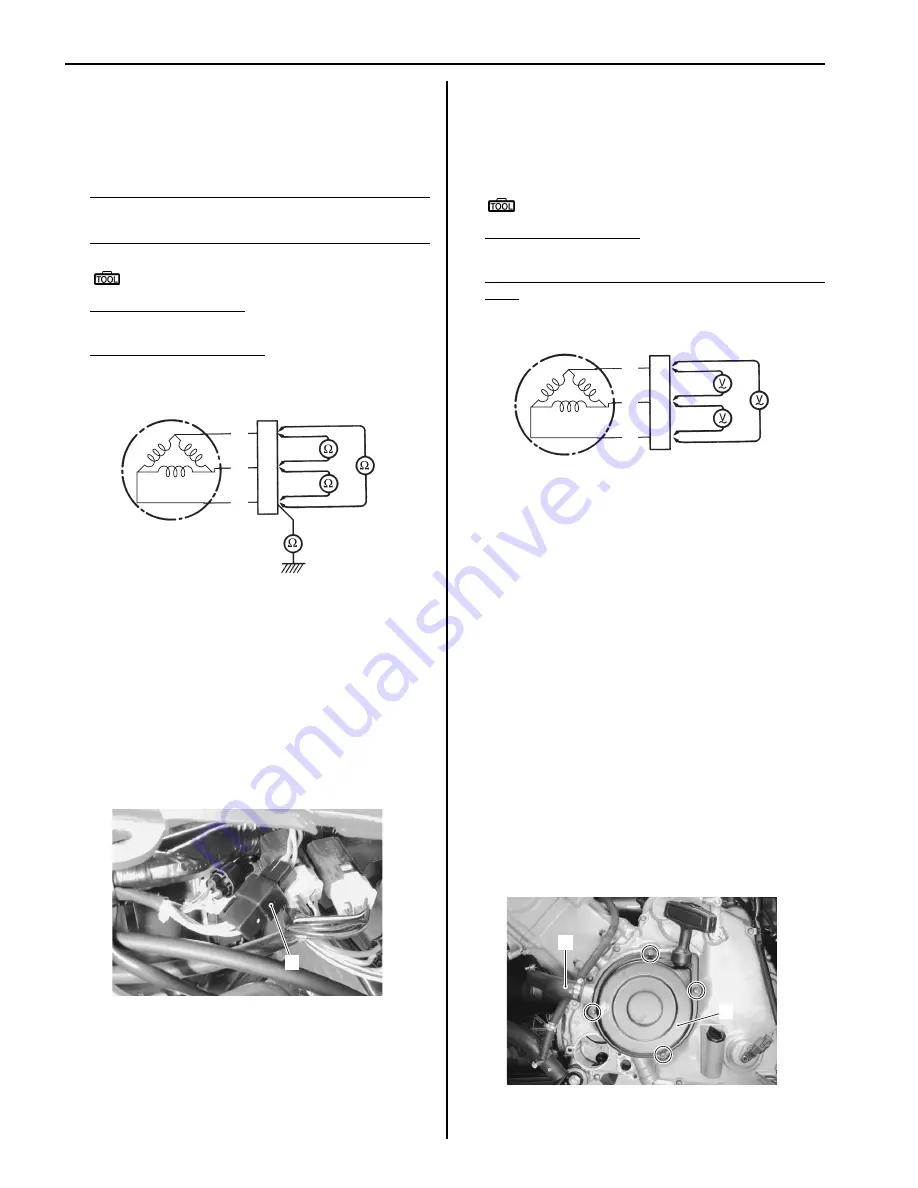
3) Measure the resistance between the three lead
wires.
If the resistance is out of specified value, replace the
stator with a new one. Also, check that the generator
core is insulated properly.
NOTE
When making this test, it is not necessary to
remove the generator.
Special tool
: 09900–25008 (Multi-circuit tester set)
Tester knob indication
Resistance (
Ω
)
Generator coil resistance
0.4 – 1.0
Ω
(Y – Y)
∞
Ω
(Y – Ground)
4) After finishing the inspection, reinstall the removed
parts.
No-load Performance
1) Remove the side covers, left and right. Refer to
“Front Side Exterior Parts Removal and Installation
in Section 9D (Page 9D-6)”.
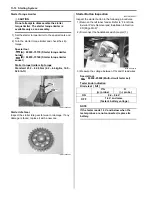
2) Connect the tachometer onto the spark plug high-
tension cord.
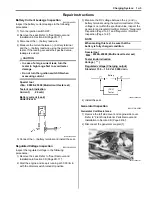
3) Disconnect the generator coupler (1).
4) Start the engine and keep it running at 5 000 r/min.
5) Using the multi-circuit tester, measure the voltage
between three lead wires.
If the tester reads under the specified value, replace
the generator with a new one.
Special tool
: 09900–25008 (Multi-circuit tester set)
Tester knob indication
Voltage (~)
Generator no-load performance (When engine is
cold)
75 V (AC) and more at 5 000 r/min
Generator Removal and Installation
B831G21A06004
Removal
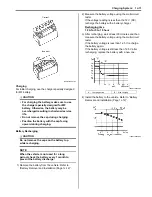
1) Disconnect the (–) battery lead wire. Refer to
“Battery Removal and Installation (Page 1J-12)”.
2) Drain engine oil. Refer to “Engine Oil and Filter
Replacement in Section 0B (Page 0B-10)”.
3) Remove the left inner fender. Refer to “Front Side
Exterior Parts Removal and Installation in Section
9D (Page 9D-6)”.
4) Remove the left mud guard. Refer to “Rear Side
Exterior Parts Removal and Installation in Section
9D (Page 9D-9)”.
5) Drain engine coolant. Refer to “Cooling System
Inspection in Section 0B (Page 0B-15)”.
6) Remove the water pump assembly. Refer to “Water
Pump Removal and Installation in Section 1F
(Page 1F-13)”.
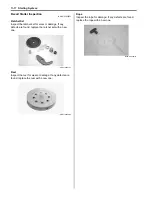
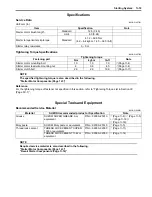
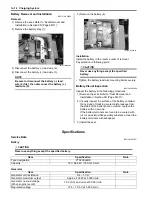
7) Disconnect the water hose (1) and remove the recoil
starter (2).
Y
Y
Y
I831G11A0002-01
1
I831G11A0001-01
Y
Y
Y
I831G11A0003-01
2
1
I831G11A0004-02
Summary of Contents for 2009 LT-A750XK9
Page 2: ......
Page 4: ......
Page 5: ...SUPPLEMENTS L LT A750XK9 09 MODEL 10 LT A750XPK9 09 MODEL 11 ...
Page 29: ...0A 15 General Information 99565 01010 013 CD ROM Ver 13 ...
Page 57: ...0B 28 Maintenance and Lubrication 09915 40610 Oil filter wrench Page 0B 12 Page 0B 12 ...
Page 68: ...0C 11 Service Data ...
Page 310: ...1K 5 Exhaust System ...
Page 482: ...4D 6 Parking Brake ...
Page 528: ...6B 13 Steering Handlebar ...
Page 581: ......

