ENGINE 3-34
PISTON RING FREE END GAP AND PISTON RING END GAP
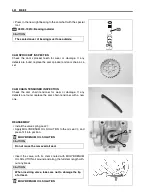
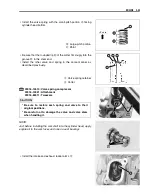
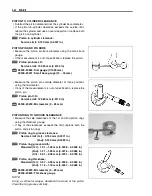
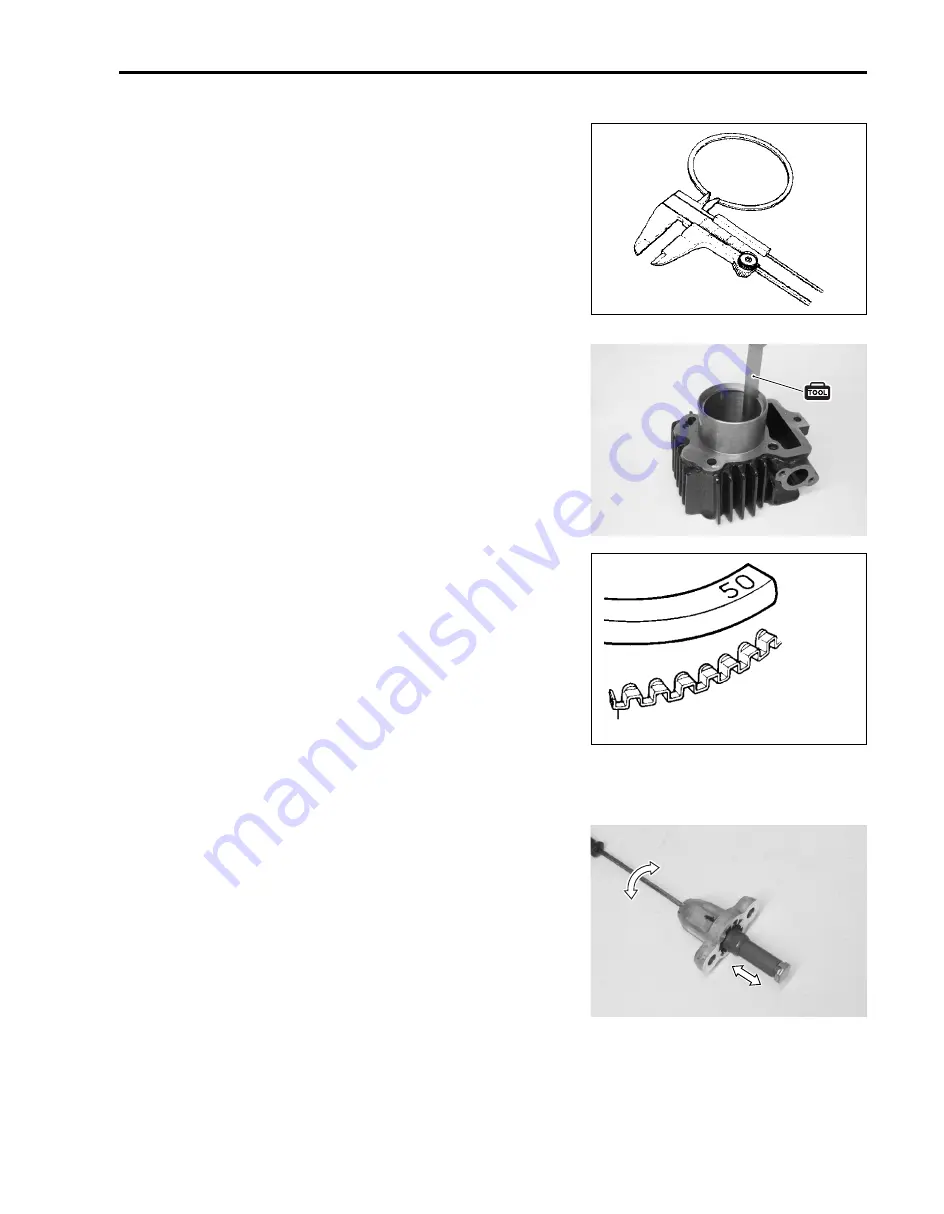
• Measure the piston ring free end gap using the vernier cali-
pers.
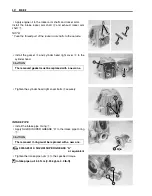
• Next, fit the piston ring squarely into the cylinder and measure
the piston ring end gap using the thickness gauge.
• If any of the measurements exceeds the service limit, replace
the piston ring with a new one.
Piston ring free end gap:
Service Limit (1st) : 4.0 mm (0.16 in)
(2nd): 5.3 mm (0.21 in)
\
09900-20102: Vernier calipers
Piston ring end gap:
Service Limit (1st & 2nd) : 0.5 mm (0.02 in)
\
09900-20803: Thickness gauge
OVERSIZE RING
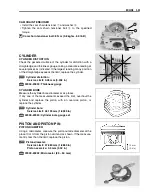
Oversize piston ring
The following oversize piston ring is used. It bears the following
identification number.
Piston ring 1st and 2nd 0.5 mm: 50
Oversize oil ring
The following oversize oil ring is used. It bears the following
identification mark.
Oil ring 0.5 mm: Painted red
Oversize side rail
Measure the outside diameter to identify the size.
CAM CHAIN TENSION ADJUSTER
INSPECTION
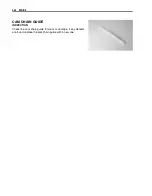
Check the push rod movement. If the push rod is stuck or spring
mechanism fails, replace the cam chain tension adjuster with a
new one.
Paint
0.5 mm O.S.
Oil ring spacer


