CV0204DVR
16
SVAT ELECTRONICS
Now You Can See
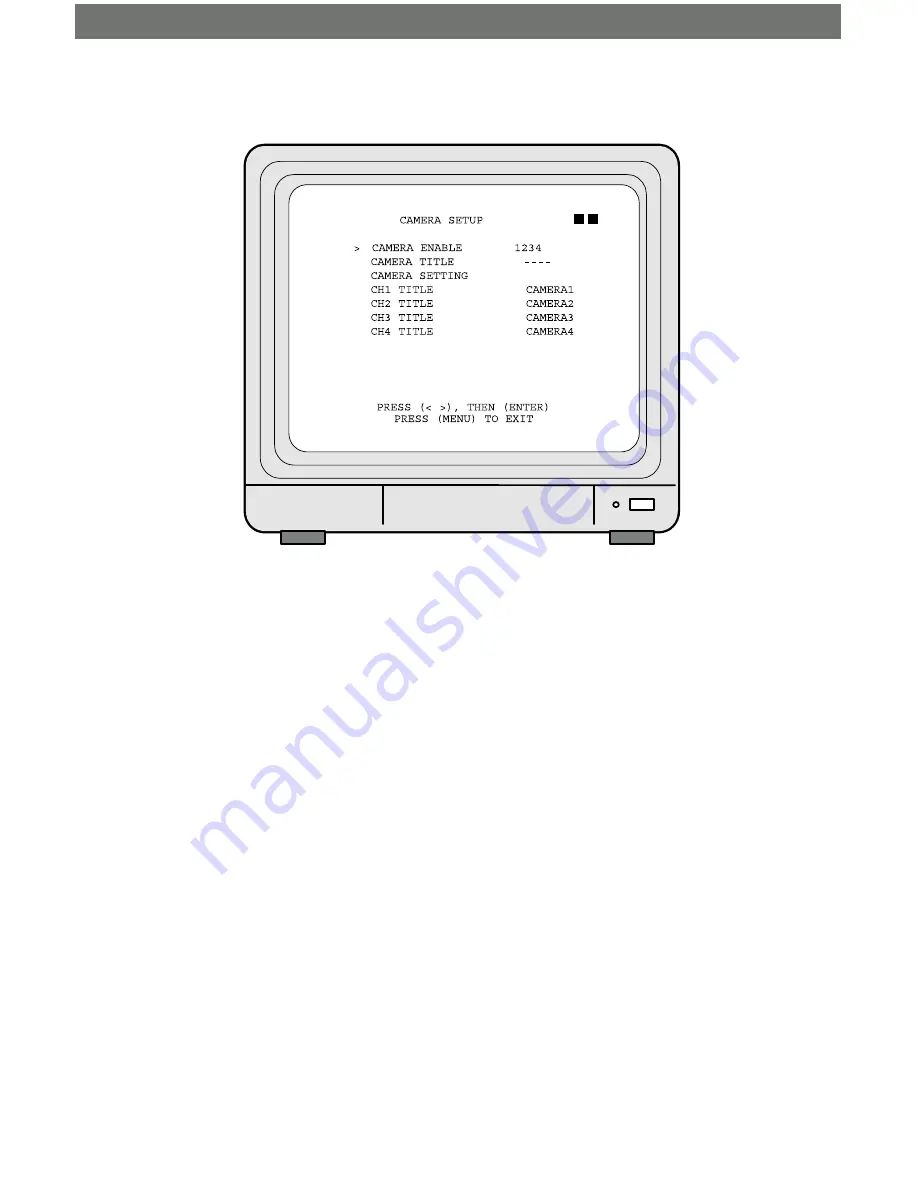
5.3 CAMERA SETUP
1. Camera Enable - Select this option to change the camera view combination. For
example, if you select (- - - -), all camera channels will be disabled, and a black
screen will be displayed. If you select (1 2 3 4), all cameras channels will be enabled
and displayed. If you select (- - - 4), only the camera 4 channel will be enabled and
displayed. Use the ENTER button to change these combinations. Note: Disable the
camera channels that you won't be using, or the VIDEO LOSS alarm will sound
during startup and recording.
2.
Camera Title - Select this option to change whether you want a custom title
displayed for each camera, for no cameras, or for some cameras. Use the enter
button to select the combination to your preference.
3.
Camera Setting - Allows you to change specific settings for each camera. Please
refer to the next section for more details.
4.
CH(1-4) Title - Select a camera and use the up/down and ENTER buttons to change
the title (maximum 8 characters). When you are finished, press MENU to confirm.
Example: When highlighting “CH1 TITLE”, press ENTER to show the display below:
V
CH1 TITLE CAMERA1
“V” indicates the position of the cursor. Press the up and down buttons to move the
cursor, and press ENTER to change the title (maximum 8 characters).
5.
All channel titles are setup in the same way.


