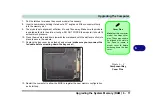
Upgrading The Computer
6 - 12 Changing the Optional Top Covers
6
Changing the Optional Top Covers
If your purchase option includes the specially designed LCD back cover option, then
follow the instructions below to change the covers (note these covers are not appli-
cable to all models in this series - consult your service center for details).
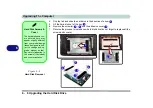
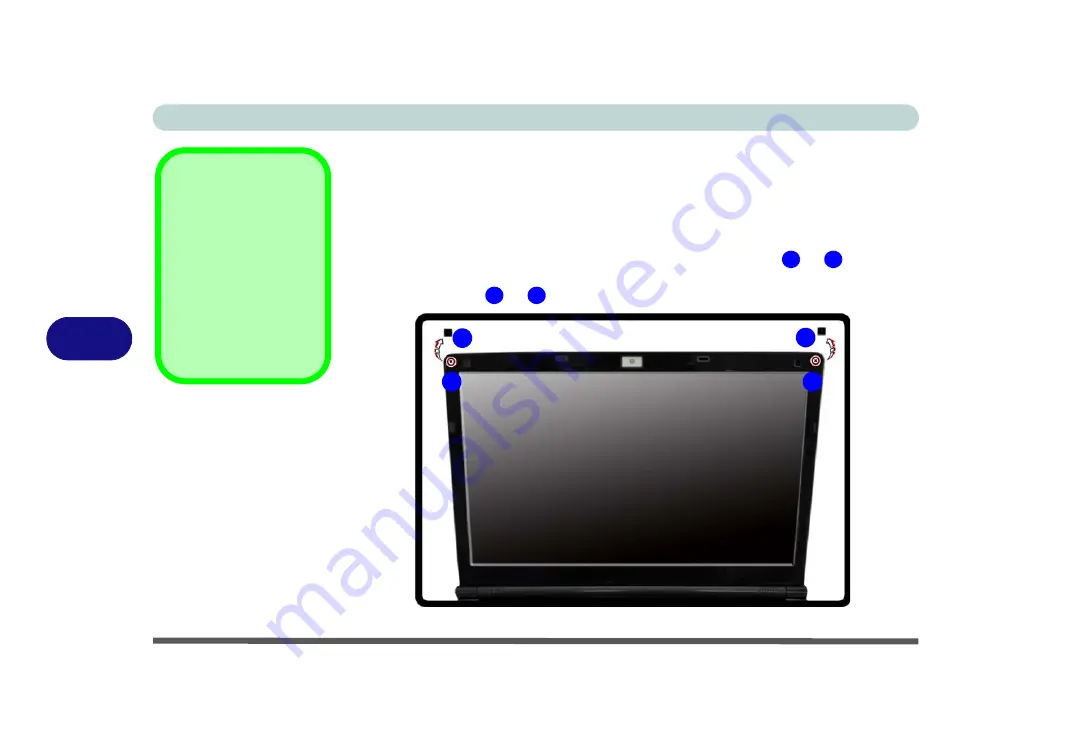
1.
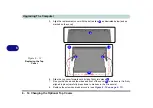
Open the LCD and carefully remove the rubber screw covers
&
and set
them aside.
2.
Remove screws
&
from the front cover.
Rubber Screw
Covers
After removing the rub-
ber screw covers,
place them on a clean
dry surface (or attach
them to the front cover
itself) in order to pre-
vent loss of adhesive.
Figure 6 - 10
Removing the
Covers & Screws
1
2
3
4
1
3
2
4
Summary of Contents for C4805
Page 1: ...V10 1 30...
Page 2: ......
Page 22: ...XX Preface...
Page 44: ...Quick Start Guide 1 22 1...
Page 68: ...Power Management 3 6 Power Plans 3 Figure 3 3 Power Plan Advanced Settings Win Vista...
Page 102: ...BIOS Utilities 5 14 5...
Page 129: ...Modules Options PC Camera Module 7 13 7 Figure 7 10 Audio Setup for PC Camera Right click...
Page 162: ...Modules Options 7 46 7...
Page 182: ...Interface Ports Jacks A 4 A...
Page 196: ...SIS Video Driver Controls B 14 B...

