background image

Installation Instructions

The NVR requires only five connections to install. 

Attach the NVR to the network by connecting the Ethernet cable to the RJ-45 port on the back of the 

NVR.

Connect the power cable to the NVR and turn on the master power switch above. The unit will then power 

on automatically. 

Mounting Instructions
For rack mounting the NVR, follow the steps below:

1. Rack ears come pre-mounted on the NVR, which is a 2RU device.

2. Insert the NVR into the rack and align the mounting holes of the rack ears with 

the holes in the rack. 

3. Connect the appropriate cables as described above in 

Installation Instructions

Accessing the NVR

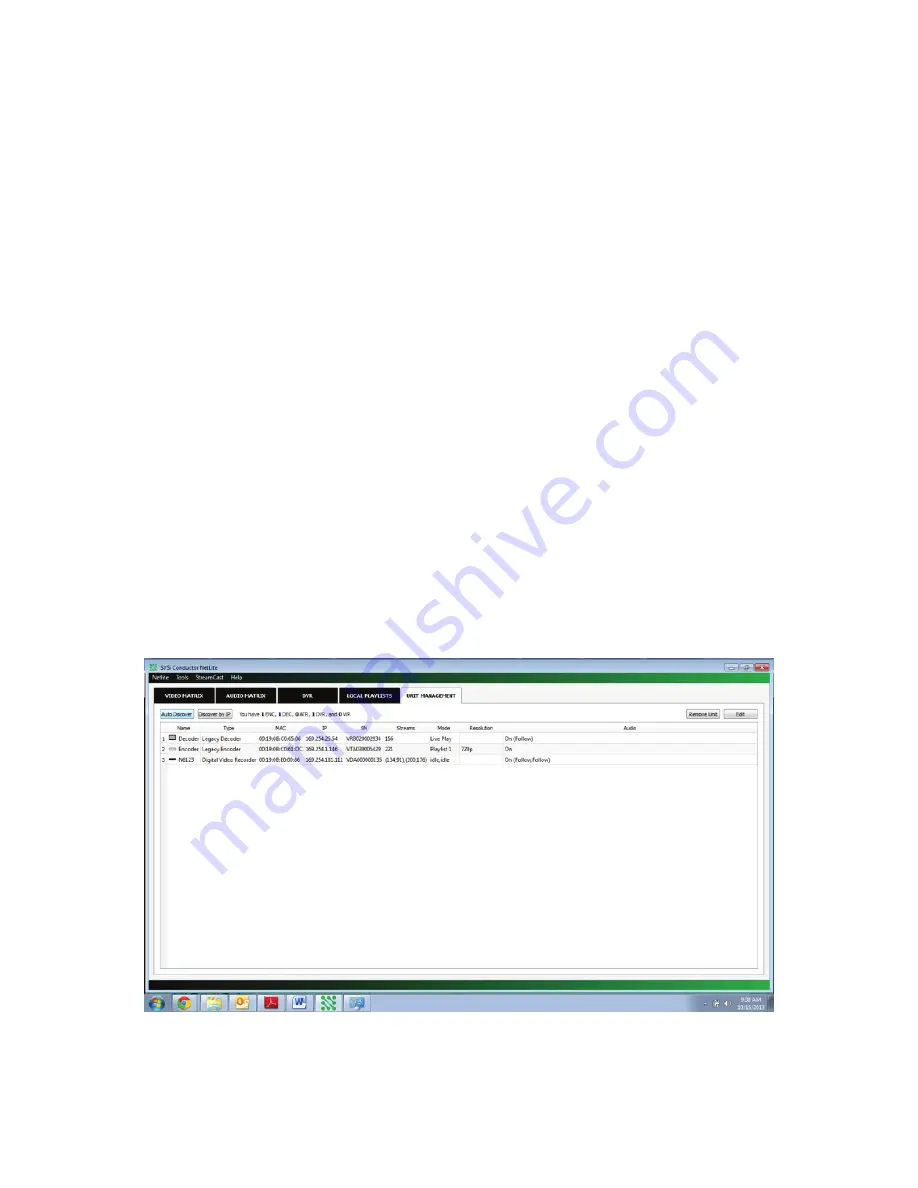
The NVR is discoverable using our Conductor Netlite Software (found here: 

http://svsiav.com/support/resources/software/

), just as any other SVSi device is.

The NVR ships with Auto IP as the default IP mode for the network card. This means that it will 

automatically configure an IP address in the range of 169.254.X.X with a netmask of 255.255.0.0. Once 

you find the NVR using the Auto-Discovery tool in Conductor Netlite (or a N-8000 series controller), you 

can determine its IP address. 

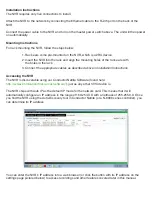
You can enter the NVR’s IP address into a web browser (or click the button with its IP address on the 

settings page pictured below) to access recordings and other features covered later in this manual. 

Summary of Contents for N6123

Page 1: ...ion of the SVSi hardware software or accessories IMPORTANT SAFETY INSTRUCTIONS DO NOT DISCARD READ BEFORE OPERATING Please read the safety precautions carefully before using this product Ensure that you use the product correctly according to the procedures described in these instructions The following safety precautions are intended to instruct you in the safe and correct operation of the product ...

Page 2: ...ropriate cables as described above in Installation Instructions Accessing the NVR The NVR is discoverable using our Conductor Netlite Software found here http svsiav com support resources software just as any other SVSi device is The NVR ships with Auto IP as the default IP mode for the network card This means that it will automatically configure an IP address in the range of 169 254 X X with a ne...

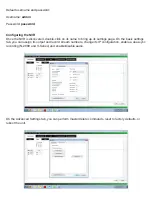
Page 3: ...you can assign its output and record stream numbers change its IP configuration enable a dual sync recording N 2000 and V Series and enable disable audio On the Advanced Settings tab you can perform master delete commands reset to factory defaults or reboot the unit Default username and password Username admin Password password ...

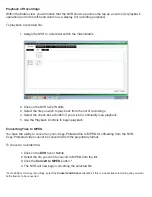
Page 4: ...013 Transport controls are available on the DVR window of Netlite To start a recording of a source 1 Select the DVR Tab within Conductor Netlite 2 Use the drop down menu s to select the sources you wish to record 3 Enter a text description of the file to be recorded 4 Enter duration in minutes for the recording to last 5 Press the Record button ...

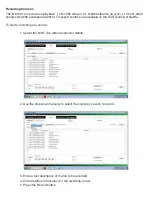
Page 5: ...h to continually loop playback 5 Use the Playback Controls to begin playback 1 Click on the DVR tab of Netlite 2 Select the file you wish to convert to MPEG from the list 3 Click the Convert to MPEG button 4 The NVR will now begin converting the selected file Converting Files to MPEG You have the ability to convert any non Copy Protected file to MPEG for offloading from the NVR Copy Protected vide...

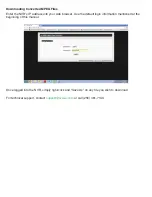
Page 6: ...ss into your web browser Use the default login information mentioned at the beginning of this manual Once logged into the NVR simply right click and Save As on any file you wish to download For technical support contact support svsiav com or call 256 461 7143 ...

Page 7: ...resolution Connection 1x RJ 45 for network attach Control Conductor NetLite or third party 150W 1 25A 120VAC Dimensions 19 W x 17 L x 3 5 H Weight 16 lbs 2 year warranty ITSIMPLYWORKS Southern Vision Systems Inc SVSi and voLANte are trademarks of Southern Vision Systems Inc in the United States and other countries 800DOCN6123MNREV1 1 Distribution Switching Recording Windowing Wall Processing Contr...

Reviews: