10278L
SW-Stahl GmbH
An der Hasenjagd 3
D-42897 Remscheid
Tel. +49 (0) 2191 / 46438-0
Fax +49 (0) 2191 / 46438-40
E-Mail: info@swstahl.de
12
11.
OPERATION ANOMALIES, CAUSES,
SOLUTIONS
Operation
anomalies
Causes
Solutions
The machine
does not work
Check the
connection to
the compressed
air system
Connect the
machine to the
local pneumatic
system through the
quick connection
equipped
The two arms do
not run properly
along the
columns
Dust and dirt on
the columns
Clean the columns
and the sliding
parts with a
dry rag,
NEVER
LUBRICATE WITH
GREASES OR OILS
The piston’s shaft
after moving
forward does not
keep the position
and goes back
There is an
air leak in the
cylinder
Contact customer
service to repair
the cylinder
12. MACHINE IDLED FOR A LONG PERIOD
Following the under mentioned instructions when the
machine 10278L is idled for a long period:
- Disconnect the pneumatic feeding hose.
- Discharge the air inside the cylinder.
- Lubricate the compressed air inlet.
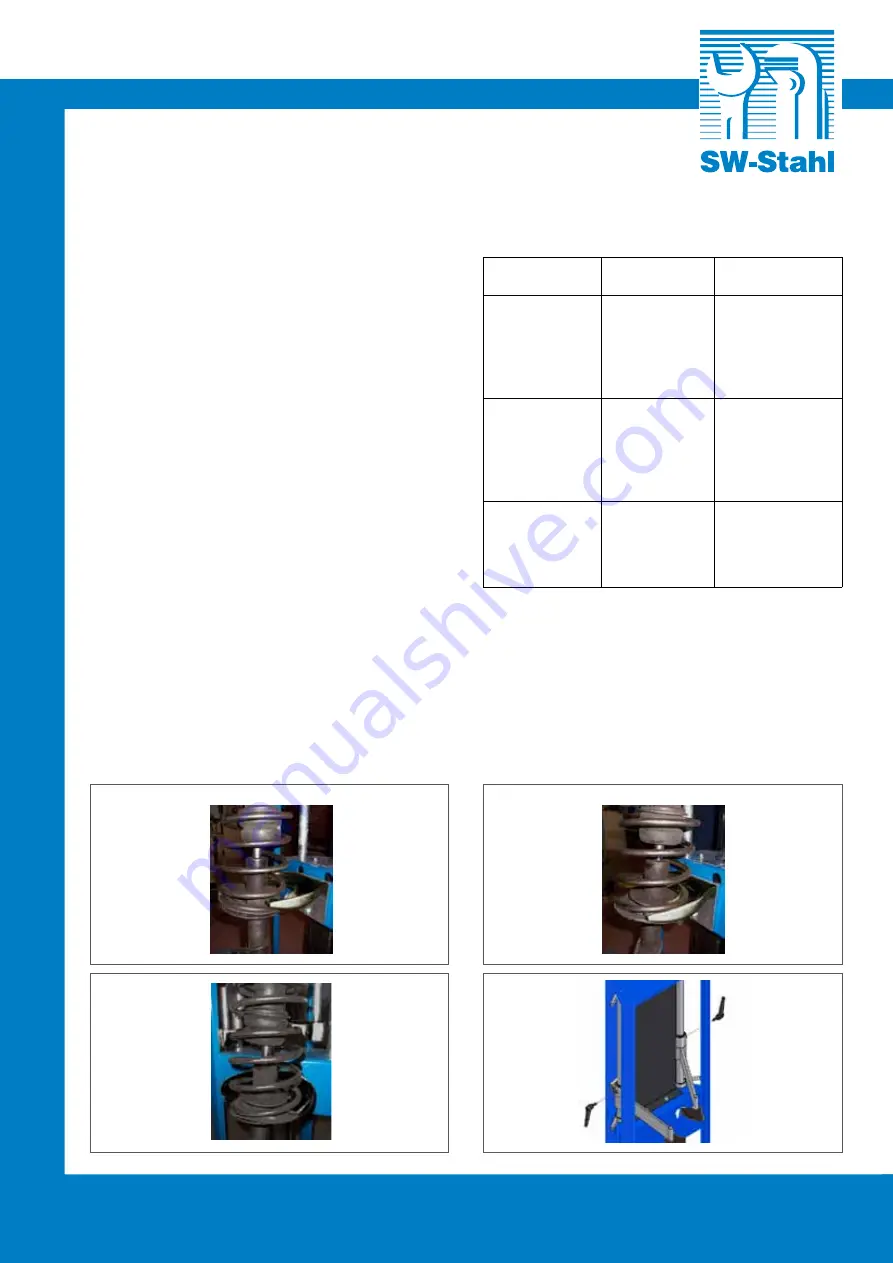
dismounting the shock absorbers from the car.
Positioning the shock absorbers on the lower bracket in
the first coil (fig. 1), rotate the shock absorber and lock
it in the bracket in the maximum slipping point (fig. 2).
Put the small arms near the spring and insert the upper
vices in the first coil available (see fig. 3).
After having found the right position of the spring on
the bracket and after having adjusted the upper vices,
block the adjustable arms (fig.4) locking the screws
behind the case with the key supplied.
Compress the spring using the foot control lever only
to release the pressure that the spring it-self exert on
the cap.
Do not compress the spring completely (see fig.5).
Remove the blocking cap form the shock absorber
unscrewing the nut. Discharge the compression of the
spring and replace the old shaft with the new one.
10.2 Assembling
For assembling make the contrary operations of the
disassembling. Put the new spring in the same position
where the old one was. Press the foot control lever in
order to make the spring stuck to the blocking cap.
Block the cap to the shaft of the shock absorber screwing
the proper nut. Now the shock absorber is mounted,
use the foot control lever to release completely the
spring, then move the arms on the outside and remove
the shock absorber now reassembled thanks to the
machine 10278L.
1
2
3
4


