background image

12

12

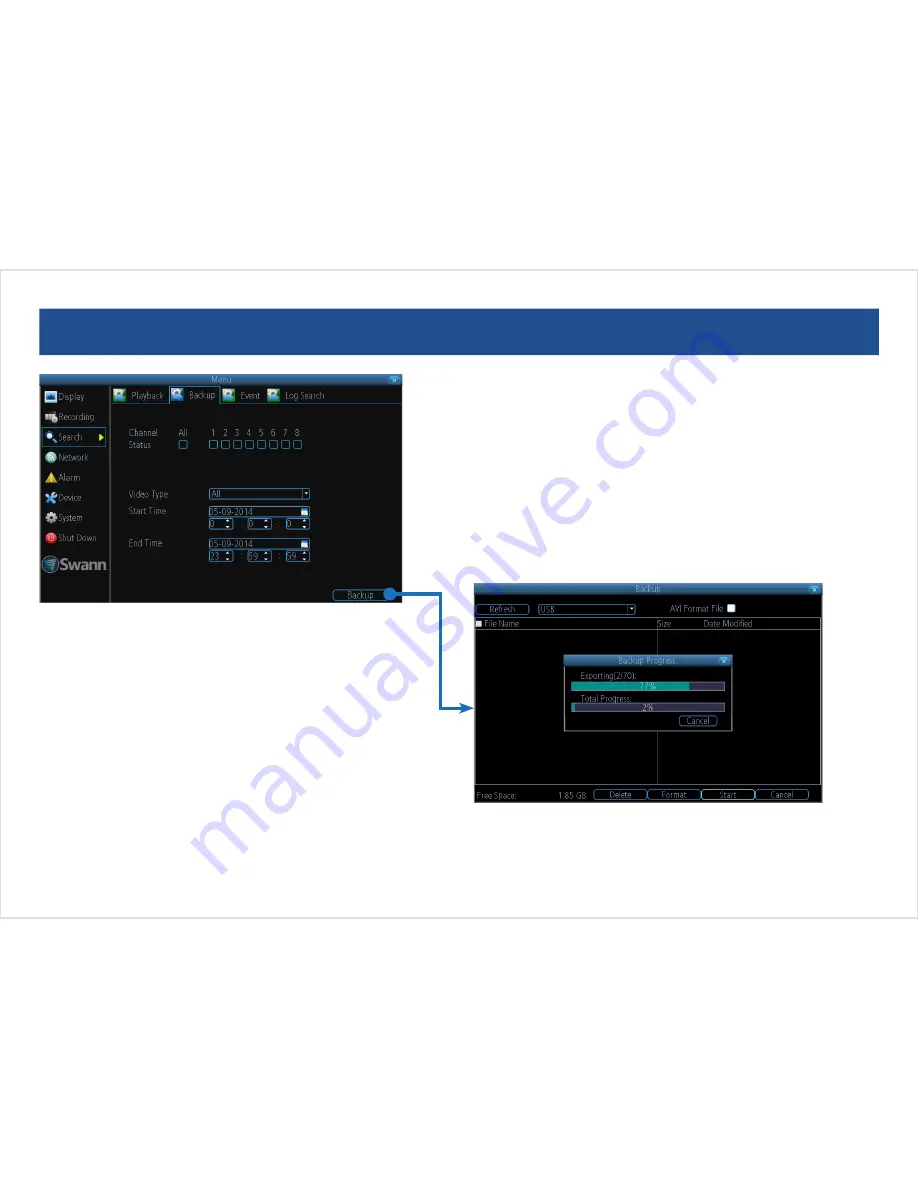
Search: Backup

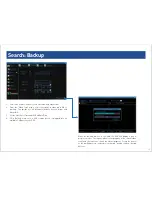
1.  Select one or more channels you’d like to back up videos from.
2.  From the “Video Type” menu, select the type(s) of video you’d like to 

back up. The options are All, Manual, Schedule, Motion, Alarm and 
Alarm/MD.

3.  Set the Start Date/Time and the End Date/Time.
4.  Click Backup. Make sure a USB storage device is plugged into an 

available USB port on your DVR.

While the backup process is executed, the DVR will display a pair of 
progress meters. The top one indicates the progress of the current video 
event and the lower one shows the overall progress. Please be patient 
as the backup process can be time consuming - doubly so when creating 
AVI files.

Summary of Contents for 3425 series

Page 1: ...1 1 DIGITAL VIDEO RECORDER EN INSTRUCTION MANUAL ...

Page 2: ... specific laws and regulations relating to the use of cameras Before using any camera for any purpose it is the buyer s responsibility to be aware of all applicable laws and regulations that prohibit or limit the use of camer as and to comply with the applicable laws and regulations FCC Regulation for USA Prohibition against eavesdropping Except for the operations of law enforcement officers condu...

Page 3: ...t Log Search 13 Network General 14 Network Advanced Network Status 15 Alarm Motion Motion Detection Sensitivity 16 Alarm Motion Schedule Action 17 Motion Detection Tips 18 Alarm Video Loss 19 Alarm Alarm Devices 20 Alarm Exception 21 Device HDD S M A R T 22 Device PTZ 23 System General 24 System User 25 System System Information Maintenance 26 SwannView Link Windows Software 27 Warranty Informatio...

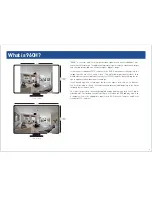
Page 4: ... This will allow higher quality videos than would otherwise be available particularly for 700TVL cameras but will warp the im age to appear a little wider than it should be If you do end up with a recording at the incorrect aspect ratio this isn t a disaster You ll still be able to clearly see the details and identify individuals up to the limits imposed by the camera itself The correct aspect rat...

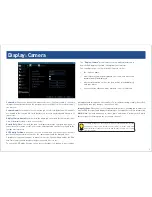
Page 5: ...on to your videos This can be useful as it creates an inseparable record of exactly when the footage was captured OSD Display Position Gives you access to a screen where you can easily set the exact positions of any overlaid text such as the camera name and the date and time Simply select any item you want to move such as the Channel Name and or the Date and Time and click and drag it to the posit...

Page 6: ...e spectrum a tiny bump or knock can send the cursor from one side of the screen to the other Try somewhere around the lower end for starters and then increase it little by little if it s moving too slowly Border Adjustment Changes the size and position of the DVR s images on the screen Altering the border size can be useful if you ve got parts of the DVR s image extending beyond the part of the sc...

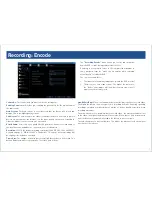
Page 7: ...ze makes it easier to send over a network Record Audio Select this if you would like this particular channel to record audio If you don t have any audio devices connected leave this disabled Resolution 960H is the default recording resolution 960 x 576 PAL 960 x 480 NTSC As noted on page 4 What is 960H a standard CCTV camera s horizontal image will be slightly stretched when recorded Frame Rate Th...

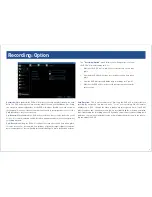
Page 8: ...g this enabled will get a much better look at them Pack Duration This is a measurement of how long the DVR will record for before splitting the output file into discrete units Packs are something like the chapter numbers on a DVD though the video is broken up into separate units it will still play through as one continuous movie unless interrupted by the schedule or motion detection turning the re...

Page 9: ...al is selected You won t miss anything but constant recording will fill your memory card very quickly Typically we suggest Motion as a better recording mode for most users Motion The default and recommended recording setting The device will only record when it detects something moving in front of a camera and will then only record footage from the camera s that do detect motion unless you alter yo...

Page 10: ...u select the type s of video you d like to playback The options are All Manual Schedule Motion Alarm and Motion or Alarm 3 Specify a Start Date Time and an End Date Time 4 Click Search The DVR displays a list of video events found based on your search criteria 5 Choose the recorded event that you want to watch and then click Play ...

Page 11: ...lick Cut to cancel and start over from step 1 3 When you re done click Copy to initiate a backup to a USB storage device Make sure you have inserted a USB storaged into your DVR Fast Rewind Reverses the footage Play Plays footage at normal speed Pause Single Frame Pauses playback Subsequent presses will move a single frame forward in the video Fast Forward Speeds up playback Slow Forward Plays bac...

Page 12: ...t the Start Date Time and the End Date Time 4 Click Backup Make sure a USB storage device is plugged into an available USB port on your DVR While the backup process is executed the DVR will display a pair of progress meters The top one indicates the progress of the current video event and the lower one shows the overall progress Please be patient as the backup process can be time consuming doubly ...

Page 13: ...ypically the majority of recordings based upon events are likely to be recordings triggered by the DVR s motion detection and or alarm feature Log Search Settings The Search Log Search allows you to search for different types of system events such as video losses exceptions video playbacks etc which occured through a period of time Results are presented in a chronological order The most recent eve...

Page 14: ...en 0 and 255 separated by periods For example a typical IP address might be 192 168 1 24 or something similar The most important thing when setting the IP address is that nothing else on your network shares that IP address Subnet Mask If the IP address is like a street address then a subnetwork is like your neighbourhood This will be formatted in a similar way to the IP address e g four numbers up...

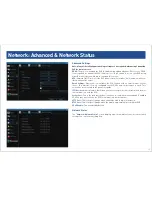
Page 15: ...email account of your choice This must be correctly configured for the DVR s auto email feature to work This section has been covered in the quick start guide IP Filter An advanced feature that allows you to exercise precise control over which devices can communicate with the DVR Server Port This is the port that the device will use to send information through Enabling UPnP on your router allows t...

Page 16: ...on but there are no false triggers or very few when your volunteer isn t moving about Motion Settings The way that the device looks for motion is quite straight forward it s a process where it compares one frame with the next A certain amount of difference between these two frames is interpreted as motion As a result the device is able to detect when there is a change in the picture However this d...

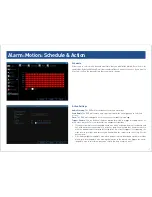
Page 17: ...ou can define a camera s motion detection to trigger recording on one or more other cameras This can be useful in a number of situations If you have two cameras overlooking a yard one with a wide view from well overhead and one with a much narrower view of a corner or path You may find that using the camera with the narrow view for motion detection gives fewer false triggers so triggering the wide...

Page 18: ...ion Position your cameras well Many issues seen with motion detection and security cameras can be traced back to poor positioning of the camera itself Make sure the area in front of your cameras is as clear as possible so it has an unobstructed view of potential activity Consider the centre of the camera image is the sweet spot which gives you the highest detail and the best image clarity so the c...

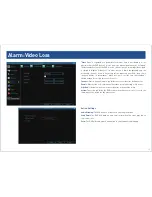
Page 19: ...ust be sure that you don t enable a video loss action for these channels Channel Which channel camera you d like to set the video loss behaviour for Enable Whether the selected channel has video loss monitoring active or not Schedule Schedule when the current video loss action will be active Action The action you d like the DVR to take when this event occurs It s set in the same way as the action ...

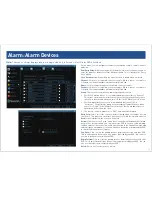
Page 20: ...ide the house when you select Home in the Alarm Control menu but if a window or door is opened this will activate the siren The remote control is always set to SOS and cannot be changed Entry Path Select this if the sensor will be activated when entering or leaving your home This gives you extra time that you ve selected for exit and entry to disable the alarm before the sensor is activated Action...

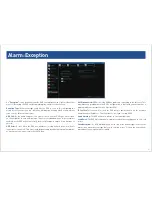
Page 21: ...ts hard drive or when it cannot detect one at all This error could be generated by either an internal hard drive or an external one connected to the eSATA port Net Disconnected Will occur if the DVR has problems connecting to the Internet This may indicate a problem with the DVR s configuration a fault with your network or a problem with your Internet Service Provider ISP IP Conflict This event wi...

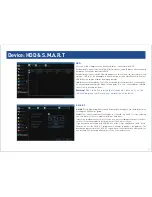
Page 22: ...on t initialize a drive that already has data on it as the initialization process will erase any information on the drive S M A R T S M A R T Self Monitoring Analysis and Reporting Technology is your hard drive s way of telling the DVR how it s going Status The current condition of the hard drive It should say Good If it says anything else this indicates there s a problem with your hard drive If t...

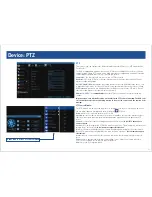
Page 23: ... between something moving in front of the camera and the camera itself moving PTZ Control Window The PTZ controls can be accessed from the Live Viewing screen by left clicking once on one of the live video channels available and then clicking the PTZ icon Arrows Moves the camera in the direction selected Speed How fast the camera will move The higher the number the faster the movement Note that th...

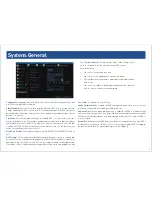
Page 24: ...r locality First turn DST on We suggest setting the Daylight Saving Time Mode to Date and manually entering the dates and times that daylight savings time applies to and from in your locality Enable Password When enabled the DVR will require a password to access even for local users It s advisable to enable password protection Auto Lock Time When password protection is enabled the DVR will automat...

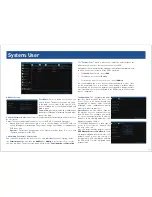
Page 25: ...ss There is no hierarchy and any combination of menus can be selected although some combinations would make little sense in practice Operation Youcanselectwhichchannels the user has access to and what they can do with them For example you could set a user to have permission to view all channels in live viewing mode but only playback channels 2 and 4 Click the Set button next to each type of access...

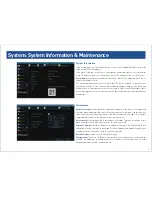
Page 26: ...om an upgrade Maintenance Enable auto reboot To maintain the operational integrity of the device it is suggested that it be rebooted periodically In much the same way that a computer can become un stable if left on for an extremely long time the device can become unstable It is strongly suggested that the device be rebooted at least once per week Auto reboot at Choose when you d like the device to...

Page 27: ...switch to a full screen view Double click again to return back to split screen view Playback Opens the Playback interface which operates in much the same way as the playback interface on the DVR itself Local Settings Here you can specify where to save footage and still images in your computer See Local Settings Screen on page 28 for more information Device Settings Opens the DVR s settings screen ...

Page 28: ...vice s native format H 264 into a format that your computer indeed almost any computer will be able to playback without special software About transcoding to AVI Don t be put off by the complex word transcoding is just a shortening of translating code Transcoding while a straight forward process is very processor intensive You may notice significant slow down on your computer while the transcoding...

Page 29: ...ngs Select the position of the Date Time labels that are overlaid on screen Mask checkbox Enable the masking function Mask Setup Lets you create and place a privacy mask to conceal parts of the image on the associated channel Display Output Resolution Set the screen resolution to output to your monitor Transparency How transparent you want the menus to be Mouse Sensitivity Adjust the sensitivity o...

Page 30: ...s make up your image Frame Rate How many images per second the DVR will capture Maximum Bitrate The actual amount of data that the DVR will use to record video The higher the bitrate the more space each recording will take up on the hard disk Generally speaking recordings encoded at higher bitrates will be of better quality especially when recording movement Recording Advanced Settings Overwrite c...

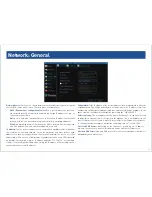
Page 31: ...squares corresponding to your desired days and times Network General Be careful adjusting settings here if the DVR can t access the network anymore you won t be able to configure it remotely Network Access How your network is addressed either DHCP or STATIC IP addressing IP Address The DVR s assigned IP address Subnet Mask A required additional piece of IP addressing information Gateway The way ou...

Page 32: ...nView Link software or remote access from a mobile device HTTP Port The second of two ports the DVR needs to communicate over your network Ensure nothing else uses this port The default value is 85 RTSP Port This is the port through which the mobile app communicates with the DVR Alarm Motion Channel Choose the channel that you want to configure motion detection settings for Enable checkbox Tick to...

Page 33: ...ideo loss event occurs It s set in the same way as the Action for any other event Alarm Exception Exception Type What event type you d like the DVR to react to By configuring the Action for these events you can create any combination of audio alerts see below or auto emails to be sent for different event types Audio Warning Tick to enable the DVR to sound its internal buzzer Send Email Tick to ena...

Page 34: ...rase any information on the drive Alarm Exception Exception Type What event type you d like the DVR to react to By configuring the Action for these events you can create any combination of audio alerts see below or auto emails to be sent for different event types Audio Warning Tick to enable the DVR to sound its internal buzzer Send Email Tick to enable the DVR to send an email alert Show Exceptio...

Page 35: ...igin The warranty does not cover any incidental accidental or consequential damages arising from the use of or the inability to use this product Any costs associated with the fitting or removal of this product by a tradesman or other person or any other costs associated with its use are the responsibility of the end user This warranty applies to the original purchaser of the product only and is no...

Page 36: ...Support E mail tech swann com Telephone Helpdesk USA Toll Free 1 800 627 2799 USA Parts Warranty 1 800 627 2799 M F 9am 5pm US PT AUSTRALIA 1300 138 324 NEW ZEALAND Toll Free 0800 479 266 UK 0203 027 0979 MV834250914E Swann Communications 2014 ...

Reviews: