20
20
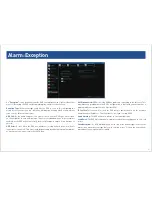
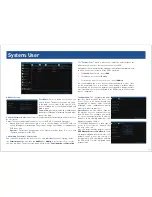
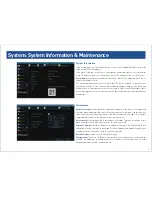
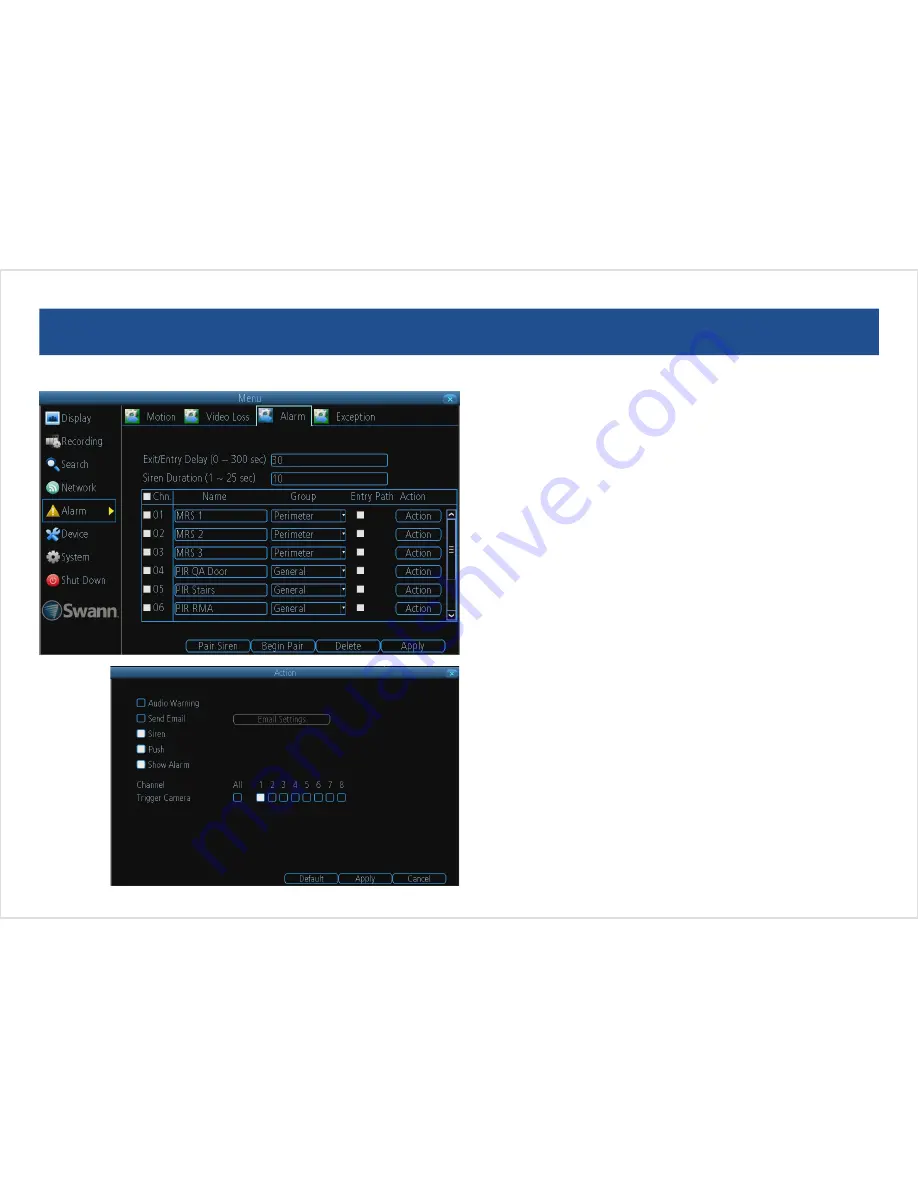
Alarm: Alarm Devices
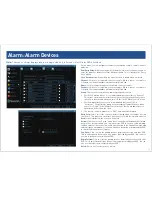
On this menu, you can configure settings for your motion sensors, remote controls
and siren.
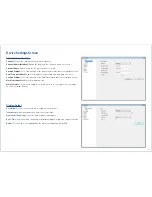
Exit/Entry Delay:
Allows you to specify the length of time that you have to leave or
enter the premises before the alarm will be activated. This is linked to the “Entry
Path” option.
Siren Duration:
Specify how long you want the siren to sound when activated.
Channel:
Click to select a paired sensor or remote. When a sensor or remote is
activated, the channel number will momentarily flash red.
Name:
Click to change the name of the paired sensor or remote.
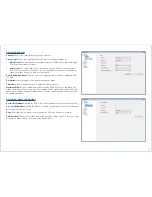
Channel:
Click to select a paired sensor or remote. When a sensor or remote is
activated, the channel number will momentarily flash red.
Group:
There are three options available to group your sensors.
• For the PIR motion sensor, it is recommended that you set this to “General”.
This means any movement within the vicinity of the sensor will then activate
the siren to be activated when you select “Arm” in the “Alarm Control” menu.
• For the window/door sensor, it is recommended that you set this to
“Perimeter”. The perimeter group allows movement inside the house (when
you select “Home” in the “Alarm Control” menu) `but if a window or door is
opened this will activate the siren.
• The remote control is always set to “SOS” and cannot be changed.
Entry Path:
Select this if the sensor will be activated when entering or leaving
your home. This gives you extra time (that you’ve selected for exit and entry) to
disable the alarm before the sensor is activated.
Action:
Click to enter the “Action” menu (see screenshot on the bottom left). When
a sensor has been activated, you can instruct the DVR to emit an audio warning,
send an email, activate the siren, send a notification to the SwannView Link app
and to display a warning on-screen. You also have the option of triggering the DVR
to record from one or more cameras.
Pair Siren:
Click to start the pairing process between your siren and your DVR.
This is only required if your siren is no longer detected by your DVR. You can also
use this to pair new sirens with your DVR.
Begin Pairing:
Click to start the pairing process between your sensor and your
DVR. This is only required if your sensor is no longer detected by your DVR. You can
also use this to pair new sensors with your DVR.
Delete:
Delete a selected sensor or remote.
Note:
The menu settings displayed here are applicable only to Swann’s latest Alarm DVR kit models.


