18
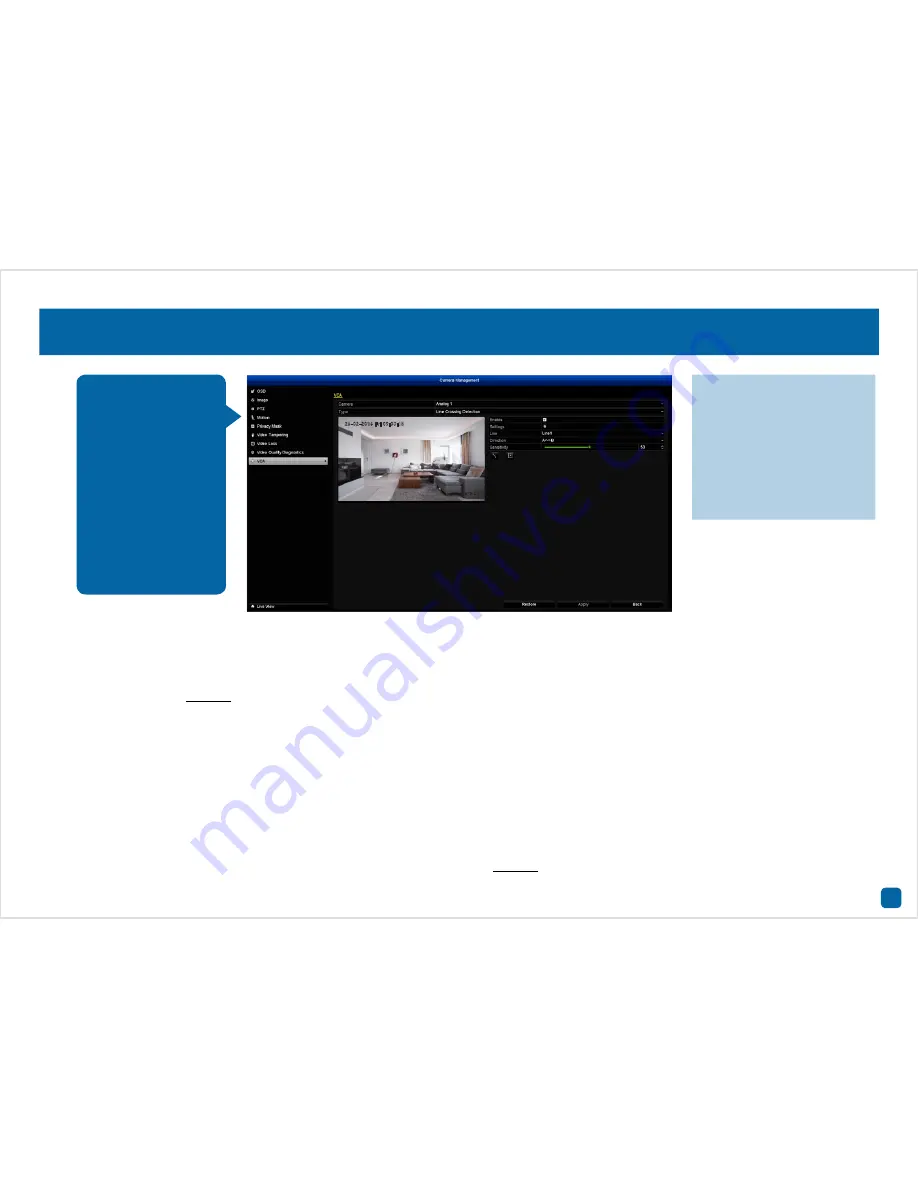
Camera: VCA - Line Crossing Detection
Camera:
Select a camera that you would like to edit. VCA can be applied
to a single camera only.
Type:
Line Crossing Detection is selected by default. You can also select
Intrusion Detection - see page 20 for more information.
Enable:
Click the checkbox to enable.
Settings:
Define what will happen when motion has been detected.
Trigger Channel:
Select additional cameras to start recording.
Arming Schedule:
Adjust your arming schedule by selecting a start day
and a time period (24-hour time). Click the “Copy” button to apply all
settings to the other cameras. Don’t forget to click “Apply” to save set-
tings. Click “OK” to exit.
Linkage Action:
Options available are full screen monitoring, enabling
your DVR’s internal buzzer, send alerts to the SwannView Plus Windows
software (software must be running to receive alerts) and to send an
email. Don’t forget to click “Apply” to save settings. Click “OK” to exit.
Line:
Up to four detection lines can be enabled.
Direction:
Select a rule that you want to apply to the detection line:
A<->B:
Motion is detected when an object has crossed the line from
both directions.
A->B:
Motion is detected when an object has crossed the line from di-
rection A only.
B->A:
Motion is detected when an object has crossed the line from di-
rection B only.
See page 19 for instructions on how to draw a detection line.
·
Don’t forget to click “Ap-
ply” to save settings.
·
Click the “Restore” button
to revert back to default set-
tings.
·
Click the “Back” button to
go back to the Menu.
VCA (Video Content
Analysis) provides you
with much greater
control on how your
DVR detects motion.
By drawing a detection
line, you can apply a
rule on which direction
your DVR detects mo-
tion. You can also de-
fine specific areas for
Intrusion Detection.
26-02-2016 Fri 09:30:15
Camera 01


