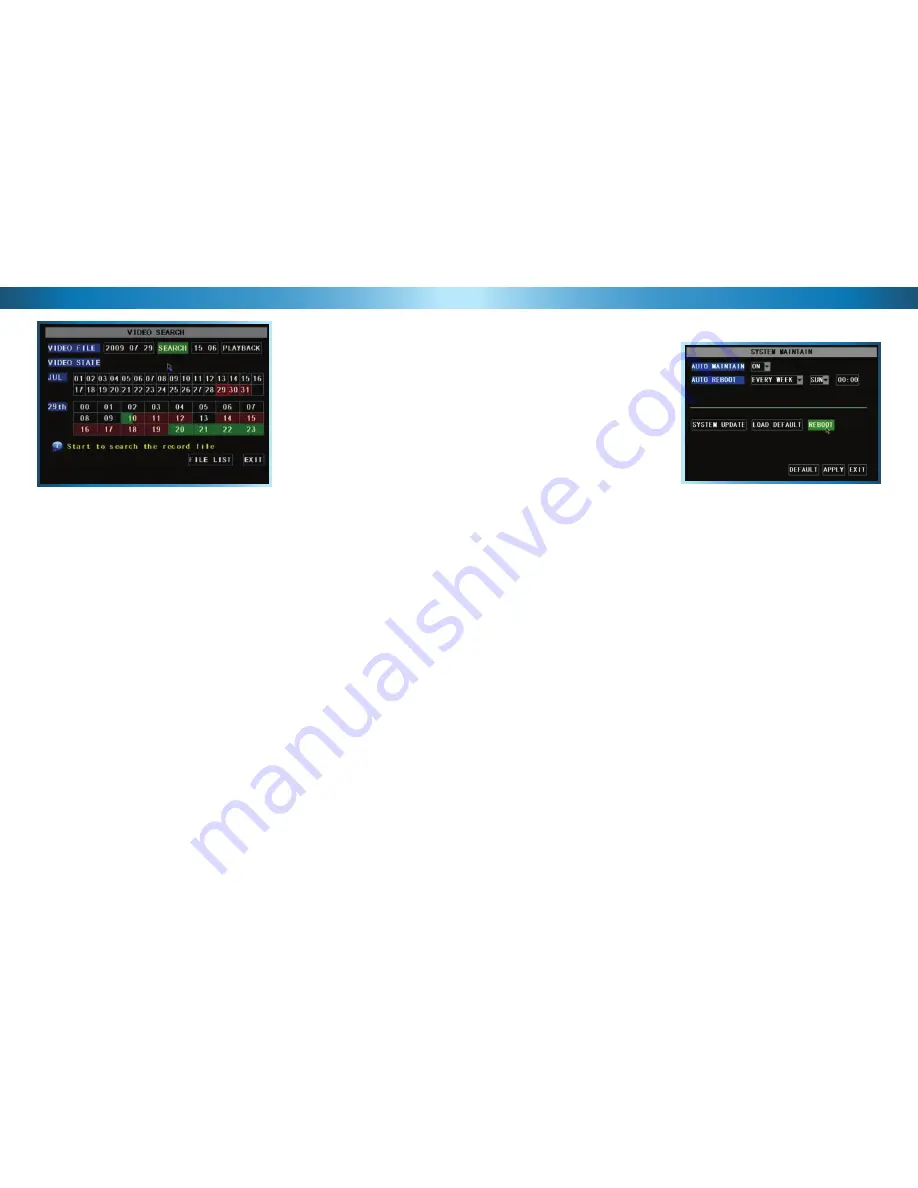
The Video Search Menu
Video Search
In the VIDEO SEARCH screen you can search for a specifi c day for a recording
and view it in playback mode. This is useful for hunting a specifi c recording of an
incident if you know the time and date it occurred. To search you need to input the
date of the video then select the hour of the recording.
Note that if you don’t know the exact day you want to search input just the MONTH
& YEAR then click the SEARCH button. If you want to be really vague, or look at a
really long list, you can input the YEAR alone.
All the days for that month will appear on the monthly calender. The highlighted
days are the days with recordings, color coded to represent the recording mode
which triggered the recording at the time (where
red
= alarm recording;
green
=
normal recording).
To execute a Video Search:
Scroll over then left click the date numeric fi eld, or highlight it using the arrow
•
keys and press select.
Select a digit to alter. Once selected, it will be highlighted red and can be
•
edited. You will see a yellow pop up keypad. Scroll or move over the digits on
the keypad & left click or press select to input the date. Note that the fi rst two
digits of the year (2 & 0) cannot be changed.
Highlight the SEARCH button, and left click or press select.
•
Alternately, to be taken straight the Playback interface, bypassing the File
•
List choose PLAYBACK instead of SEARCH. Playback will start with the fi rst
recording made during the interval chosen.
The SCHEDULE screen. Currently,
the schedule is confi gured to
record on Alarm Events (i.e. Motion
Detection) from 6:00am to 1:00pm
weekdays, and record constantly
between 6:00am and 6:00pm on
weekends.
At all other times, the DVR is
confi gured not to record anything
at all.
Remember: After making changes to the settings press/click the APPLY button.
24
The System Maintenance Menu
Remember: After making changes to the settings press/click the APPLY button.
45
To maintain the operational integrity
of the DVR, it is suggested that it
be rebooted periodically. In much
the same way that a computer
can become unstable if left on for
an extremely long time, the DVR
can become unstable. It is strongly
suggested that the DVR be rebooted
at least once per month. However,
as this can be a hassle (particularly if
the DVR is stashed away somewhere
inconvenient) you can set the DVR up
to reboot itself.
AUTO MAINTAIN:
Whilst OFF, there won’t be any other options available on this
screen. Turn this ON if you want to set the AUTO REBOOT function.
AUTO REBOOT:
Will automatically shut the DVR down and restart it at a certain
time of the day, week or month.
SYSTEM UPDATE:
For loading new soft/fi rmware onto the DVR via a USB fl ash
drive. Usually, you won’t need to use this setting unless directed to do so by Swann
Technical Support.
LOAD DEFAULT:
Returns the DVR to it’s initial factory settings. Can be useful if,
for some unknown reason, the DVR is behaving erratically.
REBOOT:
Turns off and restarts the DVR immediately.
About the AUTO REBOOT time:
If you choose weekly rebooting, you’ll need to select the day of the week
•
(from MON through SUN) and the time that you’d like the DVR to reboot.
If you chose monthly rebooting, you can choose the date of the month that
•
you’d like the DVR to reboot, and then the time on that date.
Note that, if you chose monthly rebooting and you enter the 31st as the date
•
you’d like the DVR to reboot, there are several months of the year that don’t
have a 31st day. It is suggested that this date be avoided, for that reason.
When the DVR is rebooted, no settings will be lost, and it will automatically re-
•
sume its recording mode and schedule without alteration. The reboot primarily
refreshes the software and gives the hardware a moment of ‘time out’, aiding
the ongoing smooth functionality of the DVR. It will not lose your settings.


