Mounting the Camera
3
The camera can be mounted onto a flat surface using the screws and wall plugs provided. The flat surface must
have sufficient strength to hold the camera.
→ Position the camera in the location you want to mount it, and mark the screw holes on the surface to
position the screws (mounting template included). Then, using the appropriate screws for the flat surface
you’re fixing the camera to, secure the camera in place.
→ If you’re mounting to a wooden surface, screw the camera directly to the surface.
→ If you’re mounting to a masonry surface (bricks, concrete or similar), you’ll need to use wall plugs.
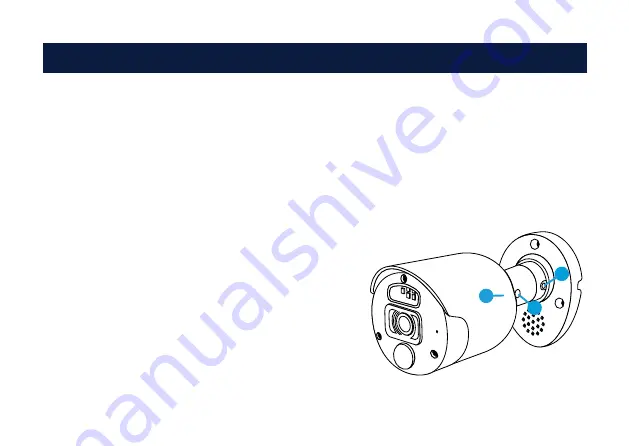
Aiming the camera
1.
Loosen both screws (use an Allen Key) to adjust the camera’s
orientation. This enables you to rotate the camera left or right so
no matter what direction or orientation it’s facing, your images
will be the right way up. Tighten each screw to secure it in place.
2.
Loosen the screw to tilt the camera up or down. Tighten the
screw to secure it in place.
3.
To pan the camera left or right, loosen the screw and position
it accordingly. Tighten the screw to secure it in place.
1
2
3


