42
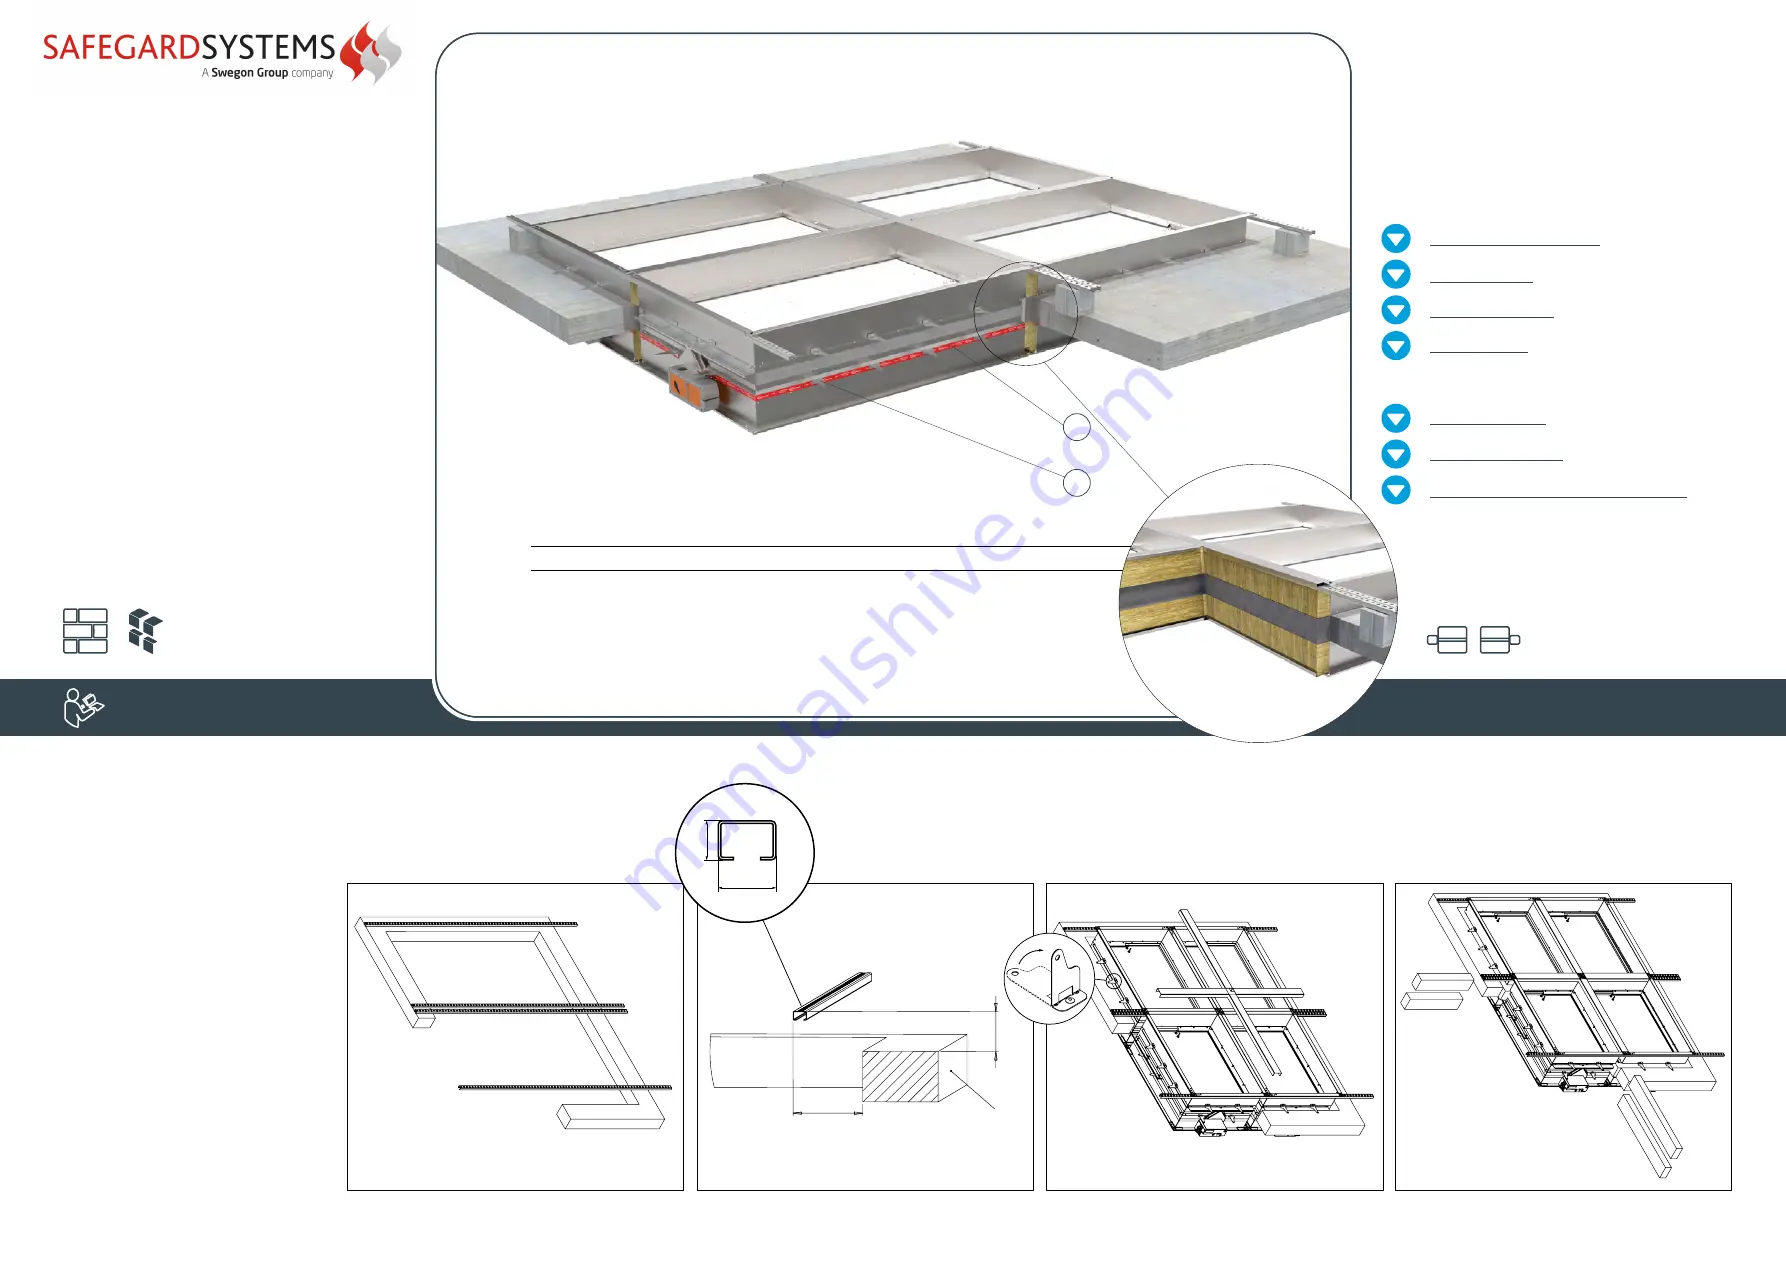
FIRE DAMPER - FD
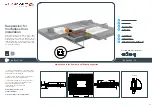
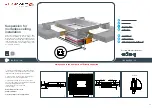
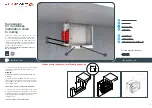
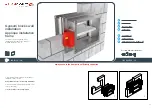
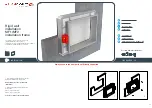
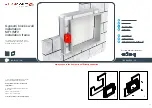
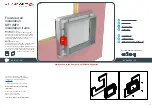
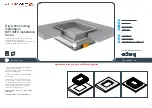
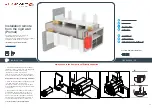
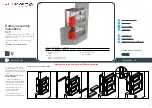
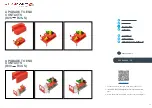
Possible damper orientations
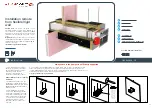
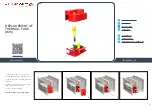
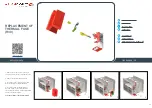
Battery assembly
installation
(floor/ceiling)
2x2
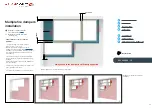
The floor/ceiling is composed of concrete blocks
(minimum density of 550 kg/m³) or reinforced
concrete (minimum density of 2200 kg/m³) and with
a minimum thickness of 100 mm.
118
42
wall
118
42
wall
118
42
wall
2
1
4
3
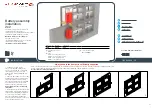
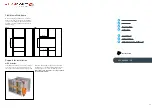
Maximum dimension of fire dampers:
2X2 grid: 1500x800 mm
*For battery installation 2x2 use 8x connecting
frame and 2x connecting plate.
Installation only possible with FD40!
(1)
Accessories
(2)
Type
(3)
Length
FD-A
-
CF60
- 800
(1)
(2)
Fire damper accessories
FD-A
Type
CF60
- Connecting frame 60 mm
CF100
- Connecting frame 100 mm
CP60
- Connecting plate 60 mm
CP100
- Connecting plate 100 mm
(3)
Connecting frame length
200 ... 1500 [mm]
floor/ceiling
18mm
27mm
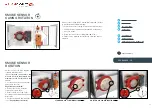
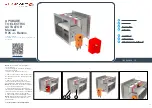
INSTALLATION
B
A
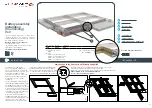
1.
Prepare a hole of dimensions
2B + Connecting frame width (CF60/
CF100) + 80 mm and 2H + Connecting
frame width (CF60/CF100) + 80 mm.
Set
all U profiles to a height of 118 mm
(use blocks of aerated concrete to keep
distance between ceiling and profiles).
2.
Arrangement of steel C profiles
(27x18 mm).
3.
Place the dampers in the openings to
the wall limit mark
(A)
and bend the fixing
bracket
(B)
90°. Put them on U profiles.
Fix the dampers and profiles to the ceiling
using the screws for concrete. Place four
connection profiles from the installation kit
to the dampers on both sides and attach
it using the self-tapping screws.
4.
The space between fire dampers
and
floor
and fire dampers themselves
should be filled with mortar/gypsum in
the
thickness of the concrete slab. The
remaining free space between damper
casings (above and below mortar filling) should
be filled with mineral wool (density 100kg/m³ or
higher). The recommended procedure is to install
the lower mineral wool between casings and use
it as formwork. Install additional wooden formwork
around the perimiter of the installation between casing and concrete slab.
Pour in the mortar up to the thickness of the concrete slab.
When the mortar sets, fill the upper space between casings with the mineral wool.
Damper blade must be closed during installation!
Test the operation of the damper blade!
pod/strop
Always e
nsure the damper is sufficiently supported

