_____________________________________________________________________________________
SWS – 7695 Blackburn Parkway, Niagara Falls, ON Canada
Tel: 1-877-357-0222 | Fax: 905-357-9122 | sales@swssafety.com
300402 Rev. 2X
Page
3
of
5
Array Orientation/Layout
•
The warning sticks should be oriented with the wires down on the vertical sticks, and the wires towards center on the horizontal sticks
•
The minibars should be centered on the vehicle, with 16363 at the front closest to the cab.
•
Floodlights should be mounted about the rear minibar, one on each side.
Wiring
•
This snowplow system is meant to connect to the Main Junction Box for all devices.
•
Connect all devices to the connectors of the junction box, using your desired extension cables. Flashing floodlights should be connected
to the
TL2
labeled connectors.
•
The Main Junction Box will distribute power and communication connections to all connected devices.
•
The 16363 Minibar (front) controls the colour selection and flashing nature of the system (see below for connections).
•
Connect the RED (or White) wire on the junction box to the Positive of the vehicle (via ignition switch or positive switch), and the BLACK
wire to the Ground/Negative of the vehicle
Minibar
The 16363 minibar is the master light in the system and will control the colours of the other lights.
•
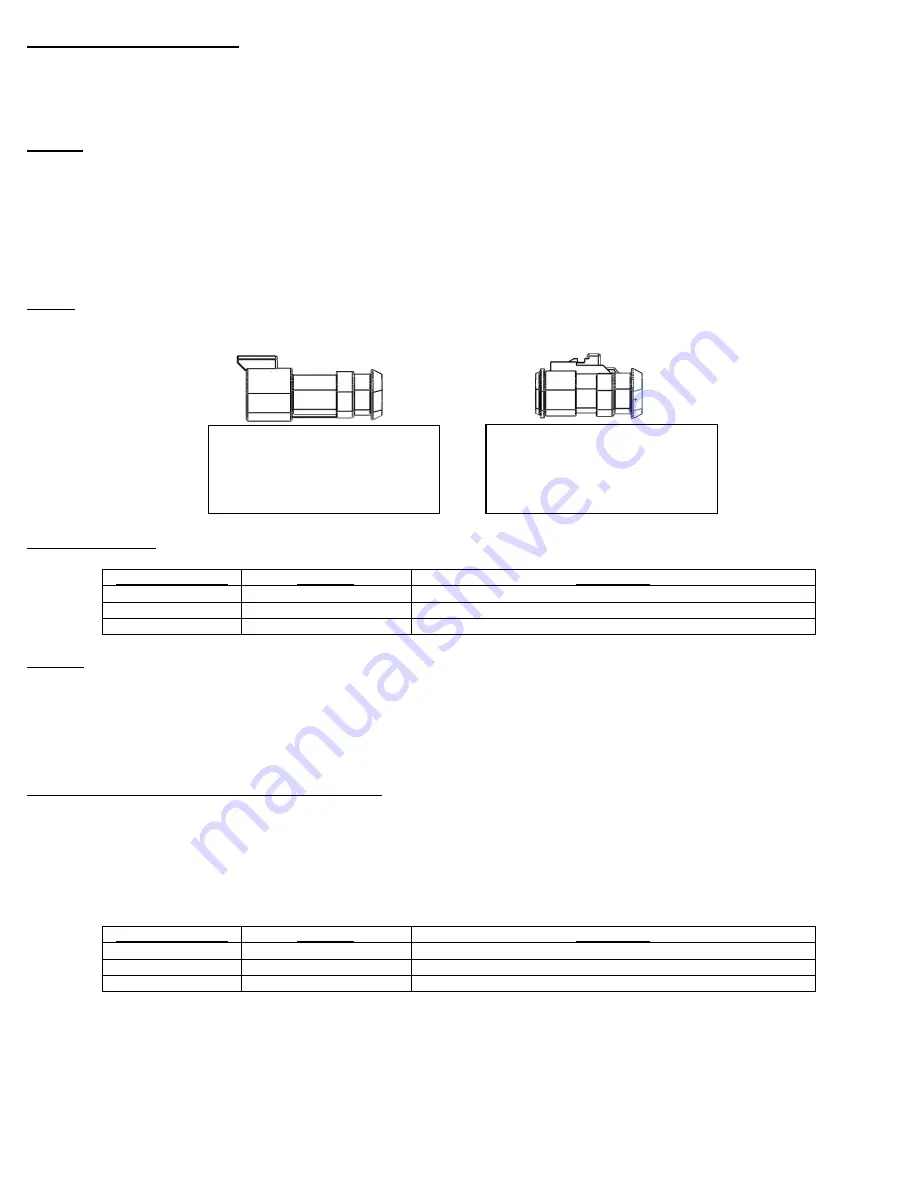
There are two connectors on the minibar, which function as in the images below
Switch Connections
Wire Lead Colour
Function
Connection
Red
Amber Flashing Control
Connect to Ignition Switch or 12Vdc Positive Switch
Black
Not used
Connect to 12Vdc Positive Switch or Plow Activation Switch
White
Manual Dim
Connect to 12Vdc Positive switch
Function
•
The sticks will steady burn 2 modules per stick when power is applied to the junction box.
•
Applying positive power to the Amber Flashing Control wire (Red) of the front minibar, will enable the other modules in the sticks, the
floodlights, and the minibars to flash in sequence.
•
The lights will AutoDim automatically, but if you require further dimming or dimming during the daytime, apply positive to the Manual Dim
wire (White) of the front minibar.
Spare Lead Connections (Summer Month Connections)
•
The other spare wire lead included with 16363 is for summer month operation of the minibar once it is disconnected from the Main
Junction Box.
•
This spare lead can be wired into the vehicle and stowed away for the winter months if desired.
•
If the snowplow system will not be removed from the vehicle, or the minibar will not be disconnected from the Main Junction Box, this lead
can be stored or discarded.
Wire Lead Colour
Function
Connection
Red
Positive (+)
Connect to Ignition Switch or 12Vdc Positive Switch
Black
Ground/Negative (-)
Connect to chassis ground or Negative connection
White
No Function
No Connection
Power, Ground, &
Communication.
Connect to Main Junction Box
Amber, & Dim
Connect to Switches with
supplied wire lead.


