Instructions for WEBconfig
4-8
2.
If you would like to configure the TCP/IP settings manually,
assign an available address from a suitable address range to the
SwyxConnect. Also set whether or not it is to operate as a DHCP
server. Confirm your entry with
Apply
.
3.
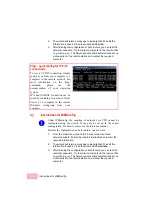
Enter the wireless parameters. Select a network name (SSID)
and a radio channel. Turn on if necessary the function for ’closed
network’. Confirm your choice with
Next
.
4.
In the following 'Security settings' window, specify a password for
configuration access. Note that the password is case-sensitive
and ensure that it is sufficiently long (at least 6 characters).
You may specify whether the device may only be configured
from the local network or whether remote configuration via the
WAN (i.e. a remote network) is also permissible.
Please note that enabling this will also permit remote configuration
via the Internet. You should always make sure that the configuration
access is suitably protected, e.g. with a password.
5.
In the next window, select your DSL provider from the list that is
displayed. Confirm your choice with
Apply
.
If you select 'My provider is not listed here,' you must enter the
transfer protocol used by your DSL provider manually in the
next window. Confirm your choice with
Apply
.
6.
Connect charge protection can limit the cost of DSL connections
to a predetermined amount if desired. Confirm your choice with
Apply
.
7.
The basic setup wizard reports that all the necessary information
has been provided. You can end the wizard with
Go on
.
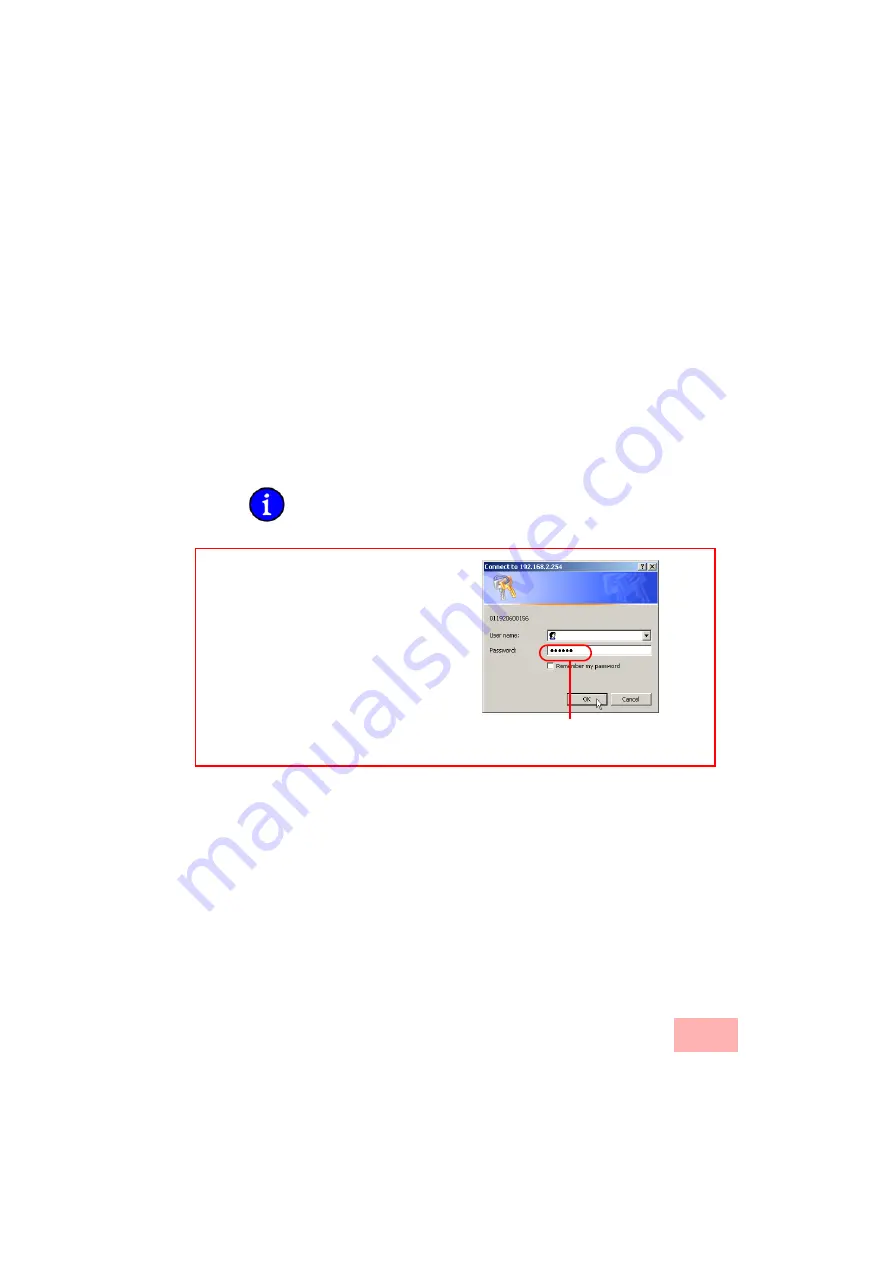
Entering the password in the web
browser
When you are prompted for a user name
and password by your web browser when
accessing the device in the future, enter
your personal values to the corresponding
fields. Please note that the password is
case-sensitive.
If you are using the common configuration
account, enter the corresponding password
only. Leave the user name field blank.
Entering the configuration password
Summary of Contents for SwyxConnect 1722
Page 112: ...I 5 ...


