9
MULTIPLE CHANNEL OPERATION
USING SYSTEM WITH MORE THAN ONE CAMERA
This video security system allows you to view up to four different camera
locations. When connecting more than one camera to the monitor/camera
system, you will need to set each camera to a different channel (Channels
1-4).
AUTO SCANNING
This video security system provides you the option to automatically
switch between the four camera locations. If you have fewer than four
cameras, you can also set the system to scan between three or two
locations.
Setting Auto Scan to 2 or 3 camera locations
1.
Press and hold the Auto/Manual button for more than 2 seconds.
All four LED lights on the front of the monitor will turn ON.
2.
Continue to press and hold the Auto/Manual button. The Channel
4 LED button will turn off. The system is now set to scan
between three camera locations (Channel 1-3)
3.
Continue to press and hold the Auto/Manual button. The Channel
3 LED button will now be turned off. The system is now set to
scan between two camera locations (Channel 1-2)
4.
Continue to press and hold the Auto/Manual button to return to
the four camera viewing option (all four LED lights will be
illuminated)
CH2
CH3
CH4
CH1
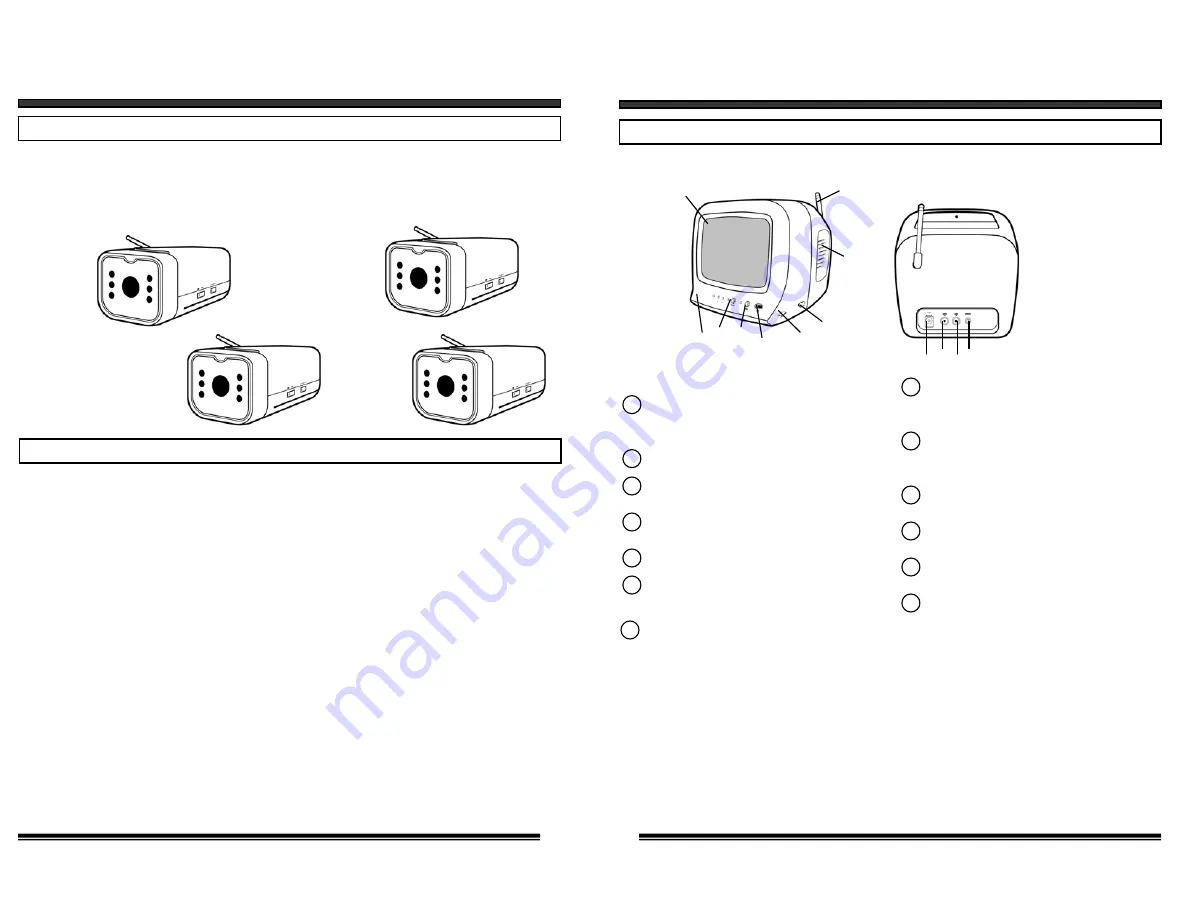
CONTROLS AND FUNCTIONS
MONITOR
6
1
2
3
4
5
6
7
Audio Output Jack
RCA jack for Audio output connection.
Video Output Jack
RCA jack for Video output connection.
ON/OFF Switch
Speaker
Auto/Manual Slide Switch
Audio Mute Button
MONITOR BACK VIEW
MONITOR FRONT VIEW
Location of Receiver Monitor controls
2.4GHz Antenna
High gain dipole patch antenna receives
audio and video signal from the camera.
CRT -
5.5” Diagonal
Brightness Control
Contrast Control
Volume Control
Channel Selector
Switch for channel 1-4-AUTO selection.
DC Input Jack
Connect the supplied 13.8V DC 1.0A
AC adapter.
3
2
1
11
10
5
13
12
6
7 8 9 4
8
9
10
11
12
13


